Free OnlineAI Vignette Generator
How to Add a Vignette to a Photo with AI
Upload the Photo You Want to Edit
Describe the Edge Treatment
Check the Fade in Chat Edit
Download the Finished Photo
Shape the Edges Around Your Subject
Your Photo Is the Starting Point
Upload an existing image to this online vignette editor and describe the change. Name the details to preserve, then compare them with the source after editing.
Describe the Fade in Plain Language
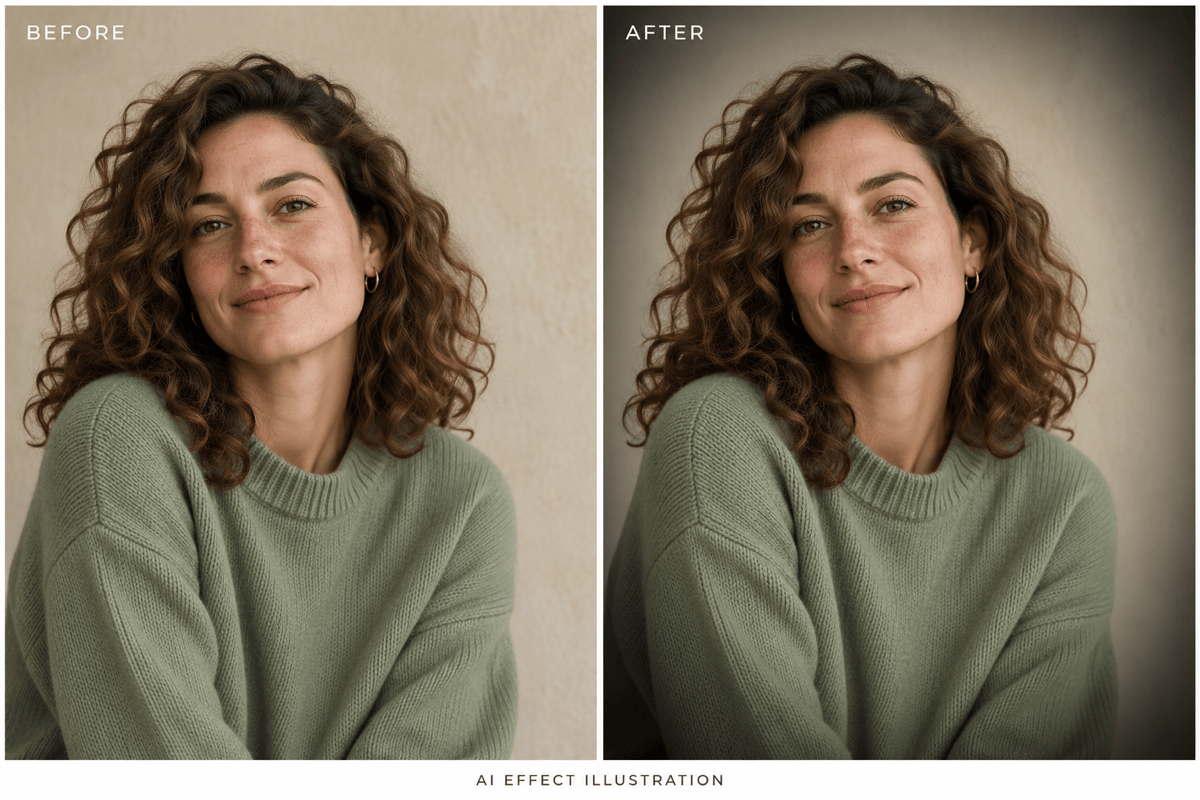
Ask for a subtle portrait vignette or stronger cinematic corners. Chat-based refinement lets you explain the look without translating it into slider values.
Keep Off-Center Subjects in Mind
Tell the AI vignette maker where the face or product sits. Ask for the lighter area to follow that position instead of assuming the subject is in the middle.
Explore Dark and White Edges
Try a dark falloff for a moody frame or a white vignette effect for a light, airy finish. Request separate versions to compare how each suits the photo.
Choose a Model for the Edit
Select an available image model yourself, or let Mew Auto choose based on your photo and instructions. Mew Design brings in the latest leading image models and adds new releases promptly.
Refine Toward a Shareable Image
Use Chat Edit to correct the edge treatment before exporting a watermark-free PNG or JPG. Free signup credits let you test the workflow; further use depends on your credits.
Make the Vignette Noticeable Only Where It Helps
- Protect the SubjectName faces, labels, or pale fabric that must stay readable. A strong fade can hide details near the frame.
- Separate Strength From SoftnessStrength means how dark or light the edges become. Softness means how gradually they blend into the photo. Ask for each separately.
- Review the Final CropA square crop can place the subject closer to the corners. Check the vignette again after changing the framing.
- Choose the Right MethodUse conversational AI for a descriptive edit. If you need exact pixel preservation and numeric radius or feather controls, a traditional vignette filter is a better fit.
Fix Common Vignette Problems
Reduce the dark vignette on this uploaded photo. Keep a faint fade at the outer corners and restore visible detail in the shadows without brightening the whole image.
Soften the visible ring around the subject in this photo. Make the edge-to-center transition wider and smoother, while keeping the current level of darkness at the corners.
Move the lighter area of this vignette toward the person on the left. Keep the face and hair clear; let the far corners fade gradually without moving or cropping the subject.
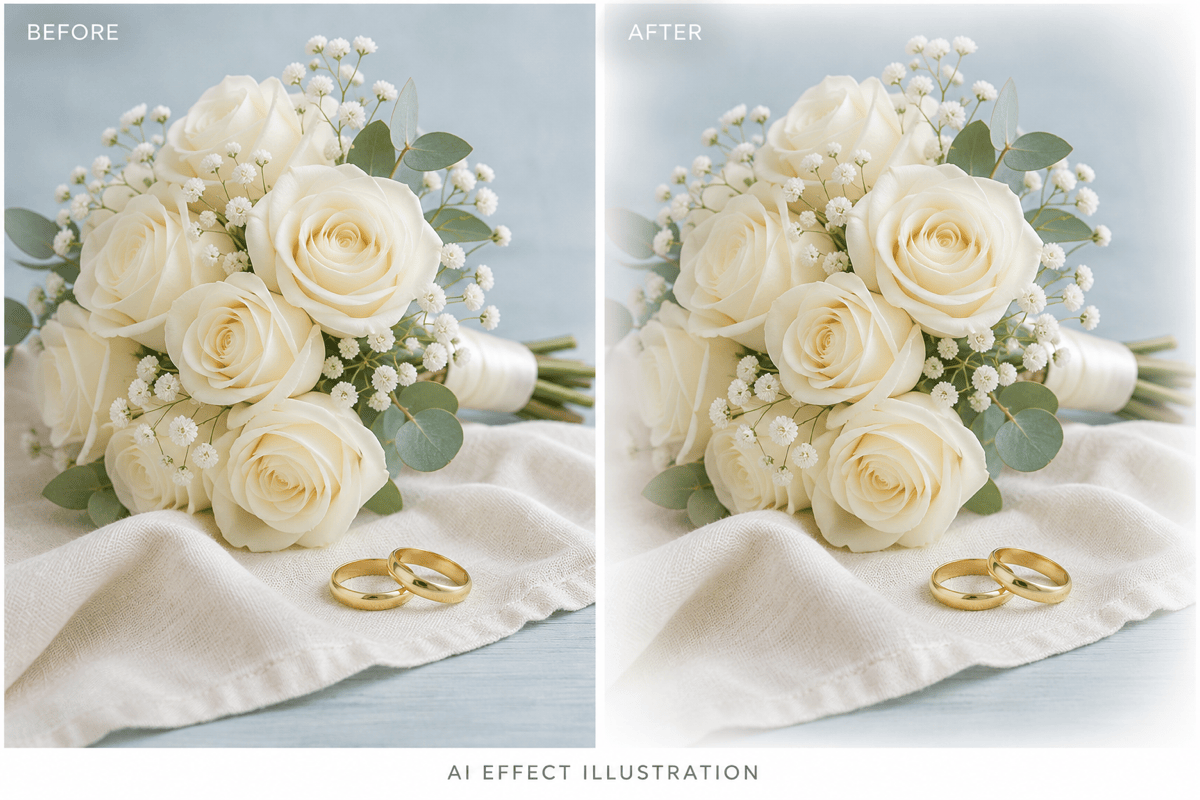
Add a gentle white vignette to this uploaded wedding photo. Fade only the outer edges toward white and preserve the dress, faces, and flowers without added blur.
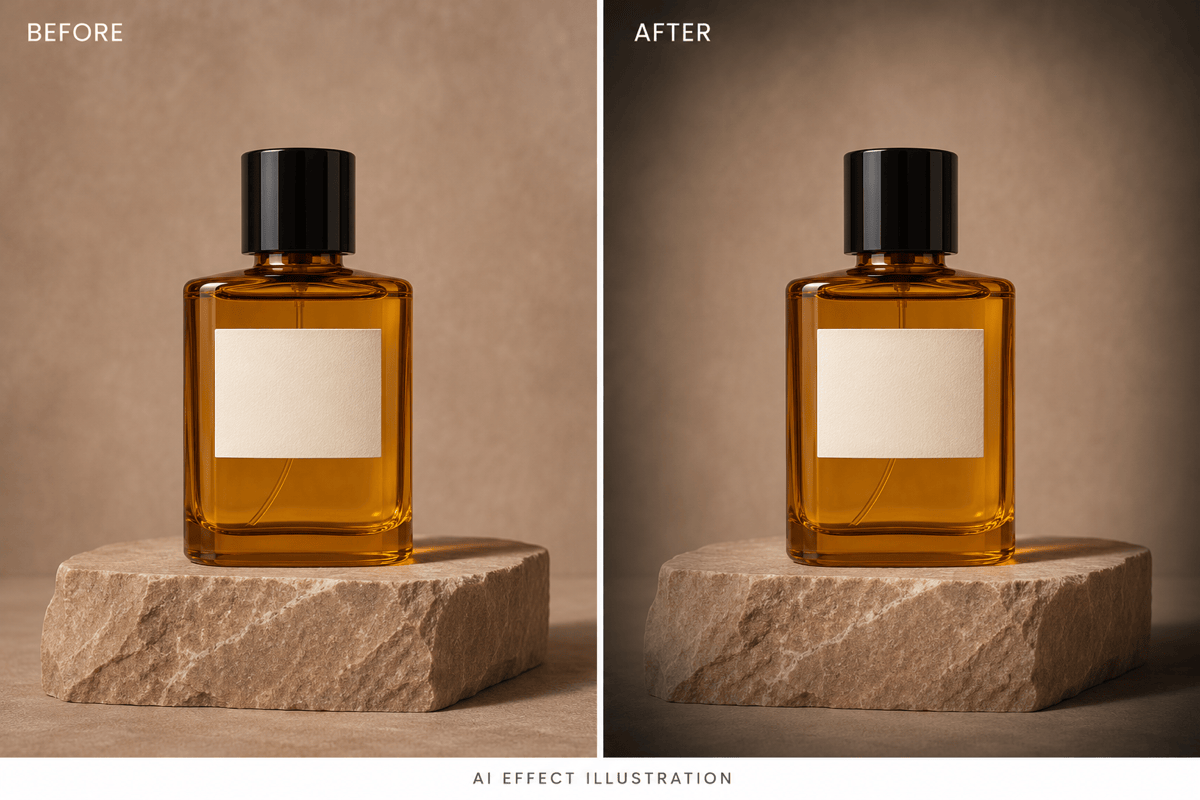
Add a restrained vignette to this product photo for a promotional image. Keep the product color, silhouette, and label readable; darken only the surrounding outer edges.
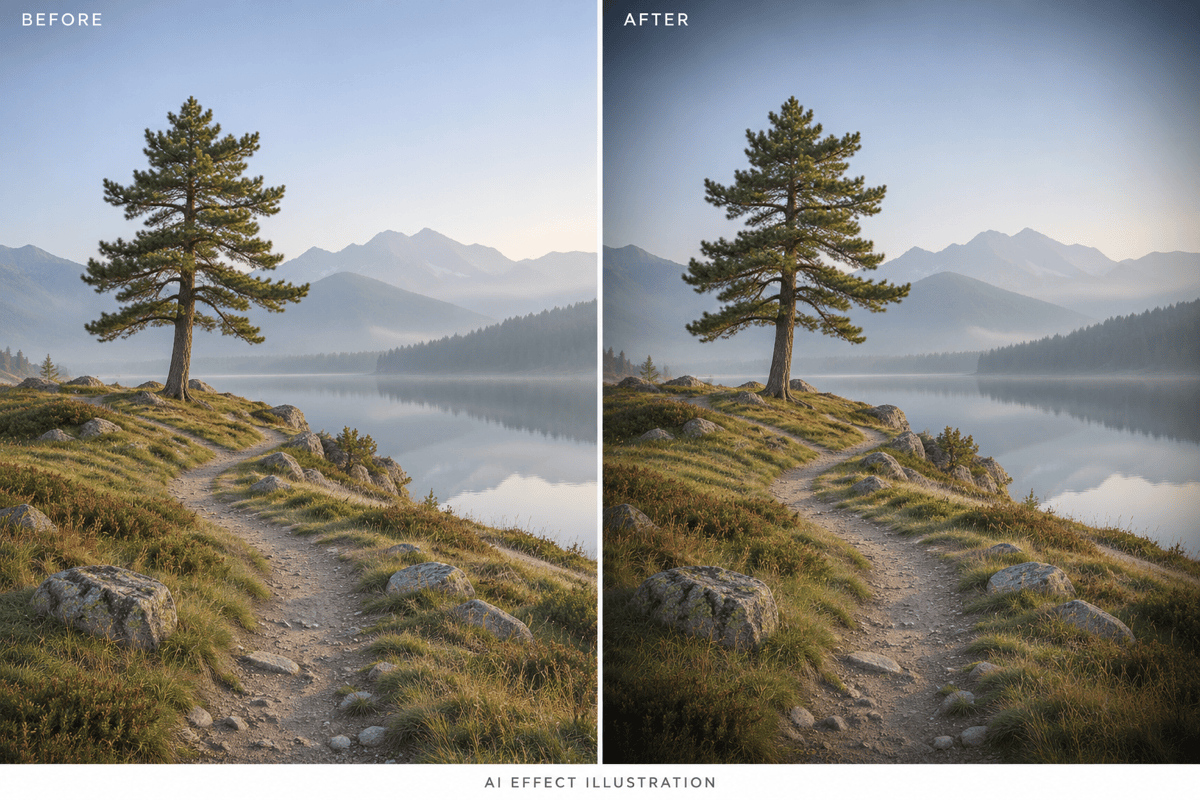
Apply a subtle cinematic vignette to this landscape. Keep the sky gradient and horizon natural, retain foreground detail, and avoid a black oval or added blur.