Free OnlineAI Teeth Whitening
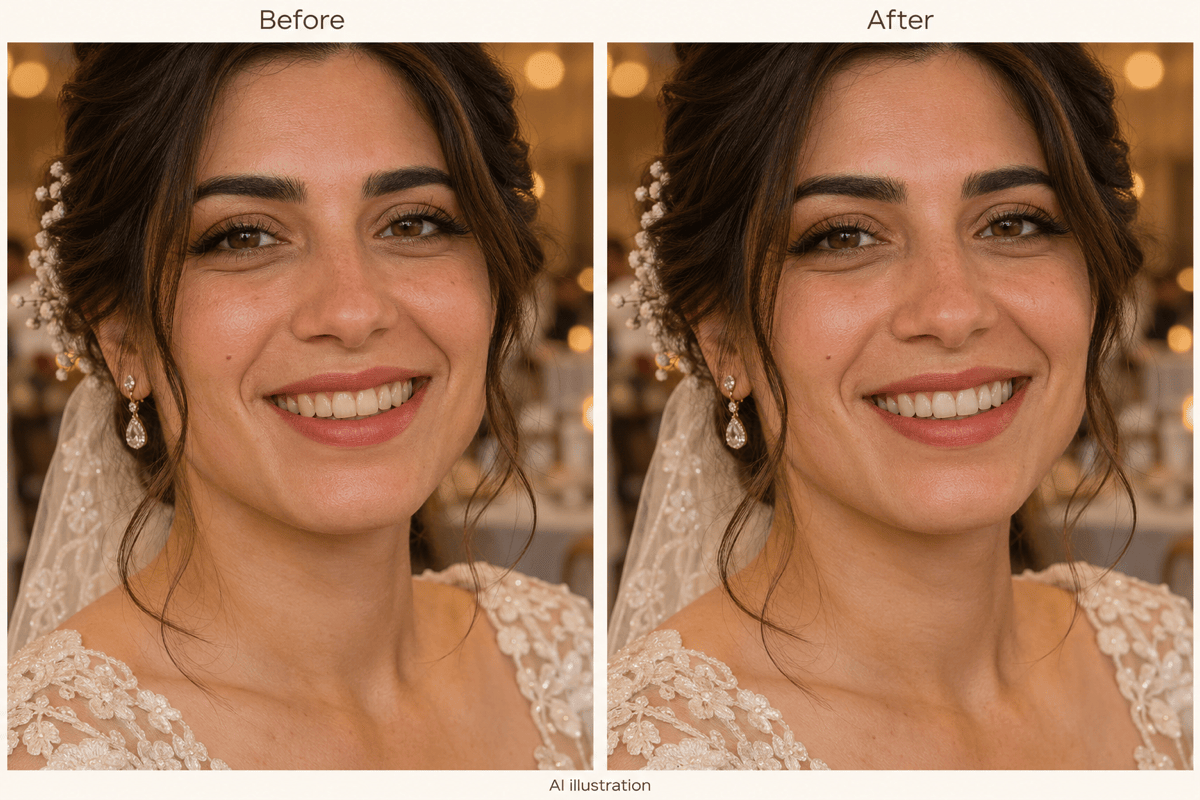
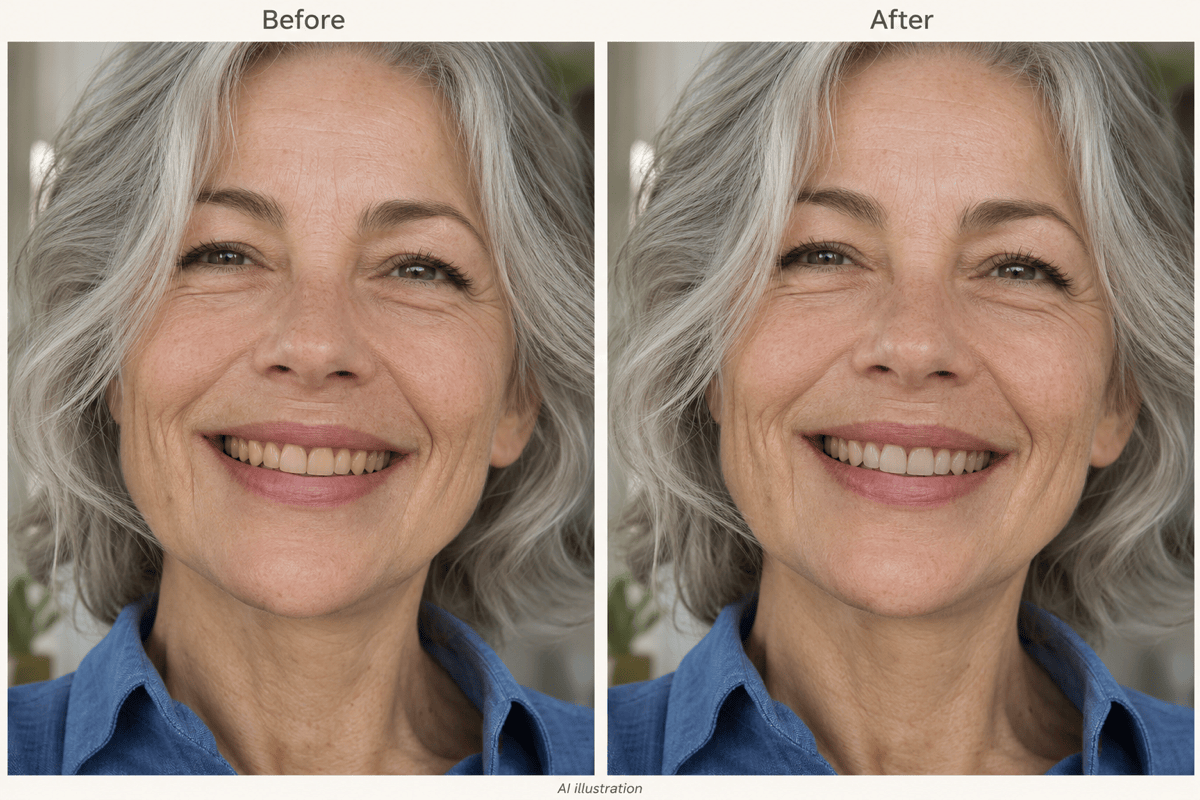
How to Whiten Teeth in Photos with AI
Upload a Clear Smile
Ask for a Natural Tooth Shade
Check and Refine the Edit
Download Your Retouched Photo
Why Use Mew Design for Natural Teeth Whitening in Photos
Describe the Change in Plain Language
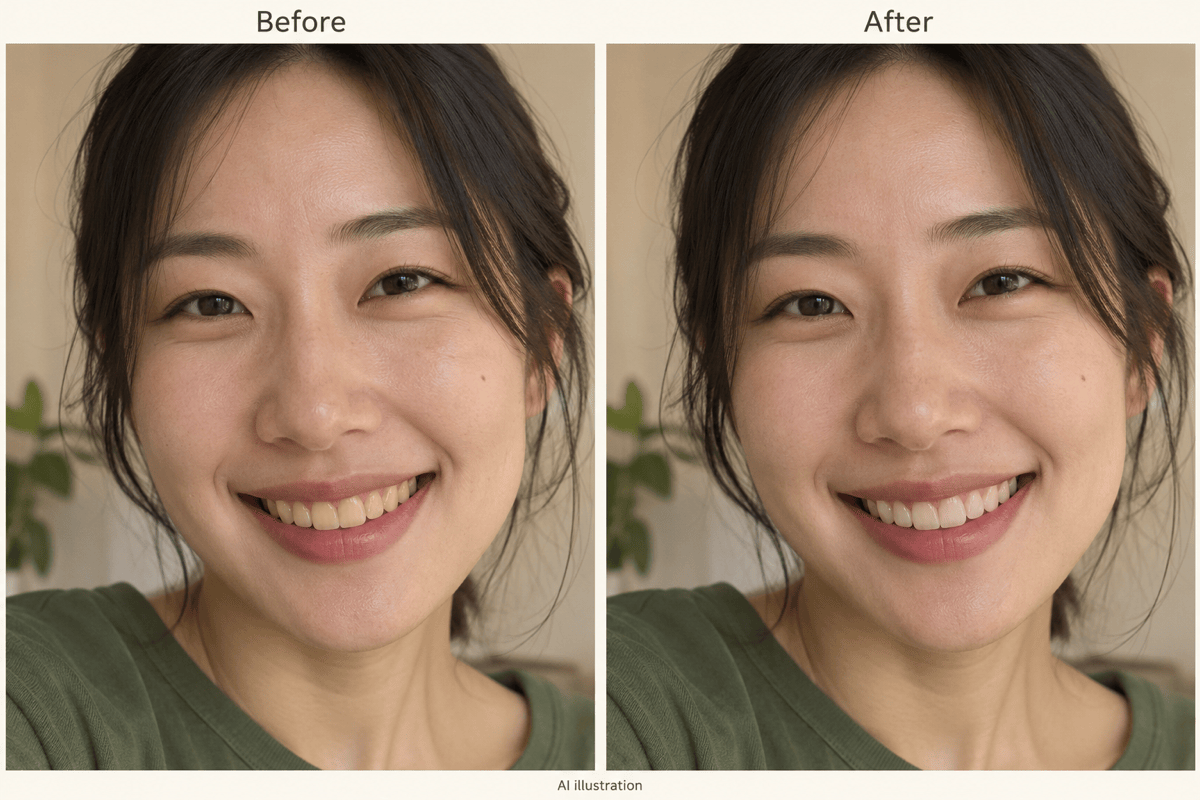
Use AI teeth whitening online by explaining what you want to change in your uploaded photo. Ask for less yellow, a softer white, or a lighter touch on one smile.
Aim for a Smile That Still Looks Like Yours
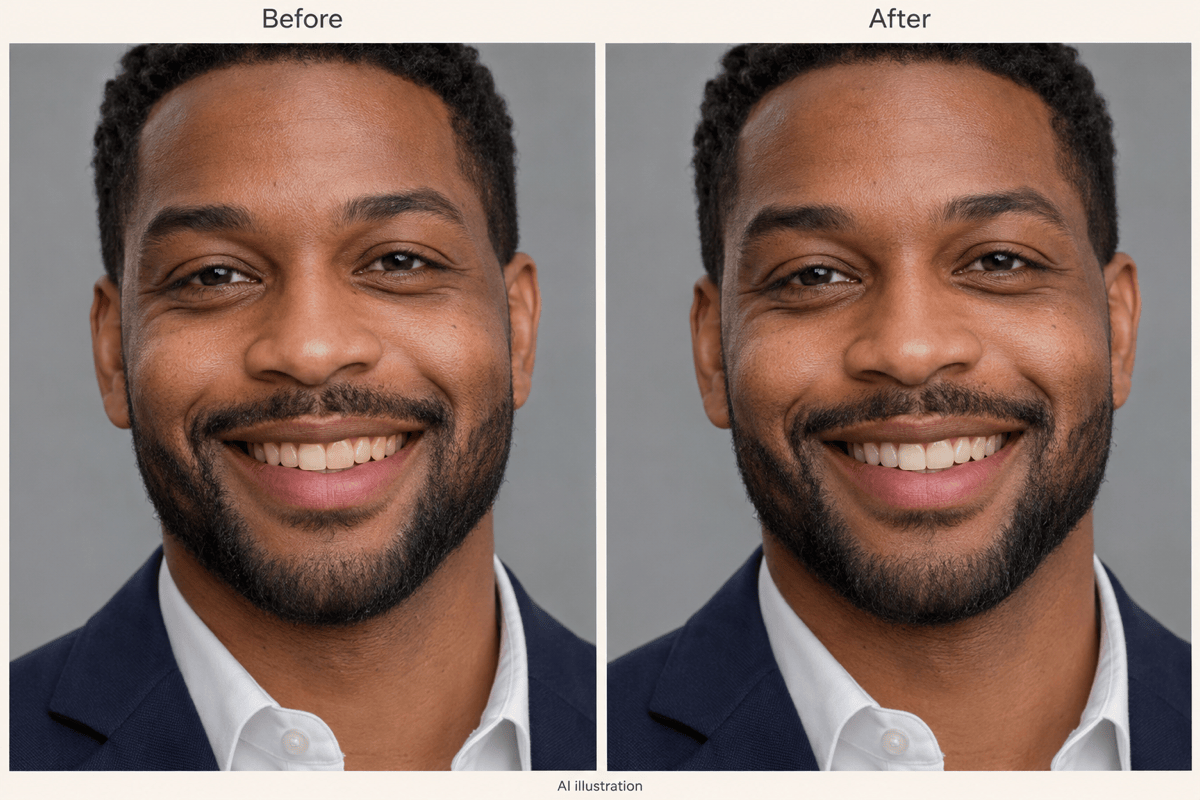
Request natural teeth whitening in photos with the original tooth edges, gaps, and shading intact. A modest change often fits the face better than a uniform bright-white finish.
Whiten Teeth in Selfies, Headshots, and Wedding Photos
Use our teeth whitening photo editor for a quick selfie touch-up, a professional profile, or a wedding album. Start from your own photo and request a level of whitening that suits its lighting.
Choose How Your Photo Is Edited
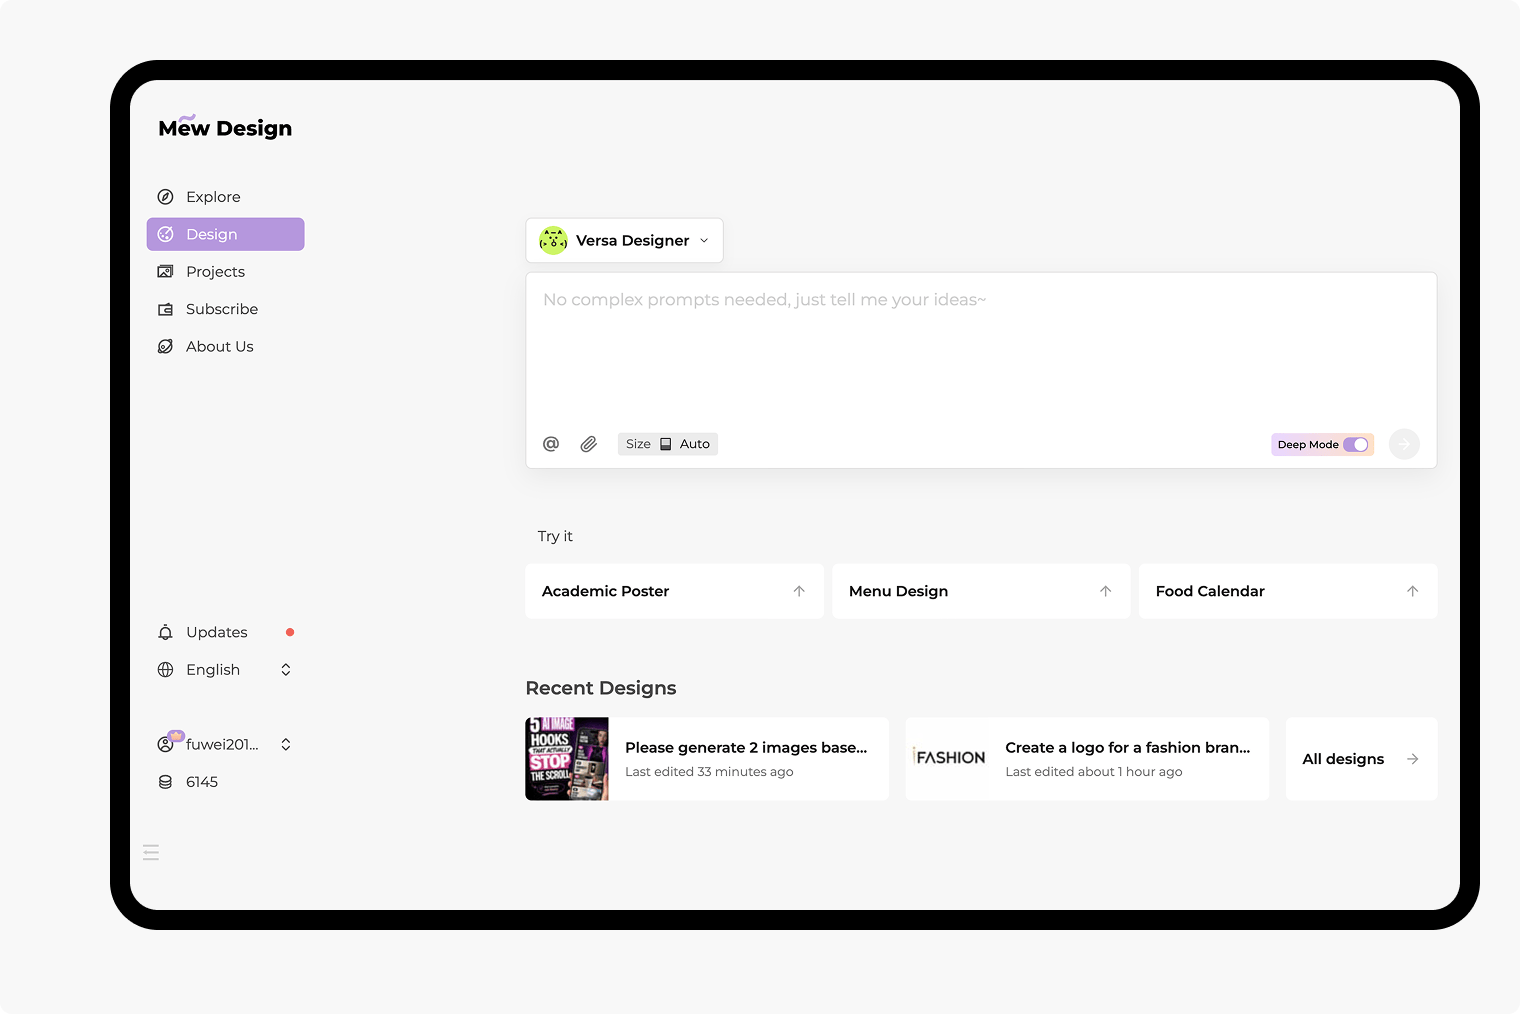
Select your preferred available image model, or let Mew Auto choose based on your photo and request. Mew Design brings the latest leading image models into one workflow as new releases arrive.
Adjust the Result Through Conversation
Use Chat Edit to reduce an overdone effect or address yellow tones in shadowed teeth. Make one focused correction at a time and check the surrounding details again.
Try It with Free Credits
Sign up for free AI credits to try this online teeth whitening photo editor. Download your reviewed result without a watermark; further edits depend on your available credits.
How to Whiten Teeth Without an Overedited Look
- Start with Visible Detail:Choose a sharp photo with an open smile. Tiny faces, blur, and deep mouth shadows make a precise edit harder.
- Reduce Yellow Before Adding Brightness:Ask for a subtle, neutral ivory shade. Avoid a flat white strip that removes the separation between teeth.
- Keep the Lighting Believable:Teeth farther back in the mouth should retain some shadow. Match the smile to the warmth and brightness of the scene.
- Review the Whole Face:Check lips, gums, skin, and tooth shape against the original. If another detail changes, request its restoration before exporting.
Teeth Whitening Fixes for Real Photos
Whiten teeth in my uploaded selfie with a subtle reduction in yellow. Preserve natural tooth texture, skin tone, freckles, lip color, and the original smile. Keep the existing crop.
Retouch only the teeth in my professional headshot. Use a restrained ivory shade suited to a business profile. Preserve tooth shape, facial details, clothing, and studio lighting.
Whiten teeth in my wedding photo without cooling down the entire image. Keep the warm reception lighting, makeup, lip color, and natural smile. Apply a gentle color correction only to the teeth.
In my group photo, whiten only the teeth of the person nearest the left edge. Keep everyone else unchanged. Preserve that person’s tooth shape and the scene’s lighting.
The teeth in this edited photo look too white. Use my original as a reference, reduce the brightness, and restore subtle ivory tones, tooth separation, and shadows. Leave the rest of the photo unchanged.
Reduce the remaining yellow tone on teeth farther back in the mouth. Keep those teeth darker than the front teeth where the light falls off. Do not flatten the shadows or change the lips.