Free OnlineAI Drawing to Realistic Image Generator
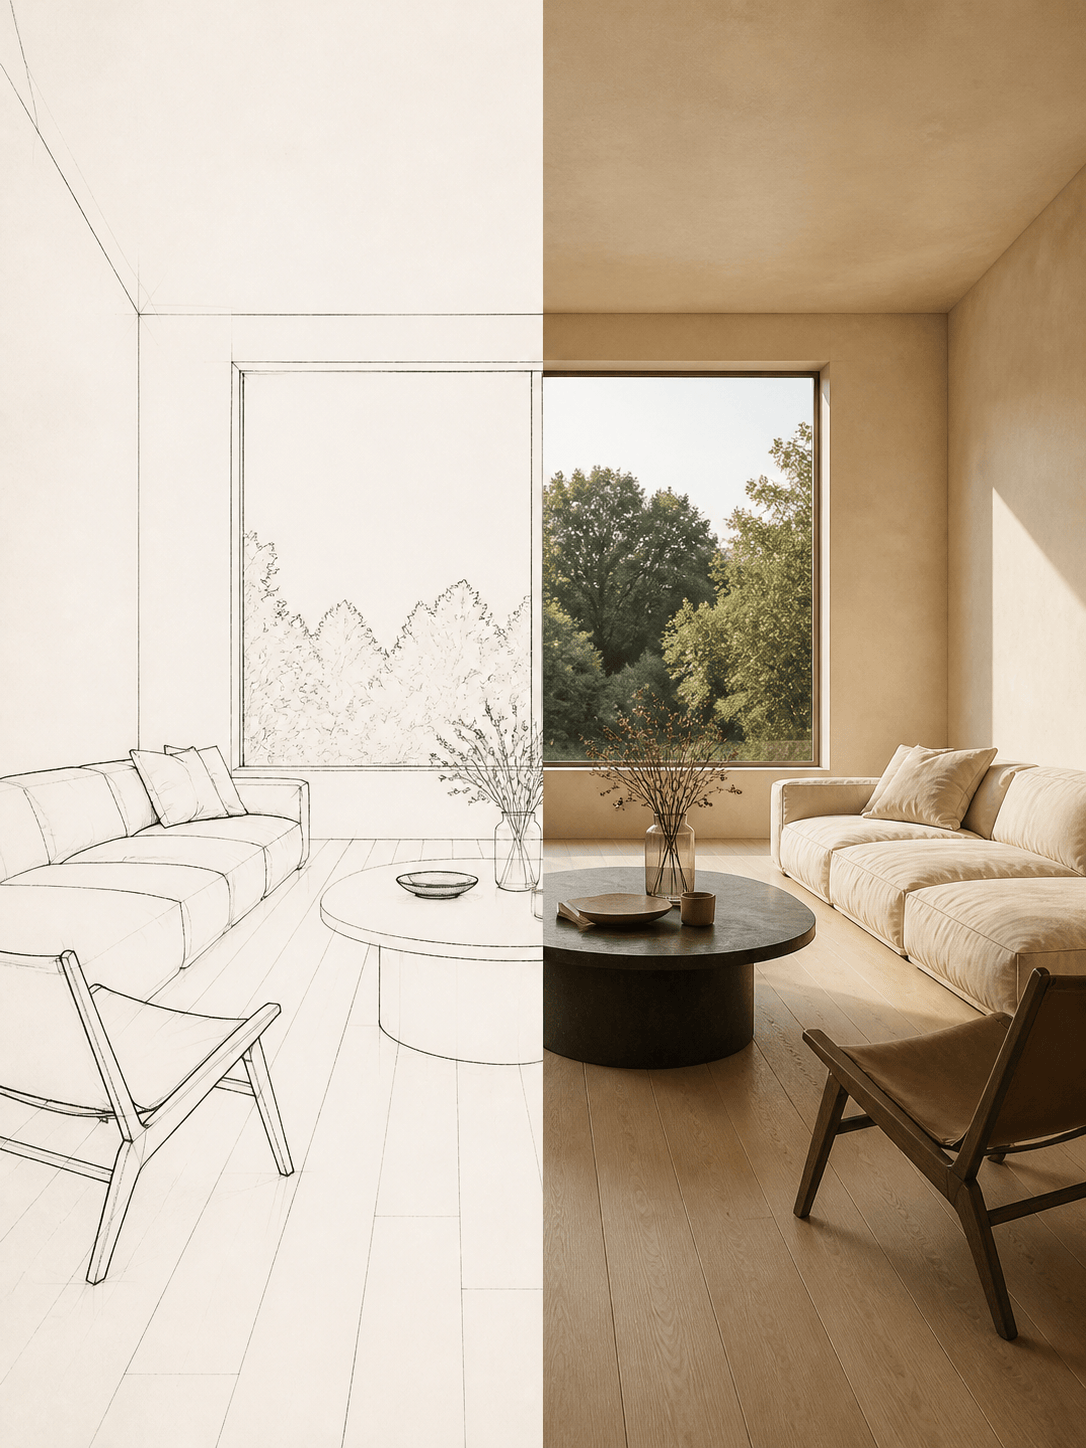
How to Turn a Drawing into a Realistic Image with AI
Upload a Clear Drawing
Lock the Important Structure
Add Real-World Detail
Review and Export

Keep the Idea in the Lines, Add Reality Around It
Treat the Sketch as a Structural Blueprint
The AI sketch to image generator reads contours, object placement, and spatial relationships from the upload. Tell it which geometry is essential so the rendered result follows the idea instead of replacing it with a generic scene.
Name Real Materials, Not Just “Realistic”
Direct the transformation with concrete surfaces such as oak grain, brushed aluminum, worn leather, frosted glass, wool, stone, skin, or fur. Material cues help turn blank areas and rough shading into believable detail.
Build the Light and Camera Around the Drawing
Keep the original viewpoint while adding soft window light, golden-hour sun, overcast daylight, studio reflections, a 35 mm documentary feel, or a catalog-style camera setup. These choices make realism purposeful rather than overly glossy.
Use References to Resolve Ambiguous Lines
When a sketch cannot show a fabric, finish, face, or environment clearly, upload an additional visual reference and explain its role. Mew can use the drawing for structure and the reference for material or appearance direction.
Correct Drift with Chat Edit
If a window moves, a shoe profile changes, or a character loses an unusual feature, keep the current image and request a precise correction. State what to change and repeat the parts that must remain untouched.
Create Concept Images with Clear Limits
Use free signup credits to explore realistic directions and export watermark-free PNG or JPG files. The result is a visual concept, not a CAD model, engineering check, construction document, manufacturing specification, or guarantee of physical feasibility.
Write a Preservation-First Sketch-to-Image Prompt
- Lock the geometry: List the silhouette, proportions, pose, perspective, object positions, openings, or negative spaces that must not change.
- Explain ambiguous lines: Say what each unclear shape represents. A rough rectangle could be a window, screen, package, sign, or table unless the prompt resolves it.
- Add physical cues: Name materials, surface imperfections, environment, light direction, time of day, reflections, camera height, and lens character to make the render believable.
- Control creative freedom: Use phrases such as “change only the rendering style,” “do not add objects,” or “keep the asymmetry exactly” when fidelity matters more than a polished redesign.
Sketch-to-Reality Prompts for Different Ideas
Use my uploaded interior perspective sketch as the blueprint. Create a photorealistic Japandi living room while preserving every wall, window, doorway, furniture footprint, and the original eye-level camera angle. Pale oak floor, warm white plaster, oatmeal linen sofa, blackened-steel accents, soft overcast daylight, realistic fabric folds and subtle everyday imperfections. Change only materials, lighting, and surface detail; add no furniture.
Turn my hand-drawn house elevation into a realistic residential exterior at early morning. Preserve the roof pitch, window spacing, entrance position, balcony depth, and all proportions. Use light-gray board-formed concrete, vertical cedar screens, clear glass, wet paving after rain, restrained landscaping, and soft natural reflections. This is a concept render, not a construction drawing; do not invent extra floors or openings.
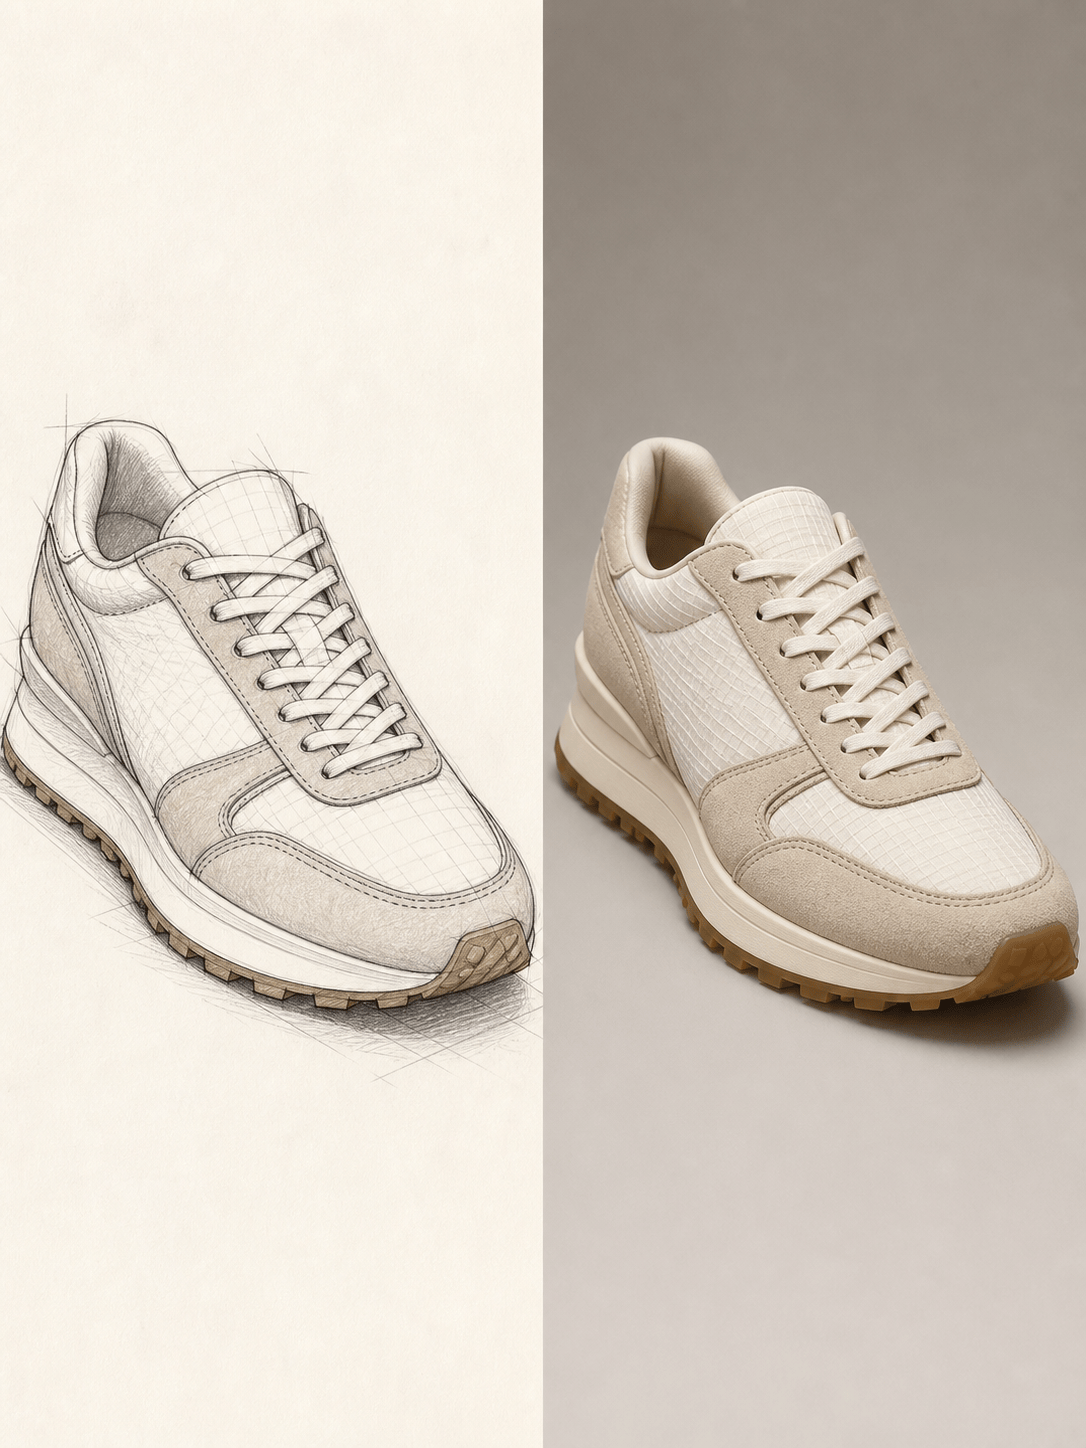
Convert my sneaker line drawing into a premium studio product photograph. Keep the exact sole profile, panel boundaries, lace layout, heel height, toe shape, and three-quarter viewing angle. Render off-white ripstop, sand suede overlays, a translucent gum sole, fine stitching, realistic tension around the laces, softbox lighting, and a neutral seamless background. No logo, text, extra seams, or shape redesign.
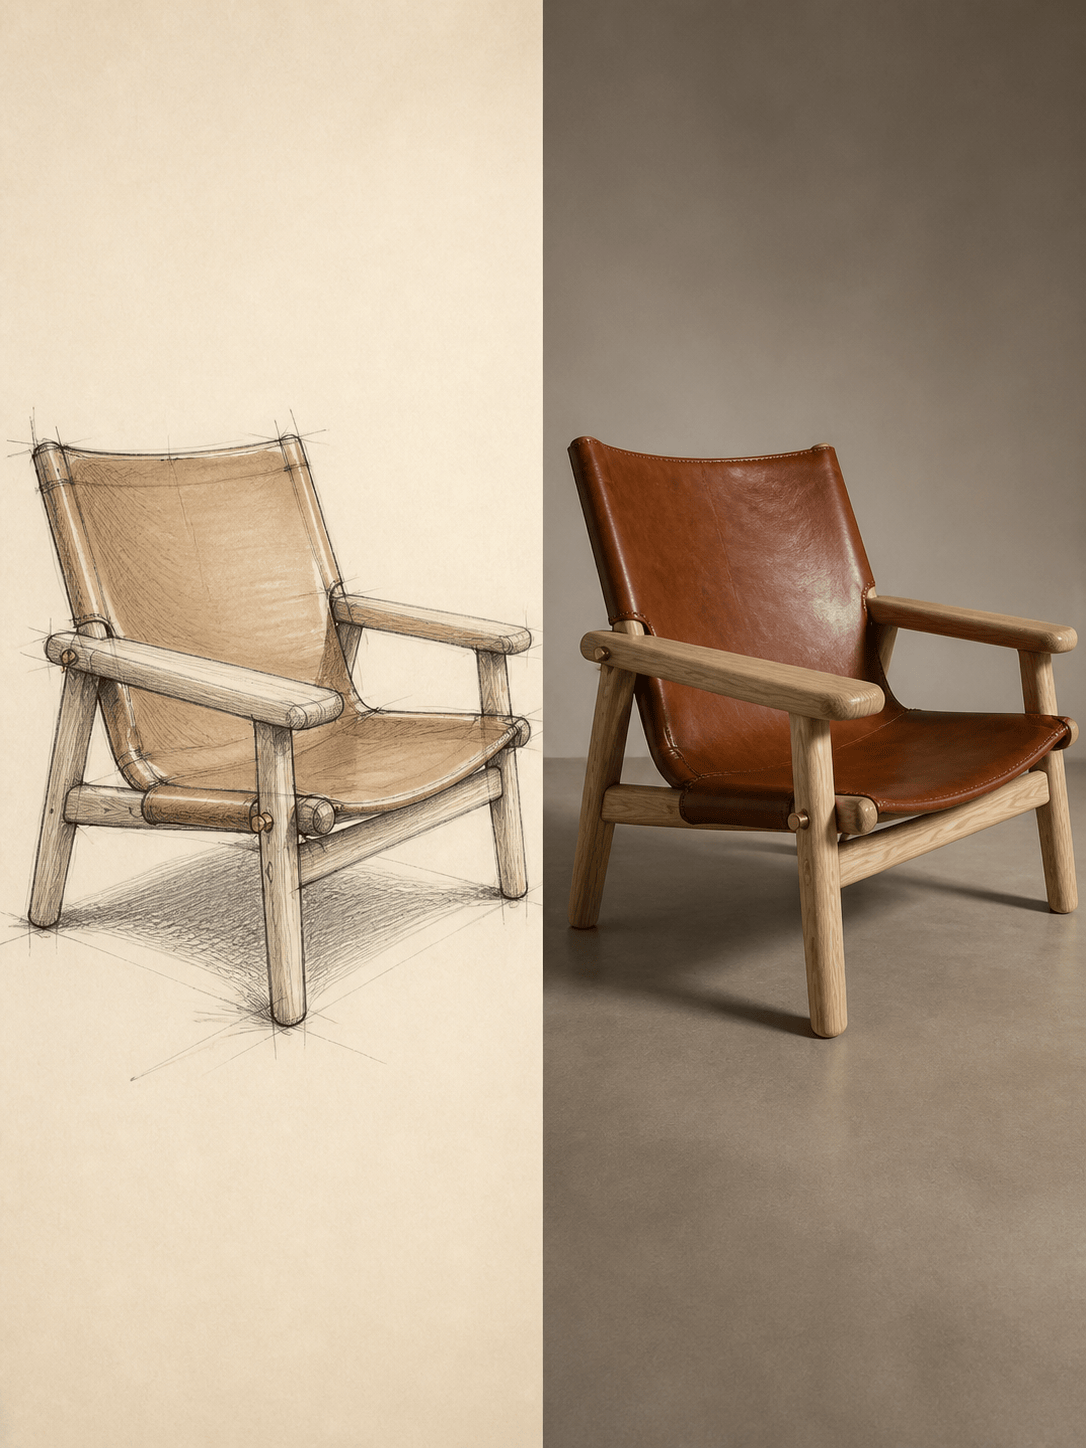
Transform my lounge-chair sketch into a realistic catalog render. Preserve the curved back, low seat angle, arm thickness, leg positions, and side-view proportions. Use saddle-brown vegetable-tanned leather with natural creases, an exposed ash frame, brushed-brass connectors, soft studio shadows, and a warm gray floor. Do not make the chair wider or add decorative parts.
Use my fashion sketch to create a realistic editorial photograph while keeping the model's pose, garment silhouette, asymmetrical neckline, sleeve volume, waist placement, and ankle-length hem. Interpret the dress as deep burgundy silk faille with visible structure, minimal jewelry, natural skin texture, soft directional studio light, and a simple stone-gray set. Do not change the body pose or add patterns.
Turn my pencil landscape drawing into a believable coastal location. Preserve the cliff outline, winding footpath, lighthouse position, horizon height, and foreground rock shapes. Add weathered stone, dune grass, Atlantic mist, low clouds, diffused morning light, wet surfaces, and natural atmospheric depth. Keep the quiet composition and do not add people, buildings, or boats.
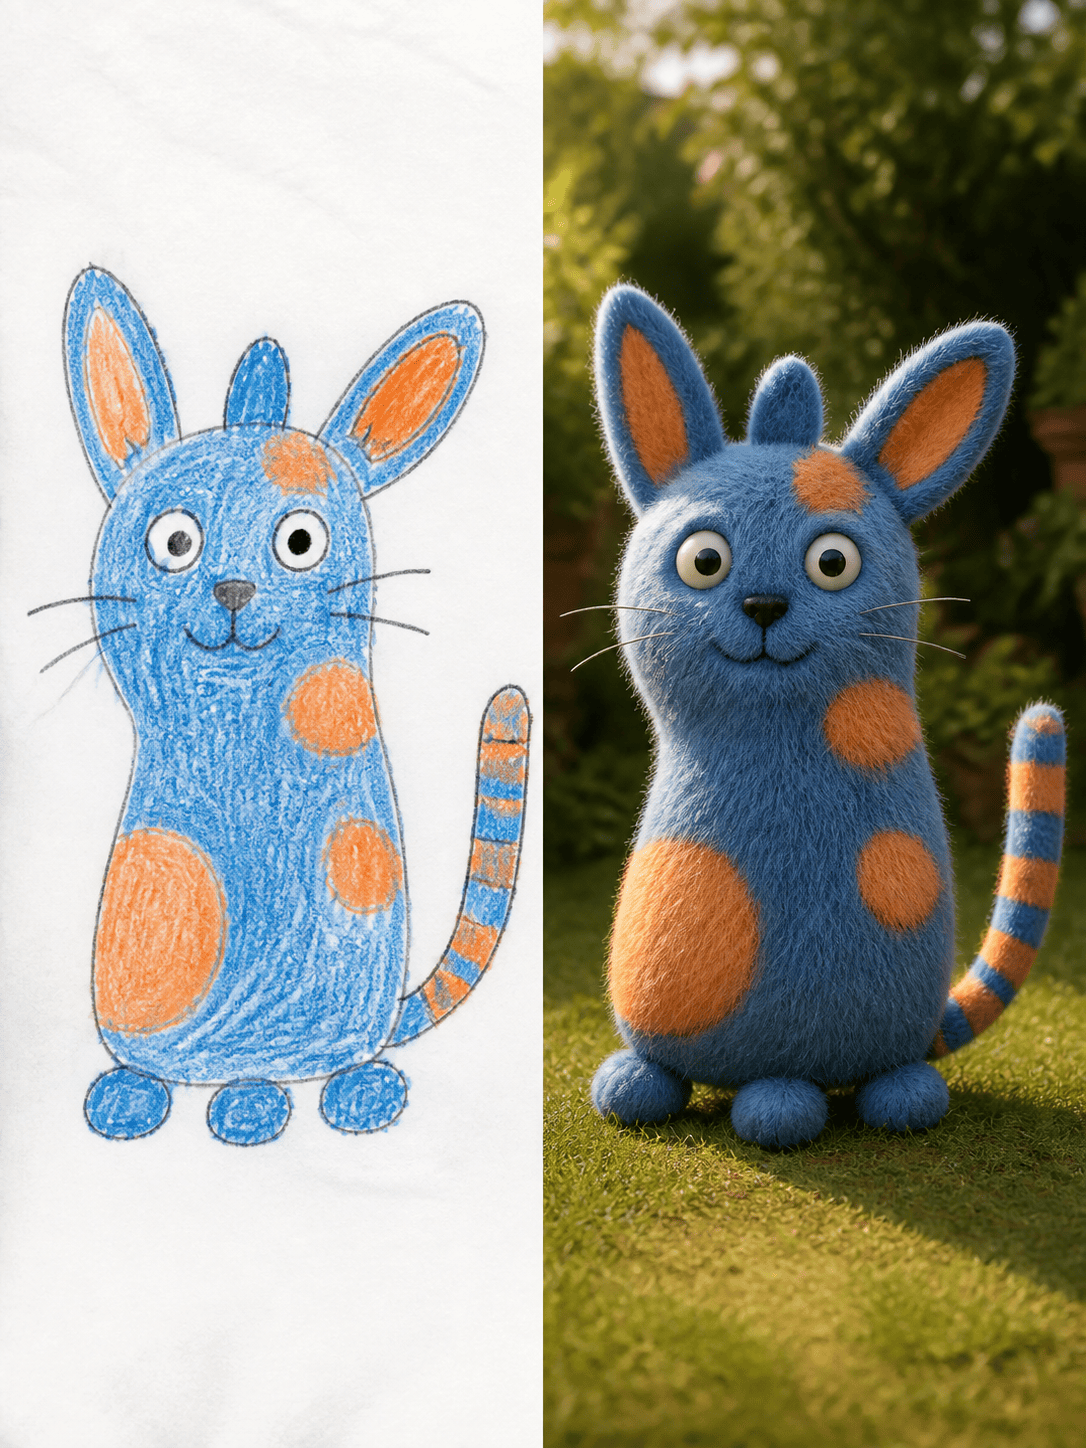
Bring my child's creature drawing to life as a realistic but friendly animal photograph. Preserve the exact lopsided silhouette, three uneven ears, round feet, striped tail, wide-set eyes, and original blue-and-orange color idea. Add believable short fur, soft whiskers, eye reflections, gentle skin folds, and natural garden light. Keep the drawing's odd proportions and charm; do not turn it into a familiar real species or protected character.
Convert my storyboard drawing of a compact exploration rover into a cinematic realistic frame. Preserve the boxy body, six-wheel spacing, camera mast, front tool arm, low viewpoint, and diagonal path through the scene. Add dusty painted metal, rubber wear, small bolts, cold dawn light, shallow ground fog, and a rocky volcanic landscape. Do not change the vehicle design, add weapons, or alter the framing.