Free Online2D to 3D Image Converter AI
How to Turn a 2D Image Into 3D-Style Art
Upload Your 2D Artwork
Describe the Volume and Finish
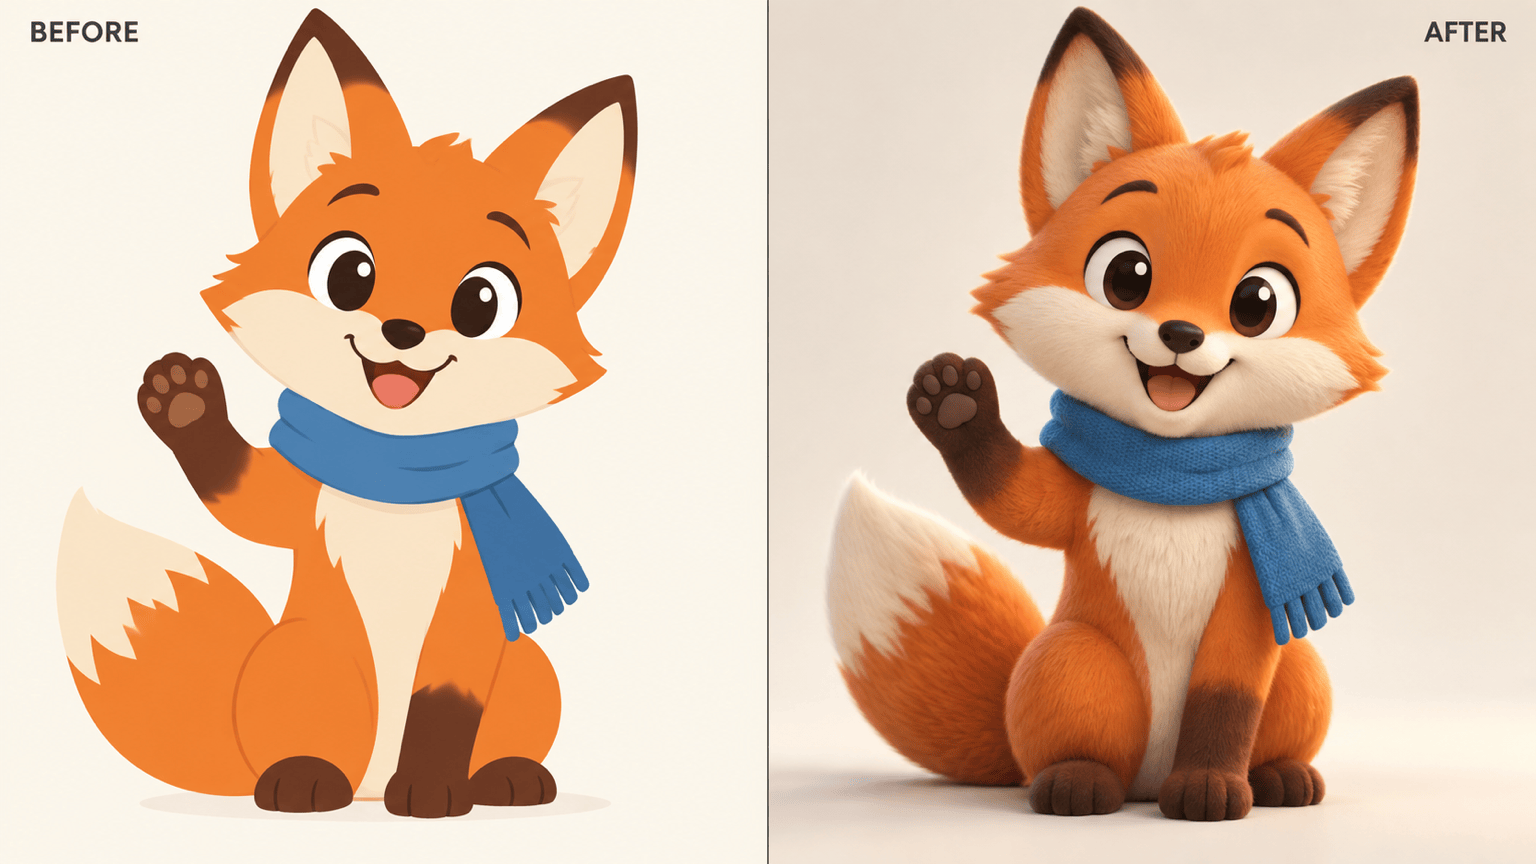
Compare the 3D-Style Result
Refine and Export
Why Use Mew Design for 2D-to-3D-Style Conversion
Start From the Drawing You Have
Upload your flat source so the 3D-style image can follow its silhouette, pose, palette, and recognizable marks instead of starting from a text-only guess.
Direct Depth in Plain Language
Ask for an extruded edge, rounded volume, a three-quarter view, or a grounded shadow. This online 2D image to 3D-style image converter needs no modeling controls.
Choose Materials That Suit the Art
Try clay for a mascot, enamel for an icon, brushed metal for a mark, or satin plastic for a product concept. Set the light and surface together.
Correct Specific Changes in Chat
If the conversion shifts a color, invents a part, or buries a detail, use Chat Edit to request a focused correction while keeping the successful depth cues.
Explore Presentation Versions
Compare clean studio, soft toy, embossed, and cinematic treatments for the same flat artwork before choosing a campaign or presentation direction.
Export a Shareable Still Image
Save the result as PNG or JPG for mockups, pitches, thumbnails, and social graphics. The output is image artwork; a dedicated 3D tool is needed for a rotatable mesh.
Prepare Flat Artwork for a Better 3D-Style Result
- Use a Clear Source: Prefer one complete subject with visible edges, enough resolution, and little background clutter. Avoid cropped parts and tiny overlapping details.
- Name What Must Stay: Specify the silhouette, pose, color blocks, lettering, or product controls that make the source recognizable. Check small text after generation.
- Describe the Depth Cues: Pair material with camera angle, highlight, reflection, and contact shadow. Say whether the result should feel subtly embossed or fully sculpted.
- Check the Deliverable: This workflow creates a flat 3D-style image. For printing, rigging, or rotation, use a separate image-to-3D model tool and inspect its geometry from every side.
2D-to-3D-Style Requests for Different Artwork
Turn @[uploaded character drawing] into a 3D-style character image. Keep the pose, outfit colors, face markings, and overall silhouette. Use soft painted-vinyl material, a front three-quarter view, gentle rim light, and a plain backdrop; do not add limbs or props.
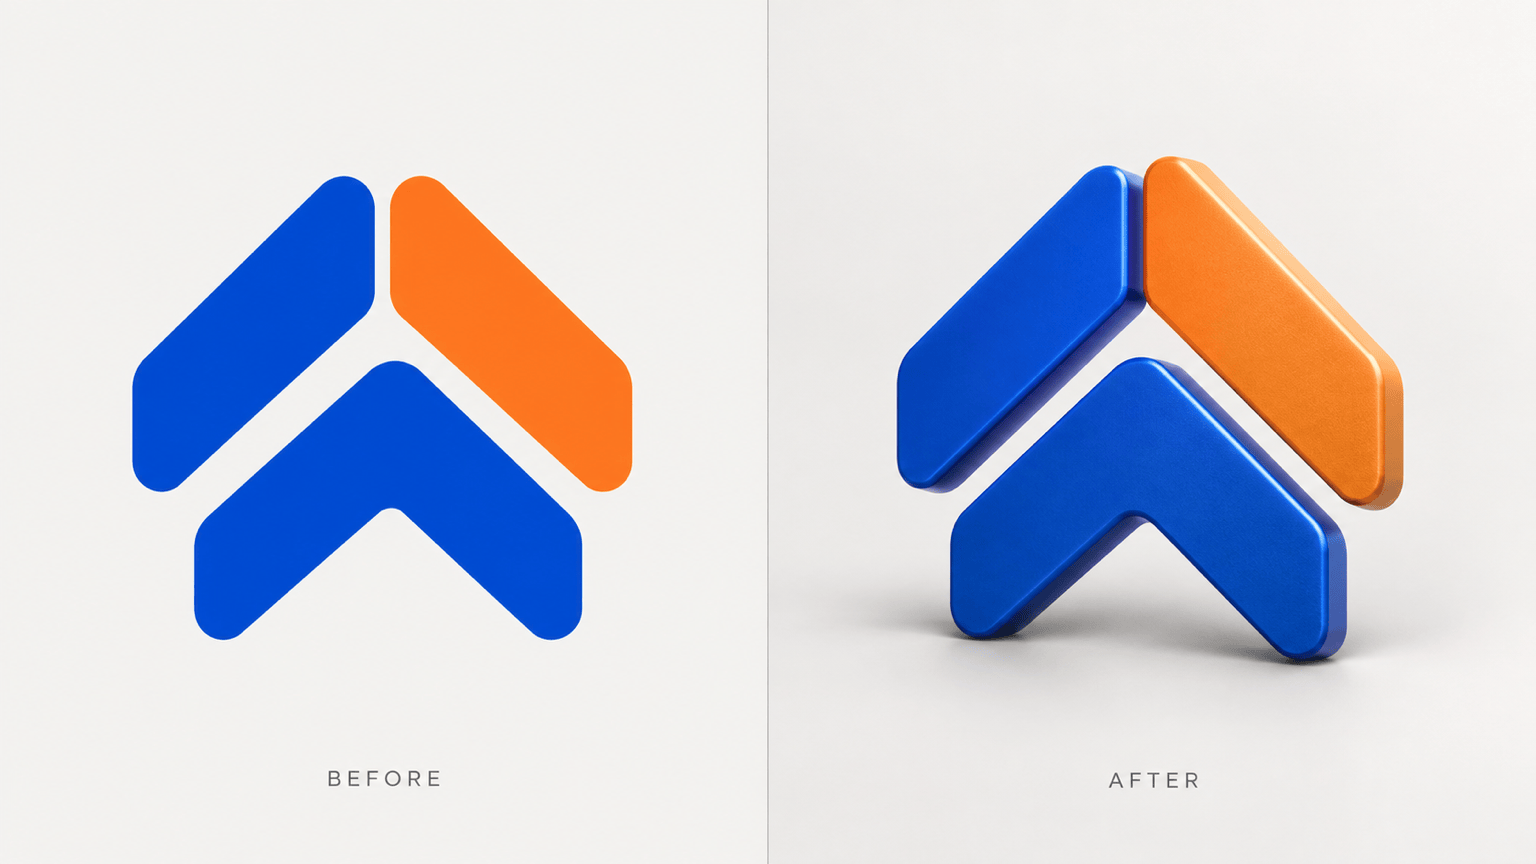
Convert @[uploaded flat logo] into a dimensional brand-mark image. Preserve the exact symbol and color blocks, use restrained extrusion and satin enamel, add a soft side light and clean shadow, and keep all lettering legible and unchanged.
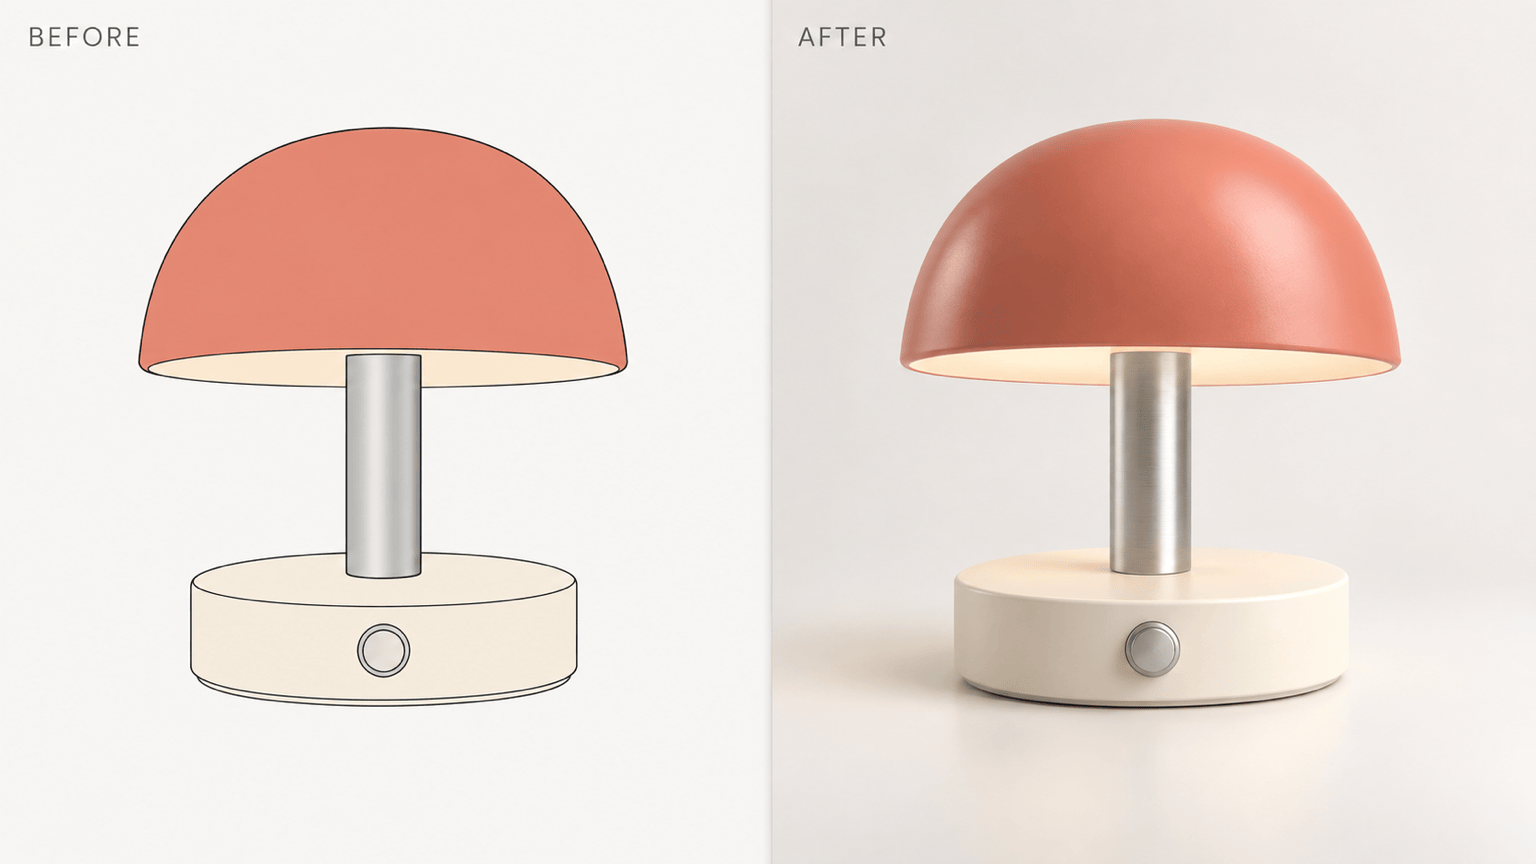
Render @[uploaded product sketch] as a 3D-style product concept still. Keep the handle, button placement, proportions, and two-color scheme. Use matte polymer, a three-quarter camera, off-white studio background, and a grounded contact shadow; invent no extra controls.
Reimagine @[uploaded app icon] as a sculpted 3D-style icon. Preserve the central symbol and color hierarchy, round only the outer edges, use subtle glass and ceramic finishes, and keep the icon readable at small size on a simple background.
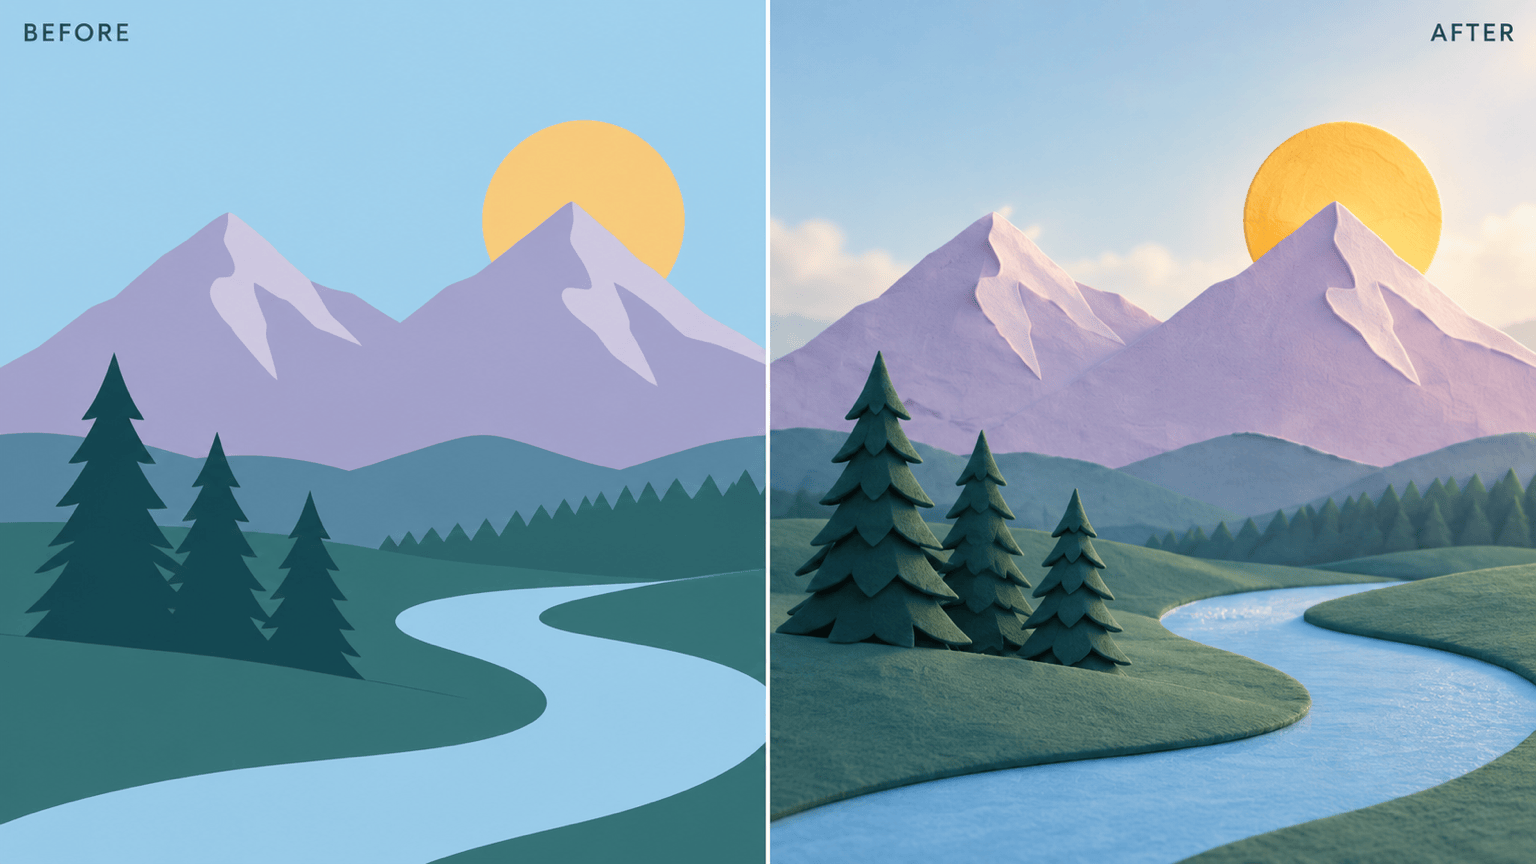
Give @[uploaded flat landscape illustration] layered 3D-style depth. Keep the same mountain silhouettes and palette, separate foreground trees from distant hills, add soft morning light and atmospheric depth, and output a wide still image without new objects.
Revise the 3D-style image using @[uploaded source artwork] as the reference. Restore the original silhouette and main colors, remove the extra object, soften the shadow, and keep the successful material and camera angle unchanged.