Free OnlineAI Photo to 3D-Style Image Generator
How to Turn a Photo Into 3D-Style Art With AI
Upload a Clear Reference
Direct the 3D Look
Generate and Inspect the Render
Refine in Chat and Export
Visual Control for Photo-to-3D-Style Results
Guide the Result With Your Image
Upload a permitted photo, illustration, or sketch and explain what to preserve: subject, silhouette, pose, palette, composition, or material direction.
Shape Materials and Light Together
This image to 3D render AI workflow responds to combinations such as frosted glass with rim light, matte clay with soft shadows, or brushed metal with controlled reflections.
Explore Camera Variations
Compare eye-level, low-angle, overhead, macro, three-quarter, and isometric interpretations while keeping the subject and core visual brief consistent.
Correct One Detail at a Time
Use Chat Edit to preserve what works while changing a specific surface, background, color, crop, pose, light direction, or depth cue.
Create Clean Concept Assets
Ask the free AI 3D-style image maker for a simple background or request background removal when you need a cleaner asset for a concept board, pitch, or product story.
Try Ideas Before 3D Production
Generate visual directions for characters, props, packaging, furniture, or products before committing time to a dedicated AI photo to 3D model or manual modeling workflow.
Prepare a Better Image for 3D-Style Conversion
- Isolate the subject: Use one main object or person with clear edges. Remove clutter, overlapping items, and distracting background details when possible.
- Reduce perspective distortion: A straight-on or gentle three-quarter view usually preserves proportions better than an extreme wide-angle or heavily cropped photo.
- Name material, camera, and light: Pair the surface with its finish, then add viewpoint, shadow softness, reflections, color temperature, and desired depth of field.
- Know the deliverable: Mew creates a flat 3D-style render. If your next step requires geometry, collect additional views and use a dedicated image-to-3D model tool after the concept is approved.
Photo-to-3D-Style Prompts for Real Projects
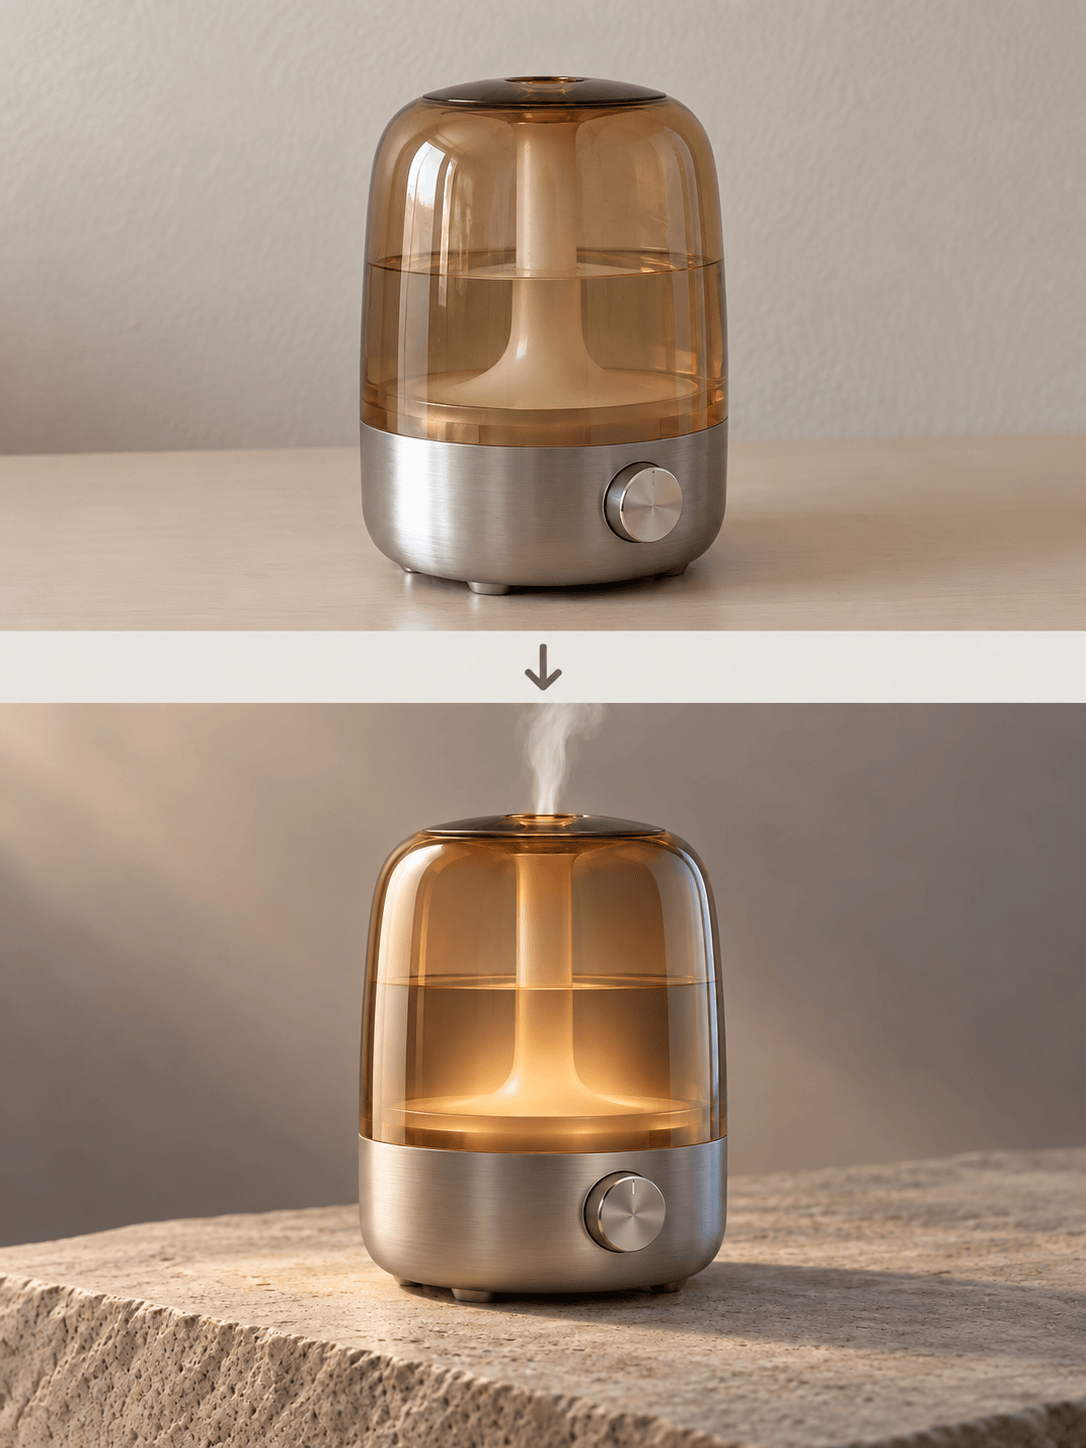
Product visualization: Reinterpret @[uploaded product photo] as a premium CGI product render. Preserve the silhouette, proportions, colors, and key controls. Use satin polymer and brushed metal, a three-quarter camera, softbox reflections, a clean warm-gray studio, and a grounded contact shadow. No logos, labels, or extra parts.
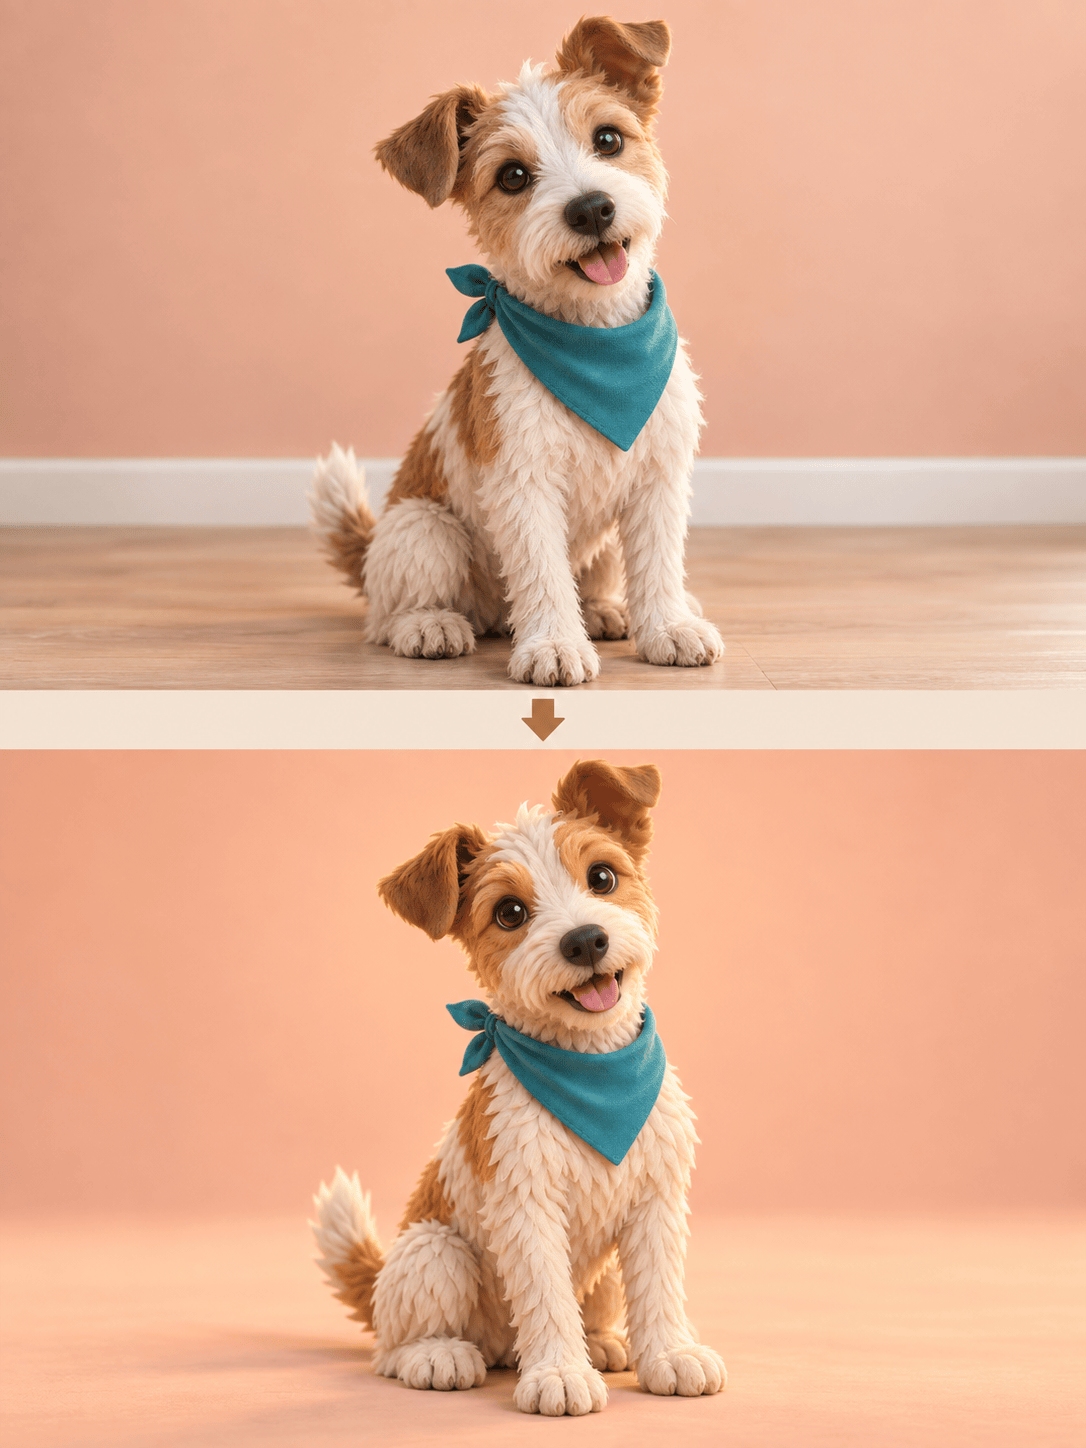
Pet character: Transform @[uploaded pet photo] into an original soft-clay 3D-style character portrait. Preserve the animal's coat pattern, ear shape, expression, and seated pose. Use rounded forms, subtle fur texture, soft daylight, a pastel background, and a 3:4 crop.
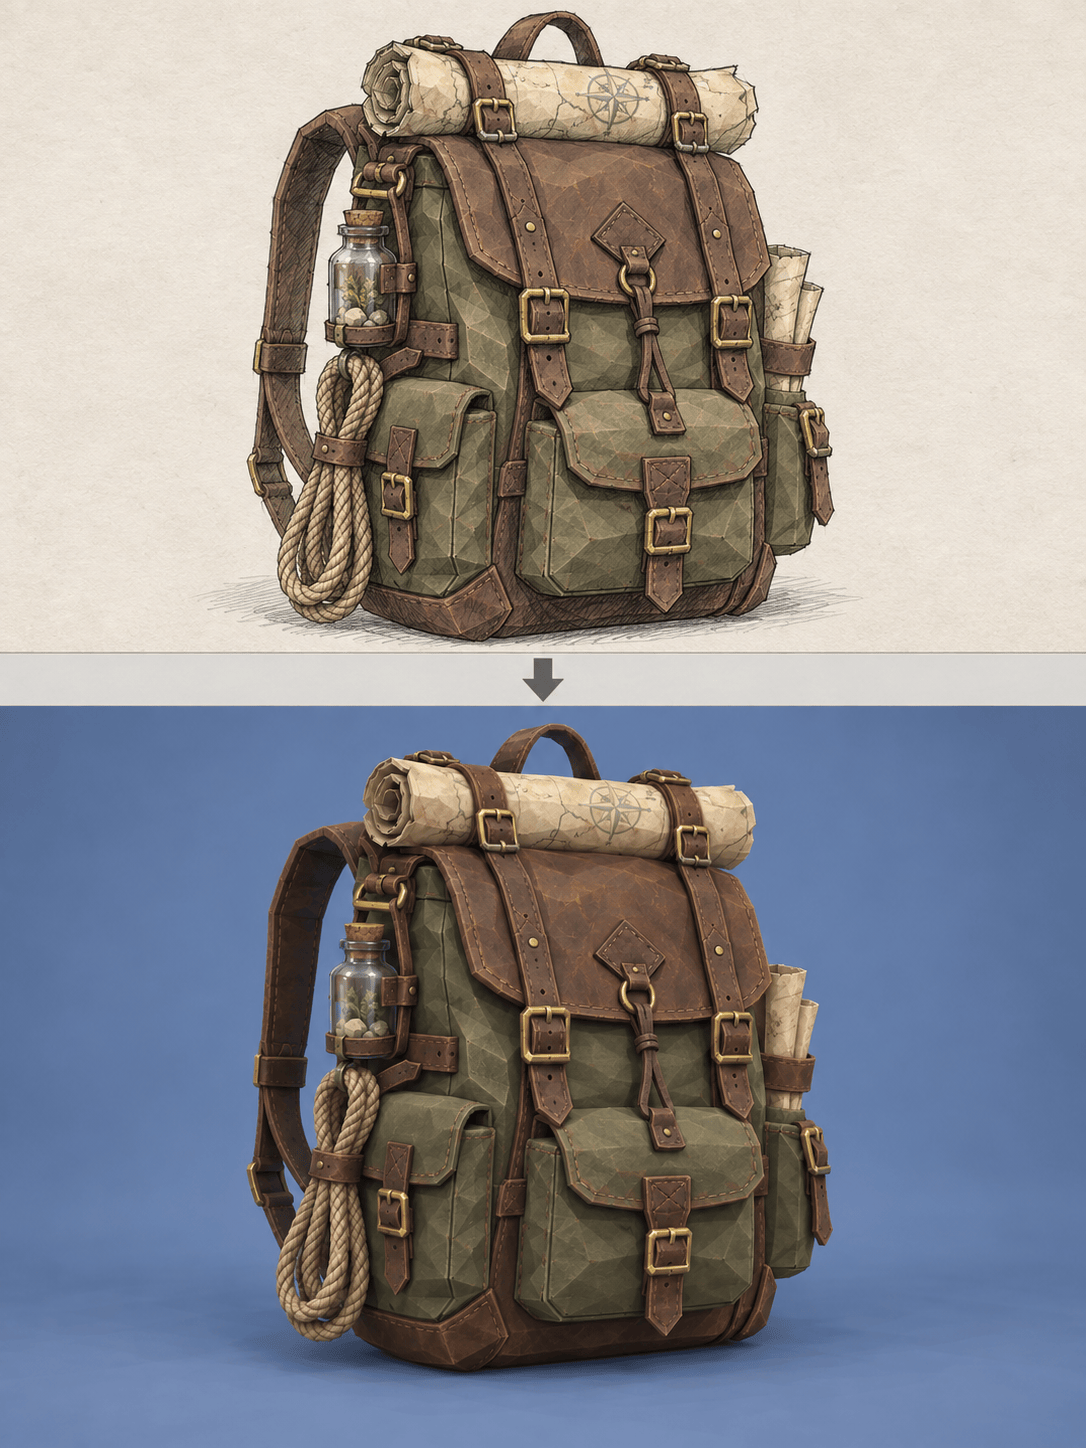
Game prop concept: Develop @[uploaded sketch] into a low-poly 3D-style game prop render. Preserve the overall silhouette and functional parts. Use hand-painted textures, clean faceted geometry, an orthographic three-quarter camera, neutral studio light, and a plain background.
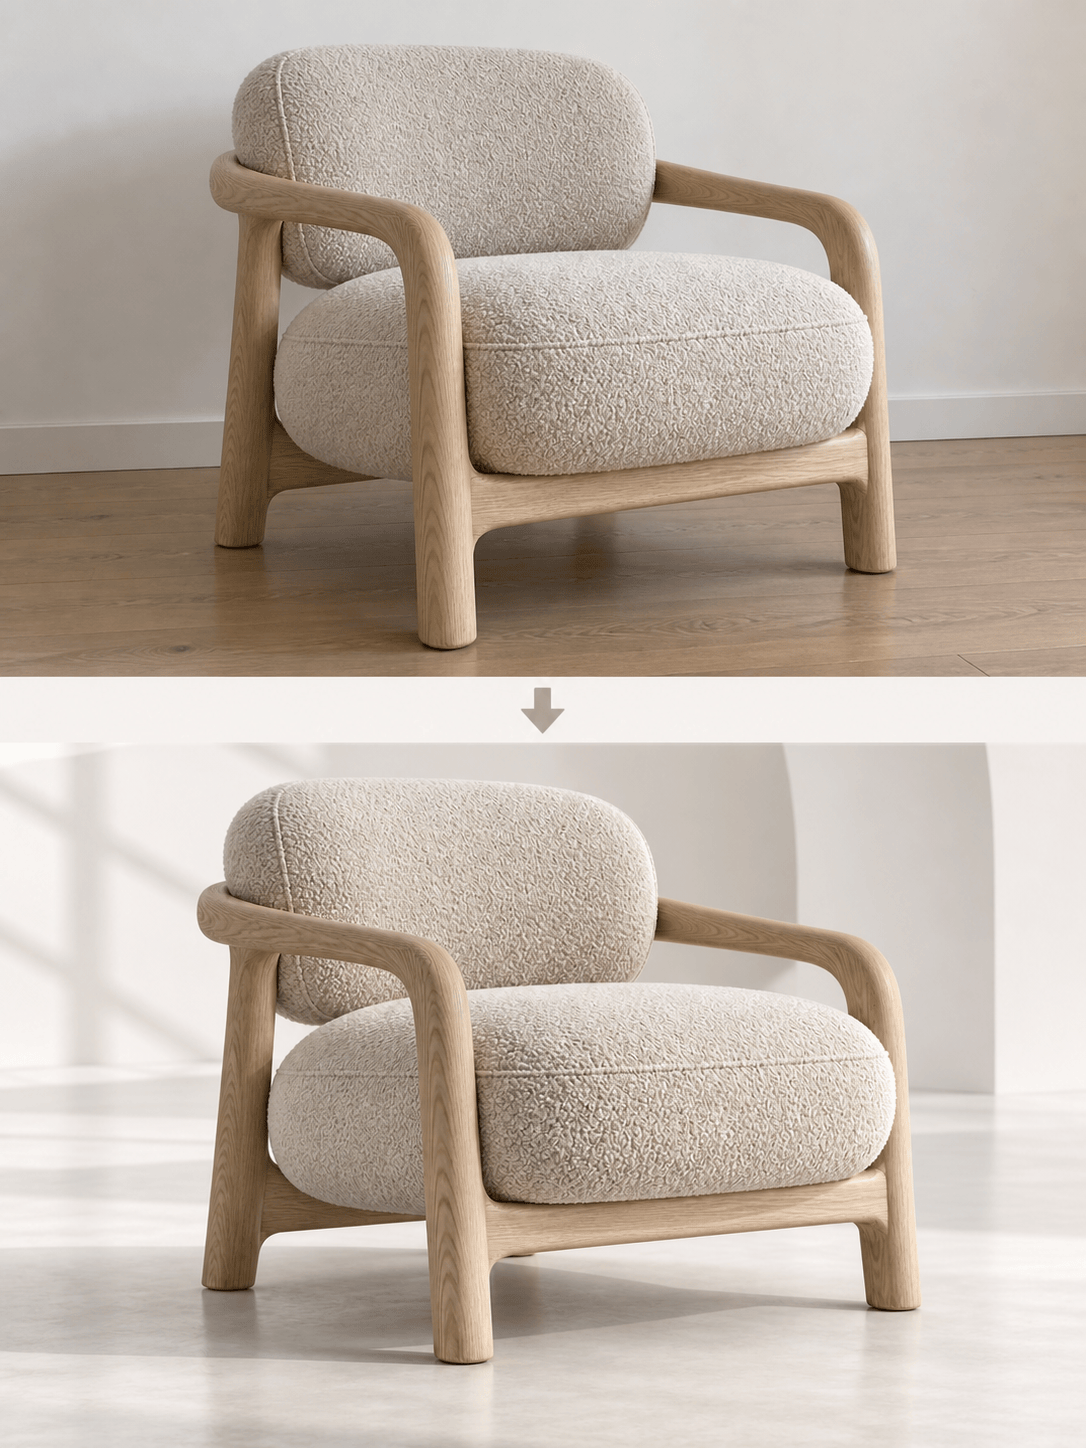
Furniture concept: Turn @[uploaded chair photo] into a polished 3D-style ecommerce visualization. Keep the frame proportions, upholstery color, seams, and leg shape. Use realistic fabric and wood grain, soft shadows, an eye-level three-quarter view, and an off-white studio.
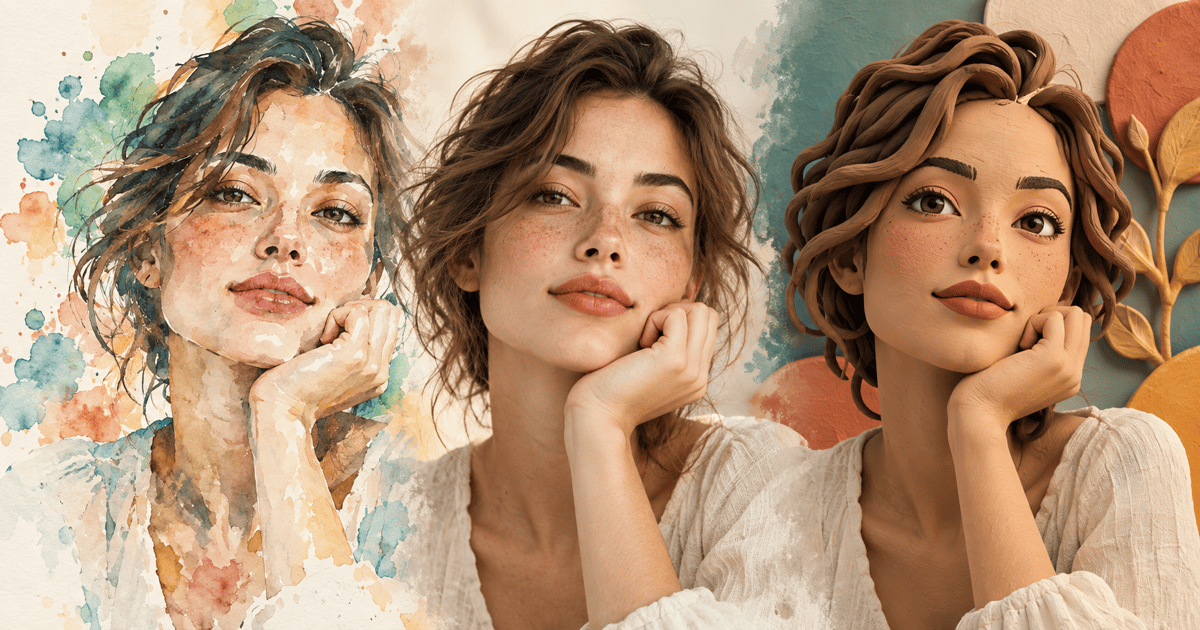
Character figurine: Reinterpret @[uploaded portrait] as an original collectible figurine image. Preserve permitted facial features, hairstyle, expression, and clothing colors. Use painted vinyl materials, a simple display base, soft rim light, and a clean studio background.
Mascot exploration: Turn @[uploaded mascot drawing] into a friendly 3D-style mascot render. Preserve the recognizable silhouette, palette, and expression while simplifying tiny details. Use smooth clay materials, a front three-quarter view, bright soft lighting, and no text or trademarked elements.