Free OnlineChange Camera Angle AI


How to Change a Photo's Camera Angle with AI
Upload a Clear Source Photo
Direct the New Viewpoint
Lock the Details That Matter
Inspect, Refine, and Export
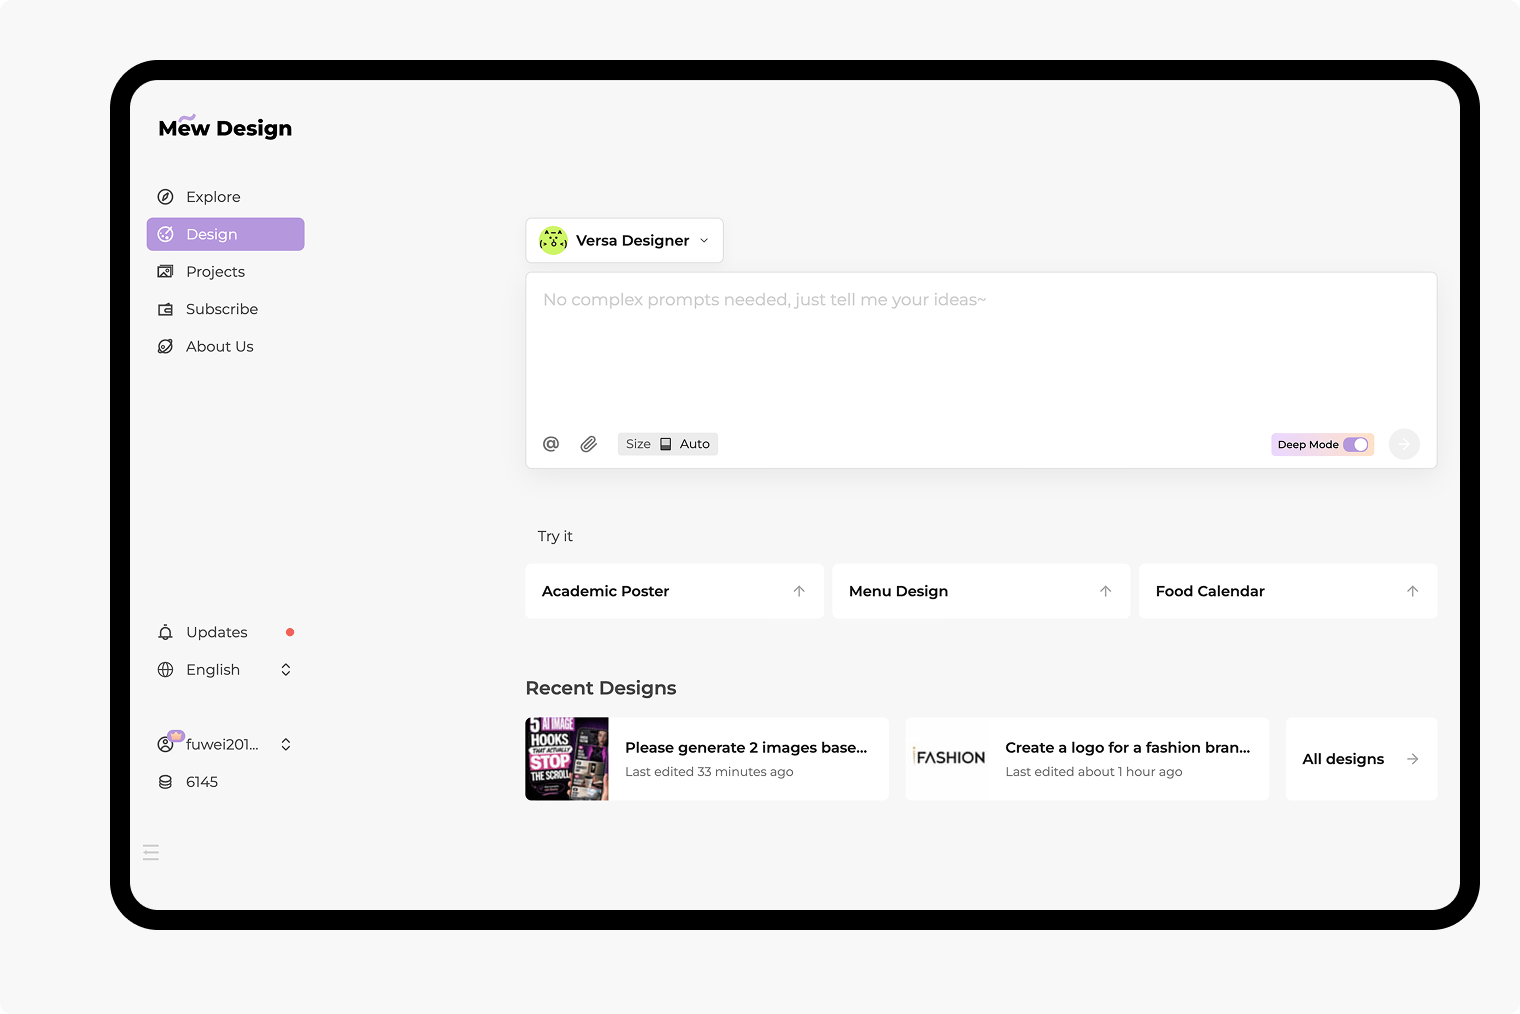
A Camera-Aware AI Photo Angle Changer You Can Direct
Turn One Photo Into a Virtual Reshoot
Upload the shot you already have and describe where the camera should move. Mew Design turns plain-language direction into a new viewpoint without asking you to rebuild the scene or arrange another shoot.
Keep the Subject, Change the Camera
Tell the AI perspective changer to preserve identity, posture, clothing, product geometry, materials, and color while moving the viewpoint. Clear invariants help separate a camera change from a subject redesign.
Rebuild Newly Visible Surfaces
A true viewpoint change reveals areas that rotating or cropping cannot. The AI reconstructs plausible side, back, edge, and background detail, then lets you inspect and refine anything the original photo did not show.
Control Angle, Framing, and Lens Feel
Request a 45-degree view, move from eye level to a low hero angle, or pair a top-down view with a tighter crop. Camera position and shot size can be directed together for the intended product page, portrait, or storyboard frame.
Compare More Than One View
Generate different angles from one photo in the same conversation. Explore front, profile, three-quarter, high, low, and overhead directions while repeating the same visual constraints across the set.
Refine the Full Scene in Chat
If the first view drifts, use Chat Edit to correct one detail, reduce the angle change, restore the background, or match the original lighting. Continue until the new perspective works for ecommerce, marketing, social content, or planning.
How to Prompt an AI Camera Angle Change
- Name the Camera Move: Say where the camera goes relative to the subject, such as 45 degrees to the left, directly overhead, slightly below eye level, or behind the right shoulder.
- Set the Framing: Specify close-up, medium, full-body, wide, or the same camera distance. Add the final aspect ratio when the photo is for a listing, ad, story, or storyboard.
- Lock Important Details: List the face, pose, clothing, proportions, materials, logos, background objects, light direction, and color treatment that should remain consistent.
- Support Hidden Areas: A single image cannot show every surface. If an exact back, label, or side detail matters, upload another reference; otherwise ask for a plausible reconstruction and review it before publishing.
Photo Angle Change Prompts for Real Projects
Ecommerce Product Three-Quarter View: Re-photograph @[shoe] from a front-right 45-degree angle for a square product listing. Keep the exact silhouette, teal panels, white sole, lace pattern, materials, scale, white seamless background, and soft contact shadow. Move only the camera; do not rotate or redesign the shoe. Check all logos and small markings.
Professional Portrait Profile: Turn @[headshot] into a left three-quarter portrait with the camera at eye level and the same medium close-up crop. Preserve the adult subject's face, age, expression, hair, navy blazer, skin texture, gray studio background, and soft key light. Reconstruct the newly visible cheek and ear naturally without beautifying the face.
Interior Perspective Change: Reframe @[living_room] from a position one meter higher and slightly toward the left corner, using a wide eye-level architectural view. Keep the same sofa, chairs, windows, wall finishes, floor pattern, daylight direction, and room proportions. Keep vertical lines straight and do not add furniture or doors.
Top-Down Food Photo: Change @[brunch_table] from a 45-degree dining view to a true overhead flat lay. Keep the exact number and arrangement of plates, cups, utensils, napkins, and dishes. Preserve the marble table, natural window light, food texture, and color; rebuild only the surfaces revealed by the top-down camera.
Character Reference Angles: Use @[character] to create three separate reference frames: front, right profile, and back view at eye level. Keep the same adult character identity, body proportions, neutral pose, jacket, boots, color palette, and plain studio background. Treat hidden costume details as plausible concepts and keep them consistent across all three frames.
Cinematic Storyboard Frame: Reframe @[street_scene] as a low-angle wide establishing shot from near ground level, looking slightly upward toward the same adult cyclist. Preserve the cyclist, bicycle, buildings, overcast light, wet pavement, and muted cinematic grade. Expand only the newly visible foreground and sky; keep the scene geography coherent.