Free OnlineAI Tattoo Try On
How to Use the AI Tattoo Simulator
Upload a Clear Body-Area Photo
Describe or Upload the Tattoo Design
Set Placement, Scale, and Direction
Compare and Download the Preview
Make the Tattoo Decision in Real Body Context
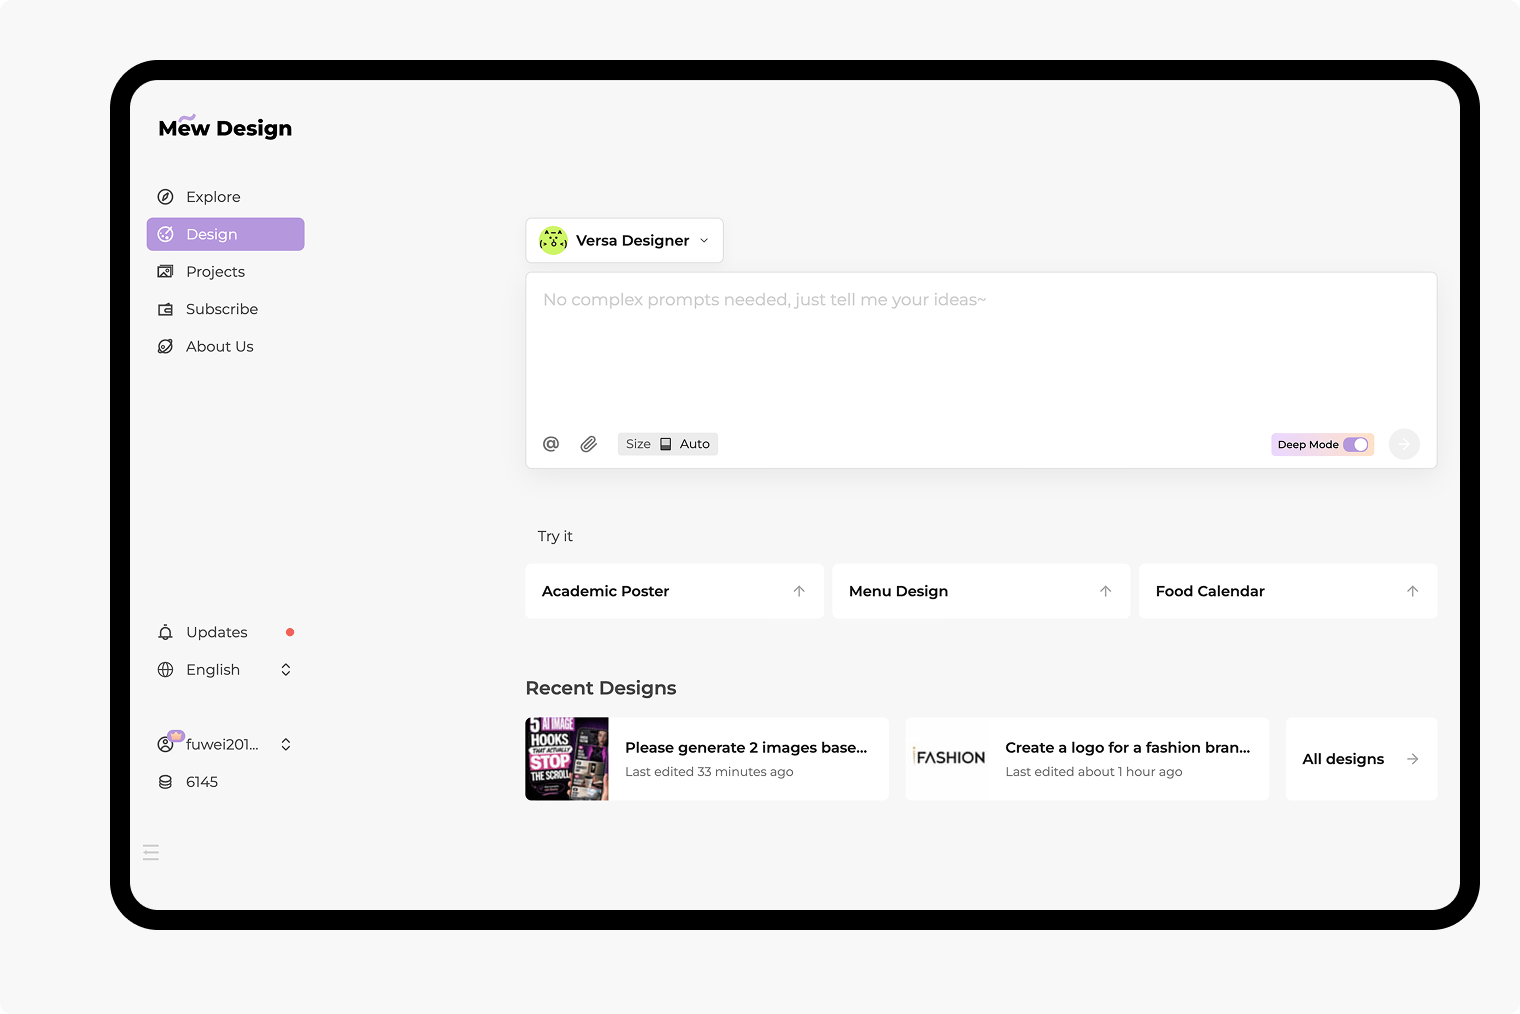
Preview It on Your Own Photo
Use a real photo of the exact body area instead of guessing from a flat flash sheet or generic model. Ask Mew Design to keep your body shape, pose, skin tone, existing tattoos, clothing, and background unchanged while adding only the new tattoo concept.
Start from Words or Reference Art
Describe a new idea in plain language or upload artwork you are allowed to use. The AI tattoo try on can turn a motif, style, and placement brief into an on-skin concept without requiring manual compositing skills.
Explore Placement and Proportion
Test a small wrist symbol, medium forearm piece, shoulder composition, calf design, or larger sleeve direction. Clear instructions about location, dimensions, orientation, and visual weight make the virtual tattoo placement easier to judge.
Match Curves, Texture, and Light
Ask for a healed-ink appearance that follows the visible body contour, skin texture, perspective, and existing light. This helps the AI tattoo simulator create a more useful mockup than a flat sticker-style overlay.
Compare Variations Before Commitment
Generate alternate sizes, angles, line weights, color treatments, or nearby placements on the same photo. Side-by-side comparison helps you spot a design that feels cramped, oversized, or disconnected from the body's natural flow.
Try It Free and Share a Clear Brief
New users receive free AI credits after signup. Refine a tattoo preview online, download a watermark-free PNG or JPG, and use it to communicate the intended composition with your tattoo artist.
How to Prompt a Realistic Virtual Tattoo Try On
- Name the Placement Precisely: Say inner or outer forearm, upper arm, shoulder blade, wrist, calf, ankle, thigh, back, or another visible area. Add whether the design should be centered, wrapped, vertical, horizontal, or angled.
- Define Scale and Visual Weight: Give an approximate height or coverage and describe the density—small and delicate, medium with breathing room, bold blackwork, or a larger composition that follows the muscle.
- Describe the Tattoo Language: Include the motif, line weight, shading, color palette, and style, such as fine-line botanical, dotwork geometric, traditional color, Japanese-inspired, ornamental, or black-and-grey realism.
- Protect the Photo and Review Details: Ask the AI to preserve anatomy, pose, skin tone, existing tattoos, clothing, and background. Inspect letters, dates, symbols, fingers, edges, and tiny lines carefully because generative previews can alter exact details.
AI Tattoo Try On Prompts for Placement Planning
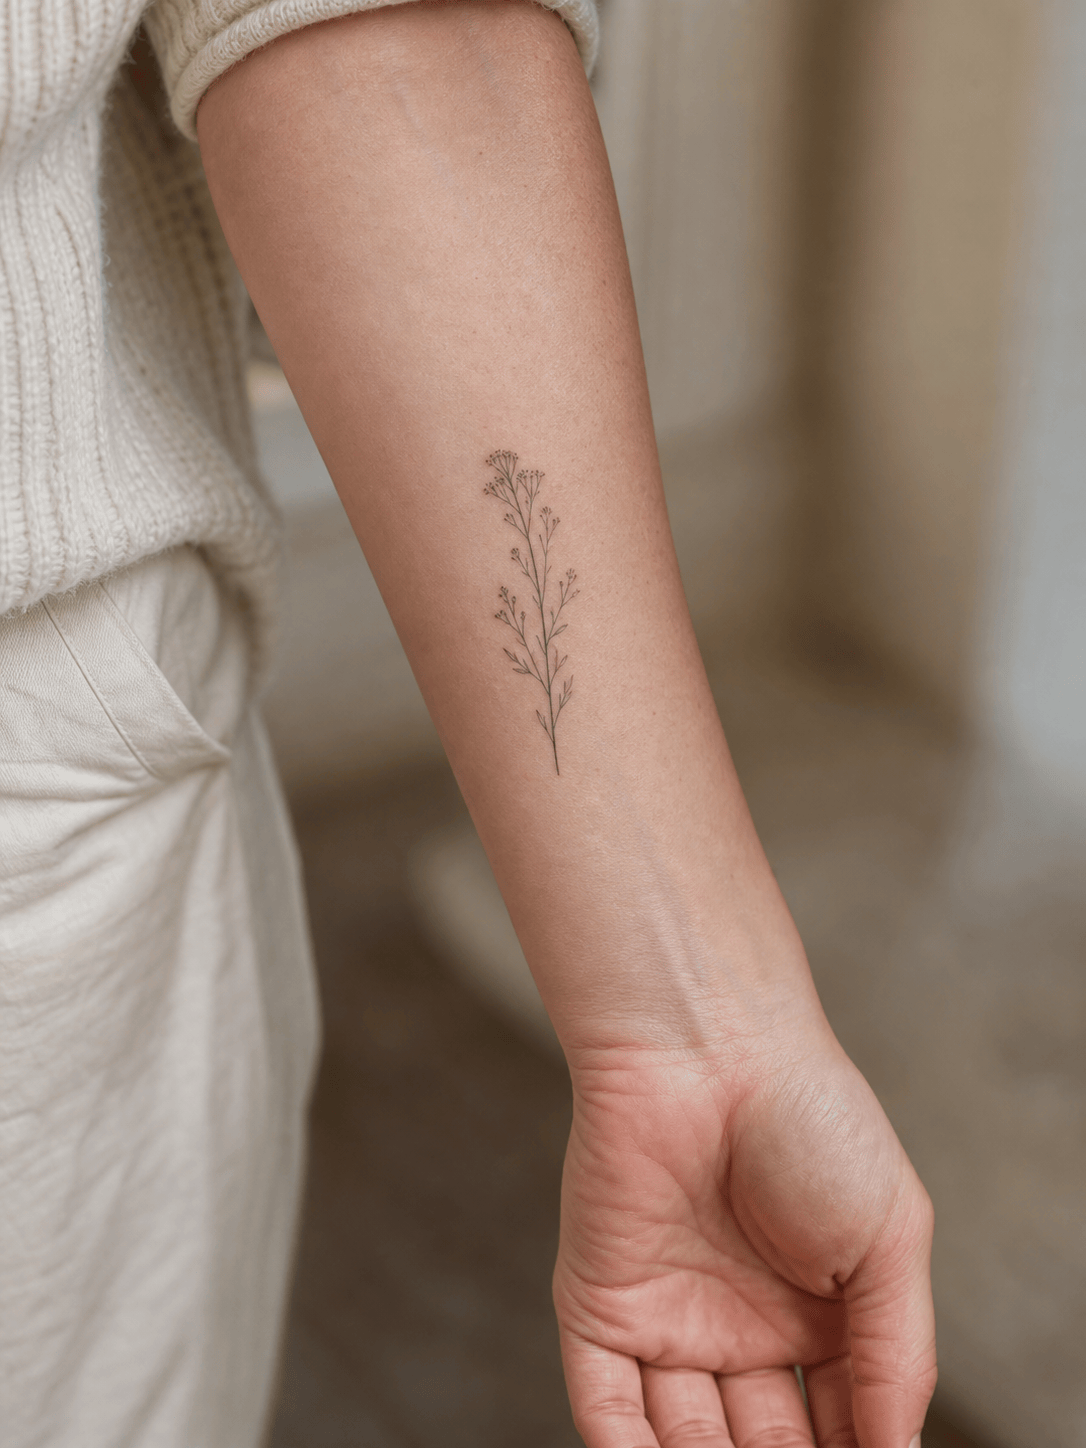
Fine-Line Forearm Tattoo: Add a delicate black-ink wildflower tattoo to the inner forearm in my photo. Make it about 9 cm tall, slim and vertical, with clean fine lines and sparse dot shading. Align it with the arm, match the skin texture and light, and keep the body, hand, clothes, existing marks, and background unchanged.
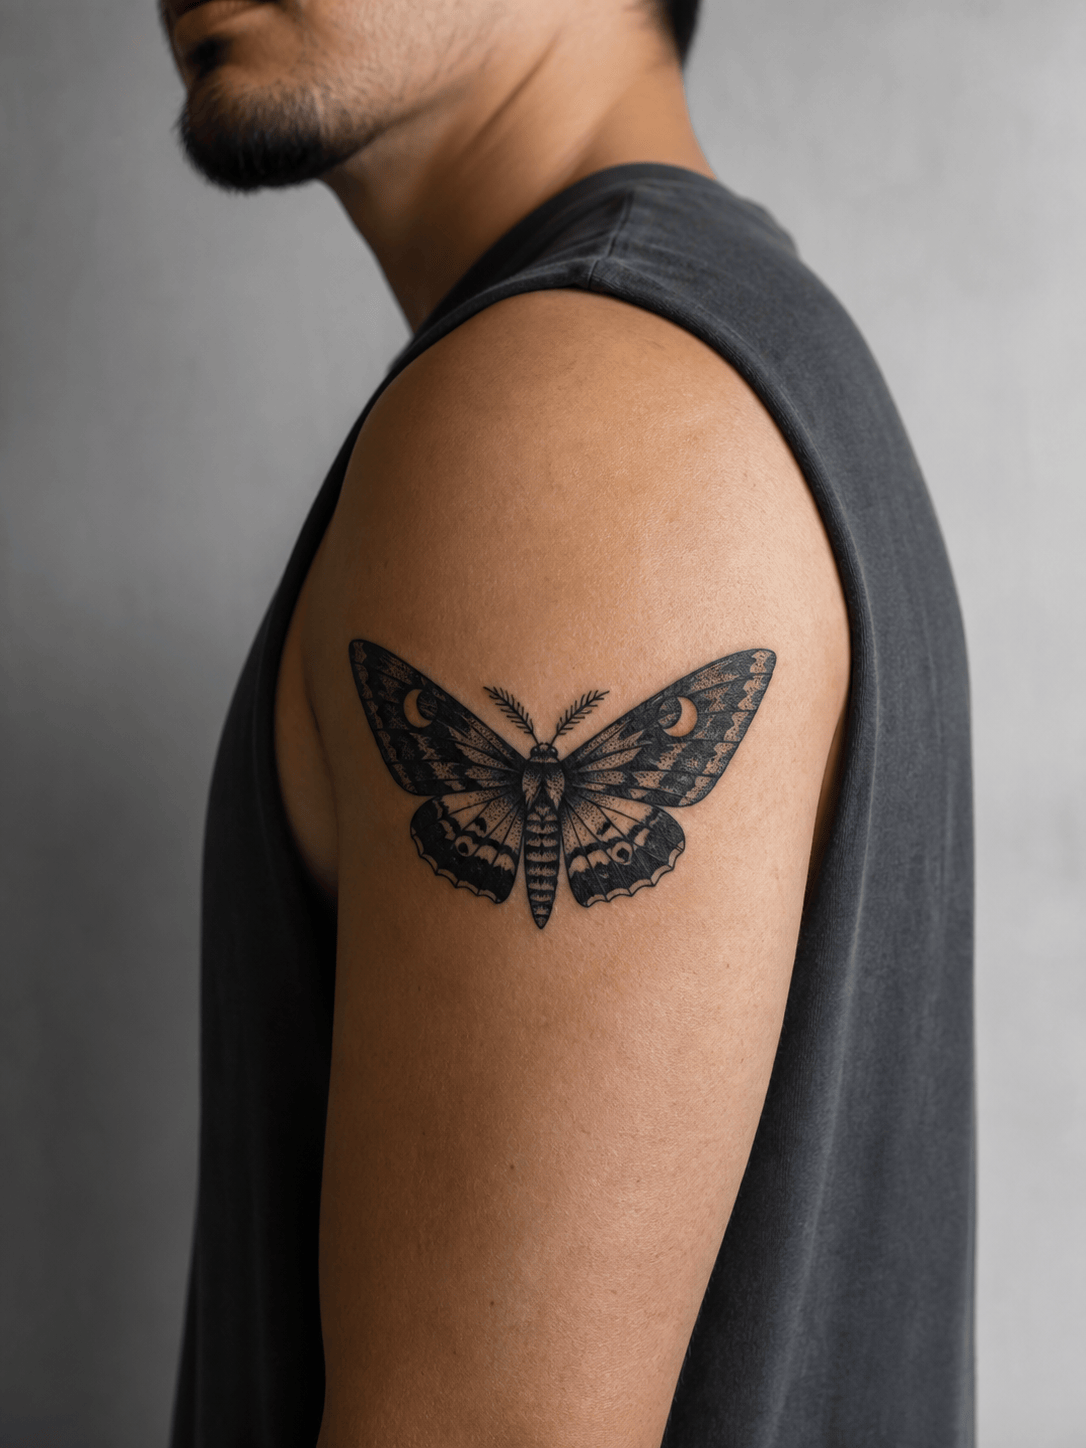
Blackwork Upper-Arm Tattoo: Place a medium blackwork moth on the outer upper arm, centered below the shoulder and angled slightly with the muscle. Use bold symmetrical shapes, crisp negative space, and a healed matte-black finish. Preserve the person's anatomy, pose, skin tone, clothing, and scene; add no other tattoos.
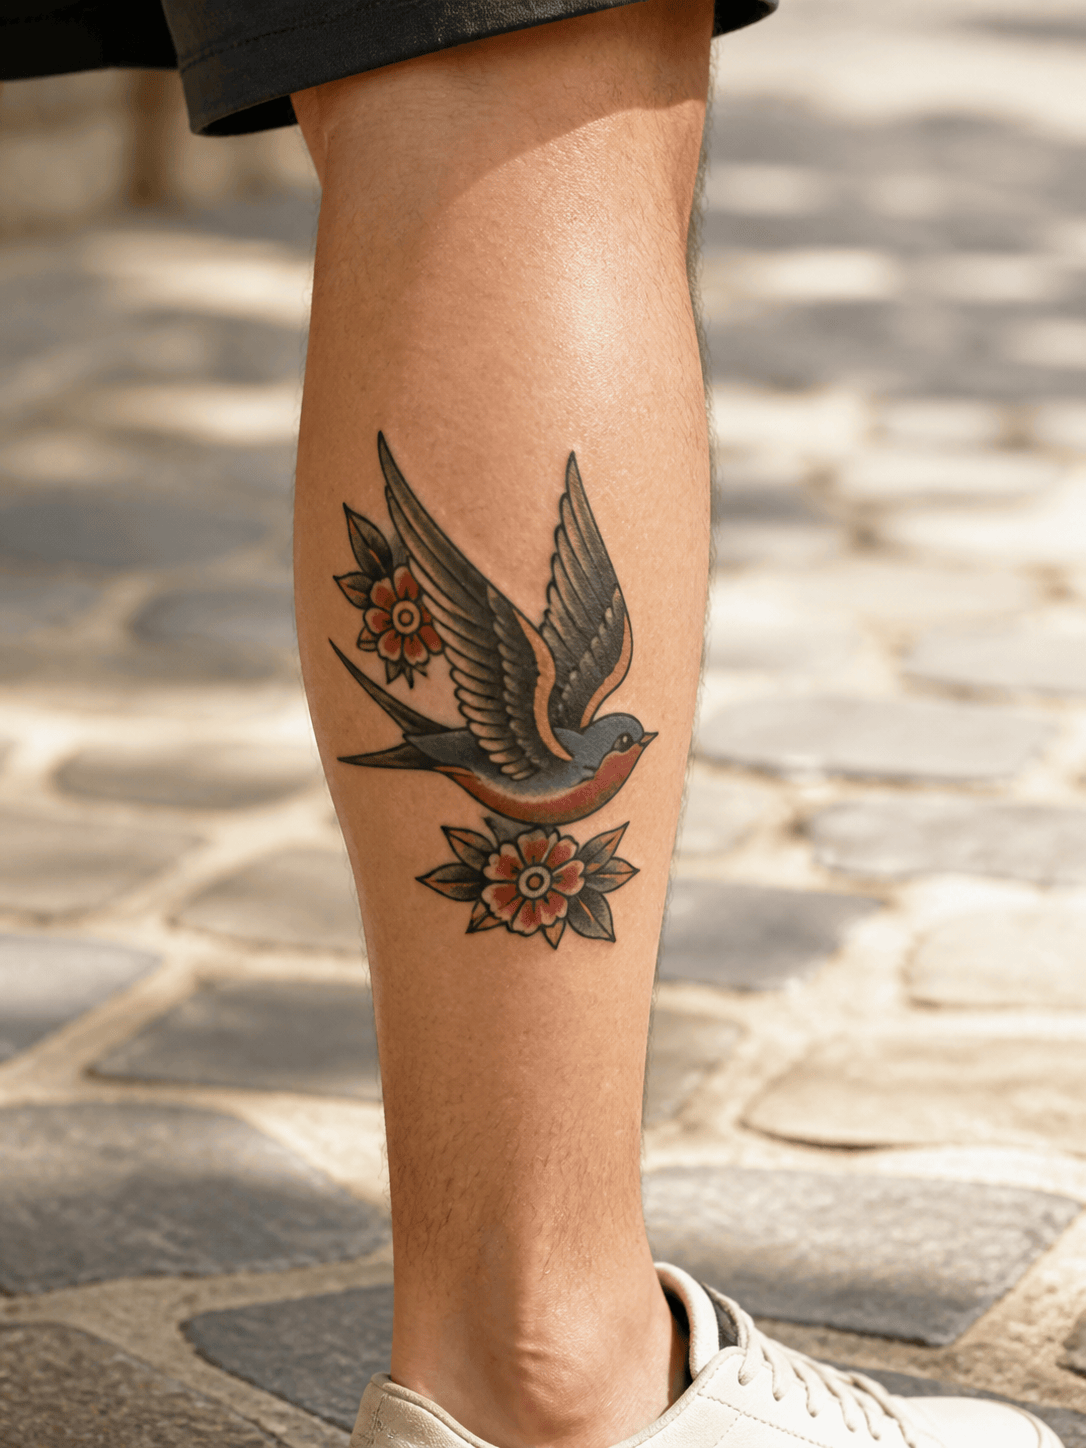
Traditional Color Calf Tattoo: Preview a classic swallow with red flowers on the outer calf. Use bold black outlines, compact traditional shading, muted red, gold, and blue ink, and enough open skin around the piece. Make it follow the calf curve and existing perspective without changing the leg or background.
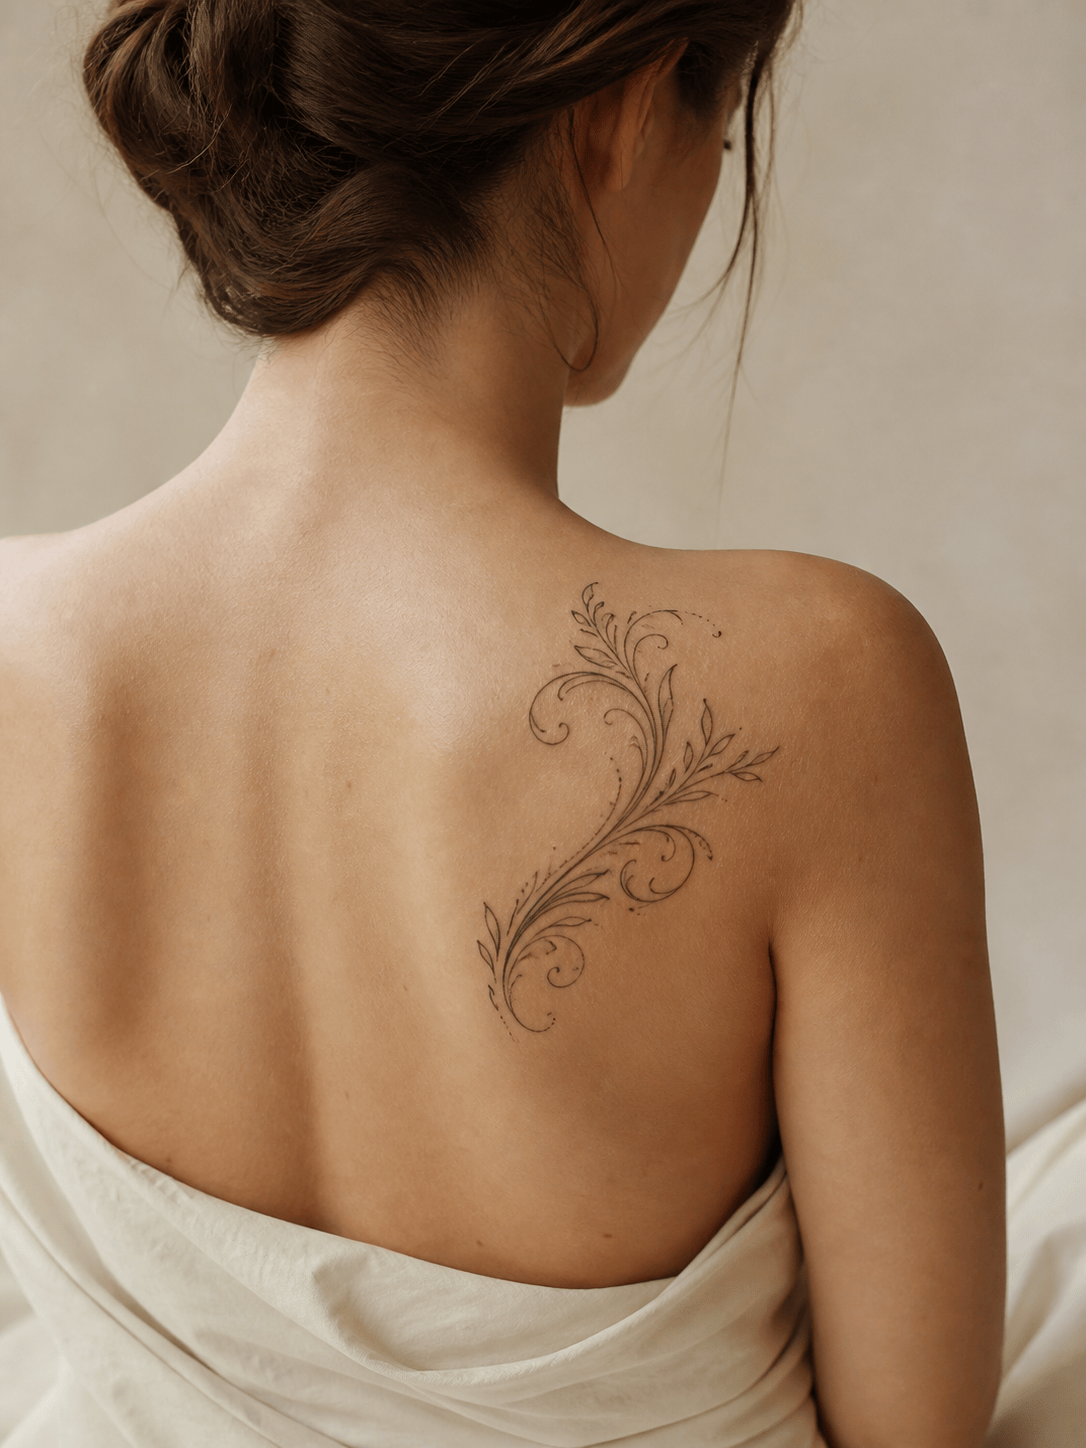
Ornamental Upper-Back Placement: Add a balanced black ornamental motif along the right shoulder blade in my back photo. Make it medium-sized with elegant curved linework that follows the shoulder and leaves space from the spine. Render it as settled ink with natural skin texture; preserve posture, hair, clothing edges, lighting, and background.
Geometric Wrist Comparison: Create three separate versions of this same wrist photo with a small geometric sun tattoo: centered above the wrist crease, moved 2 cm toward the forearm, and rotated 20 degrees to follow the arm. Keep the design, camera view, anatomy, skin tone, jewelry, and lighting consistent so I can compare placement only.
Sleeve Concept on My Arm: Use my arm photo and permitted reference art to preview a black-and-grey botanical sleeve direction from shoulder to mid-forearm. Adapt the composition to the arm's contours with clear breathing room around the elbow. Preserve my identity, body shape, pose, existing tattoos, clothes, and background; treat this as a concept mockup, not a final stencil.