Free OnlineAI T-Shirt Mockup Generator
How to Create a T-Shirt Mockup with AI
Upload the Artwork and References
Set the Shirt and Scene
Generate the Product Preview
Inspect, Refine, and Export
Why Use Mew Design for T-Shirt Mockups
Start From Your Actual Artwork
Upload a logo, illustration, or print graphic and tell Mew Design what must stay intact. The AI T-shirt mockup generator uses that source while building the garment scene around it.
Show the Print on Real Fabric
Create on-model or product-only mockups with cotton texture, natural folds, directional light, and believable shadows instead of leaving the artwork floating on a flat template.
Correct Placement Through Chat
Ask to make a chest print smaller, move a back graphic higher, switch to a boxy fit, or keep the shirt while replacing the scene. Chat Edit makes each correction specific.
Build a Coordinated Listing Set
Generate a coherent series of on-model, flat-lay, detail, front, and back images. This online AI shirt mockup maker helps one design cover product pages, marketplace carousels, and social ads.
Carry Your Brand Into Every Drop
Use brand assets and style references for a recognizable visual direction. When you find a reliable merch workflow, turn it into a reusable Mew Skill to reduce repeated setup for the next release.
Test Ideas Before Sampling
Start with free AI credits after signup, compare garment colors and scenes, and export watermark-free previews. Use the mockups to narrow decisions before paying for samples or photography.
Prepare Artwork for a More Accurate Mockup
- Clean the Source Artwork: Use a sharp image. If the design should not include a rectangular background, upload a transparent asset or ask Mew Design to remove the background first.
- Specify Print Placement: Name the side, location, approximate size, and crop: centered chest, small left chest, sleeve, full back, or oversized front print.
- Describe the Garment: Include the fit, neckline, sleeve length, fabric weight, and shirt color. These details help the artwork look proportional to the product.
- Protect Important Details: Quote any essential wording and ask to keep the logo, letterforms, colors, and layout unchanged. Inspect the generated image closely before using it in a listing.
T-Shirt Mockup Scenarios to Generate
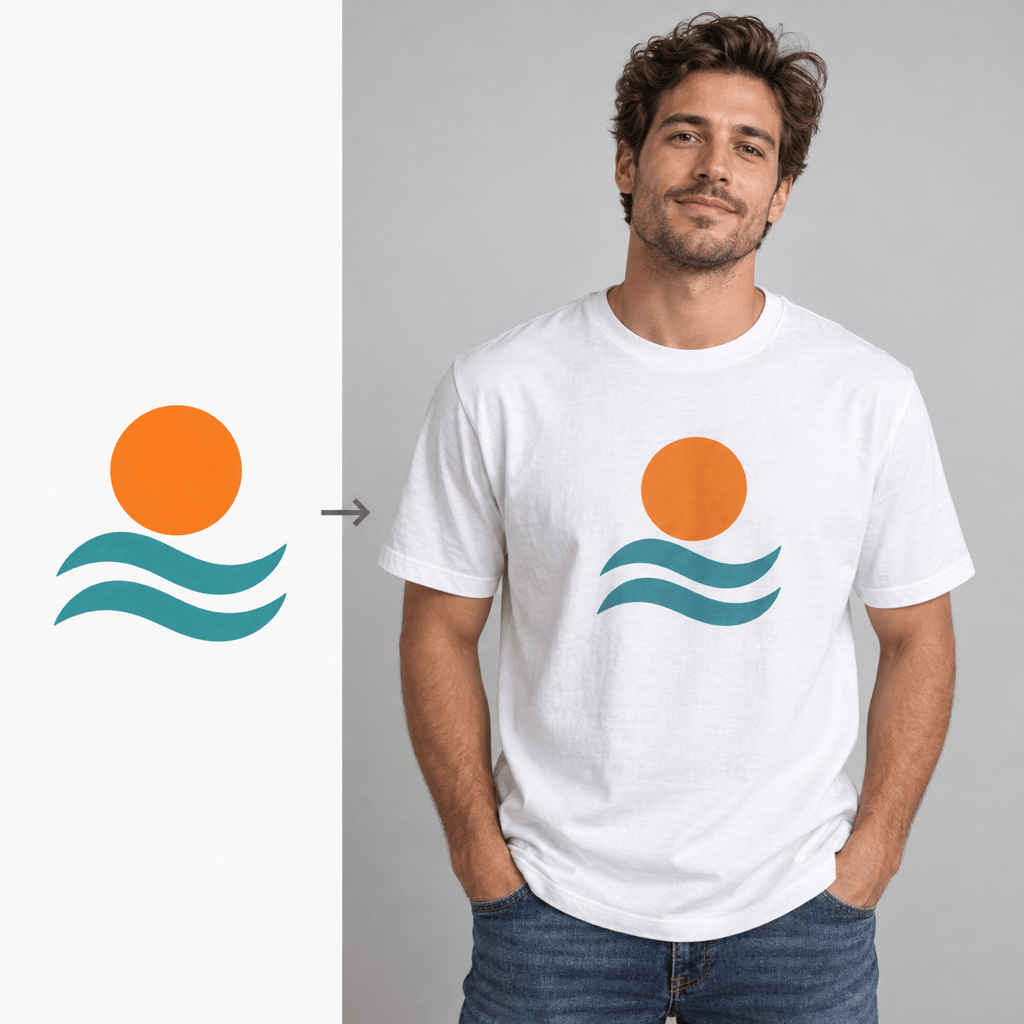
Studio Model: Use my uploaded artwork as the exact centered chest print on a white heavyweight crewneck T-shirt. Create a waist-up studio photo with a relaxed model, soft neutral lighting, visible cotton texture, and a plain light-gray background. Keep the artwork colors and proportions unchanged.
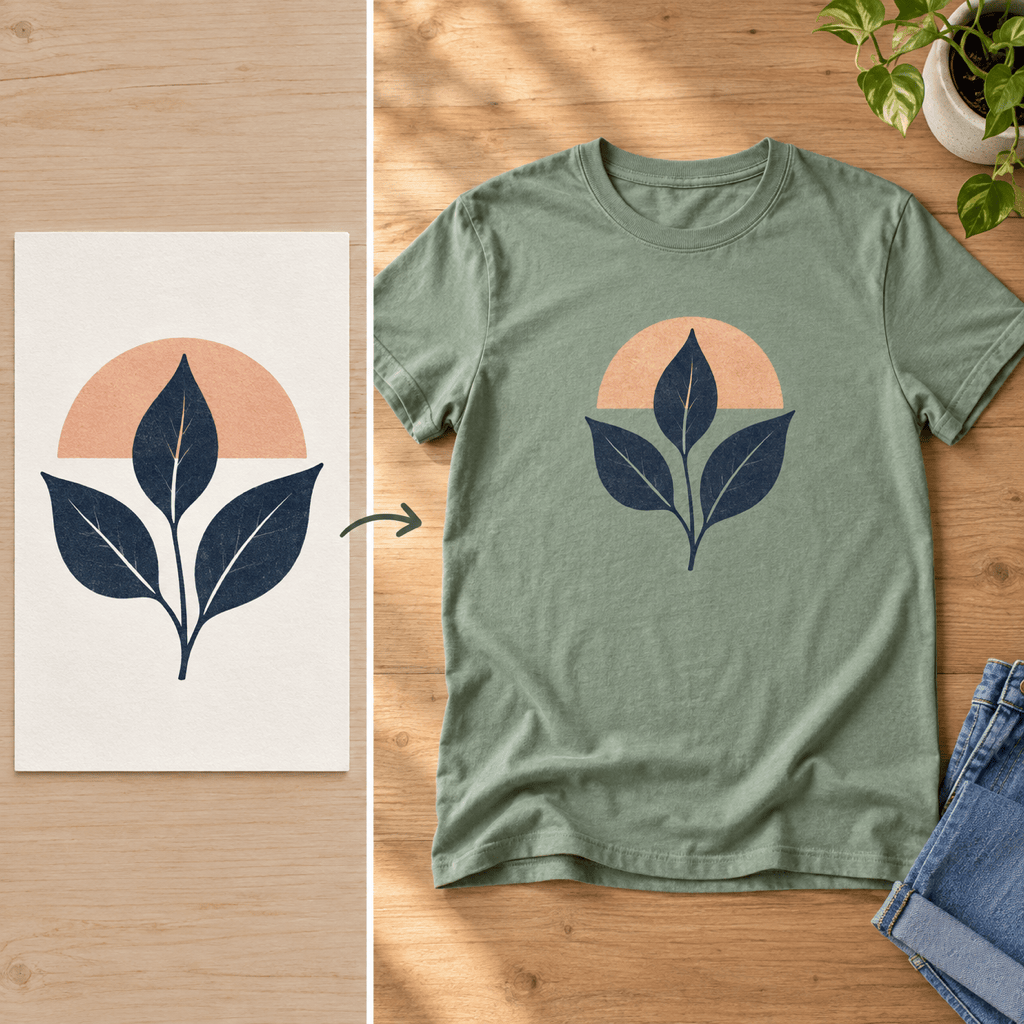
Etsy Flat Lay: Place my uploaded design on a sand-colored T-shirt arranged in a warm overhead flat lay with folded denim and a small plant. Keep the scene uncluttered, make the print easy to read at thumbnail size, and let it follow the fabric wrinkles naturally.
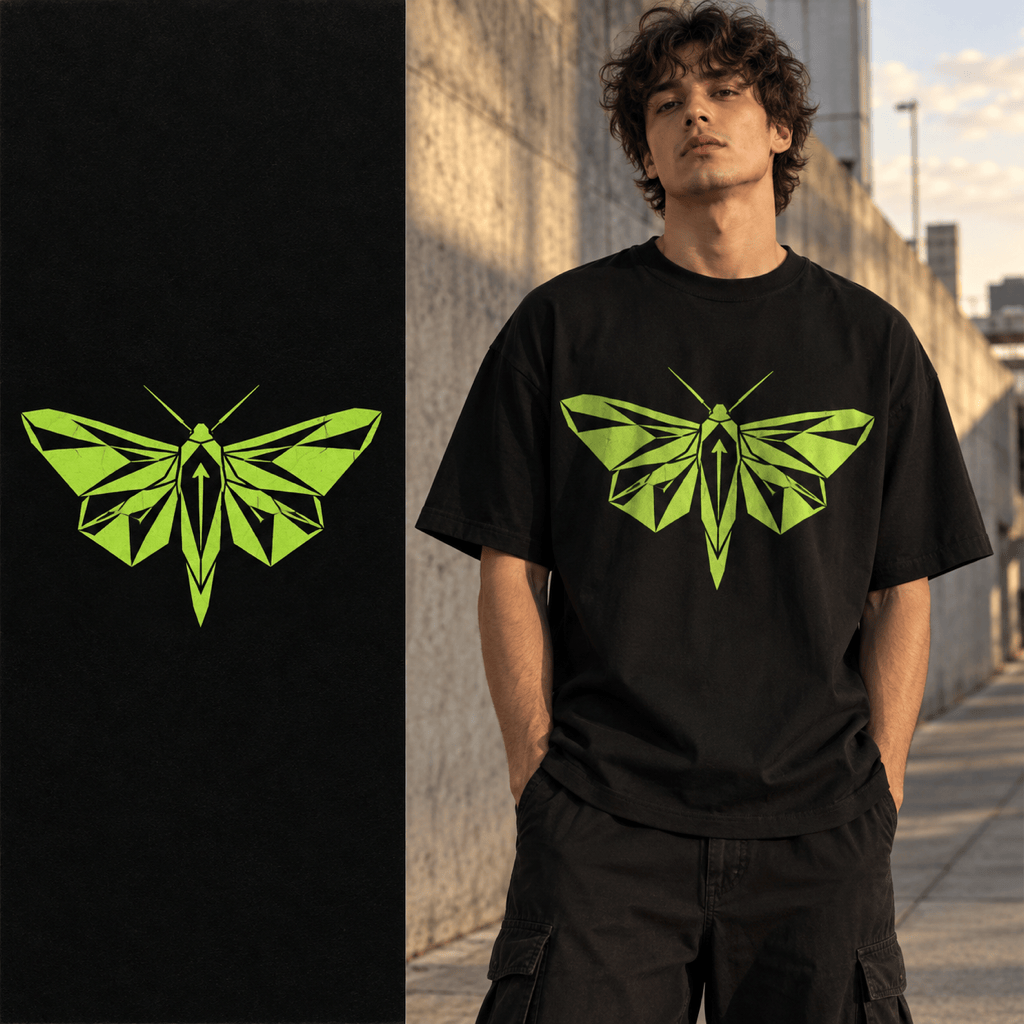
Oversized Streetwear: Apply my graphic to the front of a black oversized drop-shoulder T-shirt on a model in a concrete city setting. Use late-afternoon light, a full-torso crop, realistic fabric folds, and a bold but believable print scale.
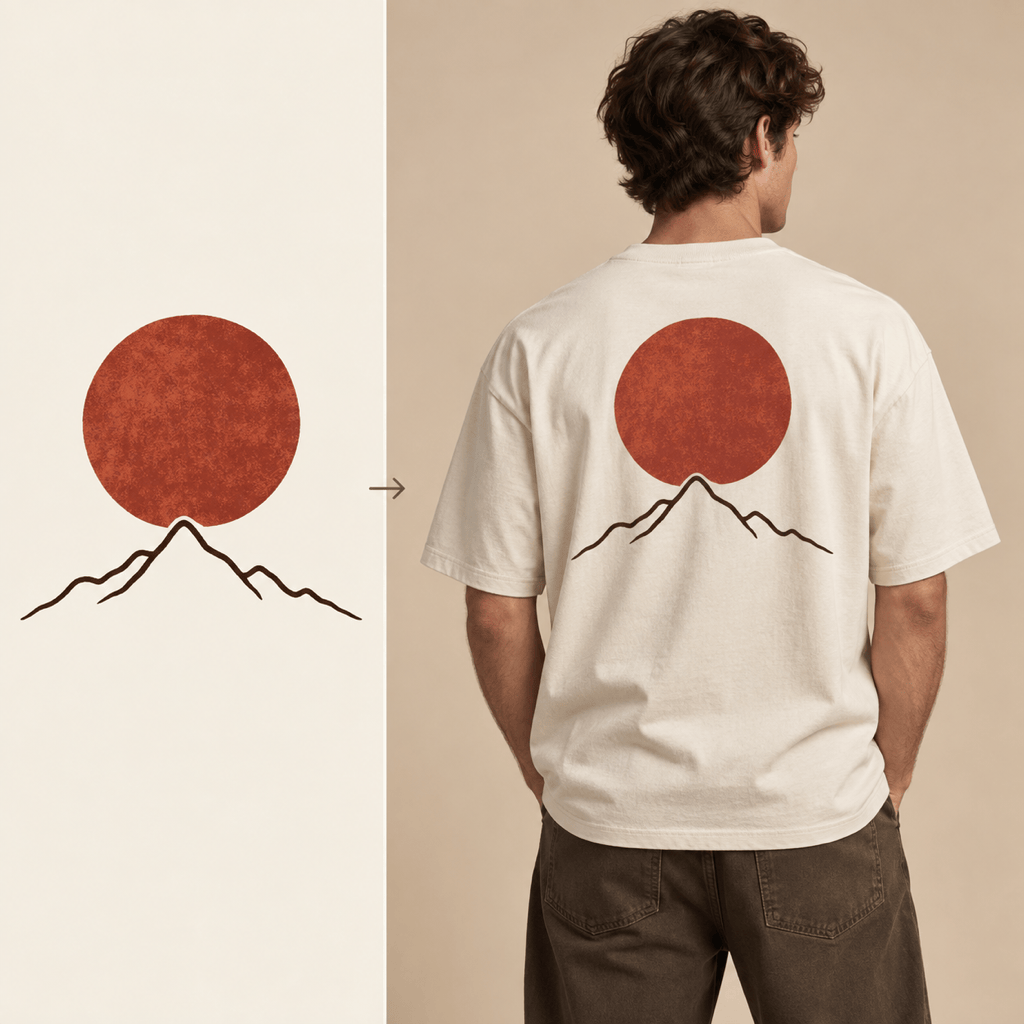
Front and Back Set: Create two coordinated product images from my artwork: a front-view model with the small chest mark and a rear-view model with the large back print. Keep the same cream boxy T-shirt, lighting, model styling, and background in both views.
Colorway Comparison: Generate the same centered graphic on black, off-white, forest-green, and faded-blue crewneck T-shirts. Keep the print size, camera angle, lighting, and background consistent so I can compare color variants fairly.
Print Detail Close-Up: Create a close-up product photo of my artwork printed on ringspun cotton. Show the ink following subtle fabric texture and one natural fold, keep the design edges recognizable, and use soft side lighting without glare.