Free OnlineAI Smoke Effect
How to Add Smoke to Photos with AI
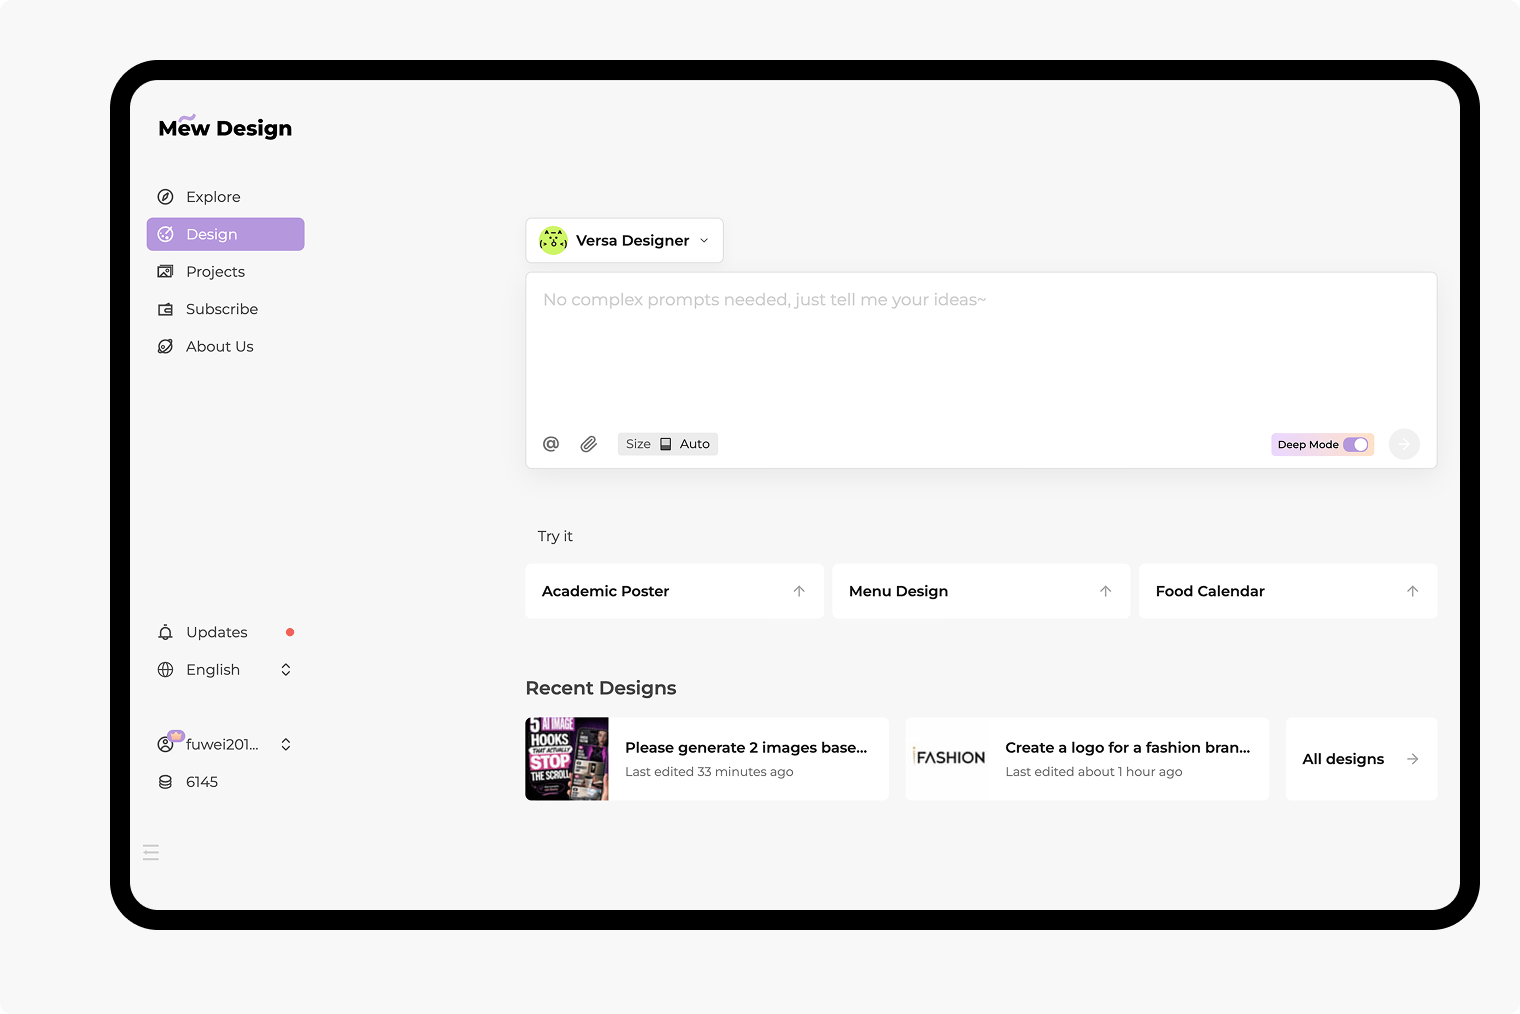
Upload and Describe
Place the Smoke
Refine the Atmosphere
Check and Download
Shape the Smoke Around Your Subject
Work from Your Photo
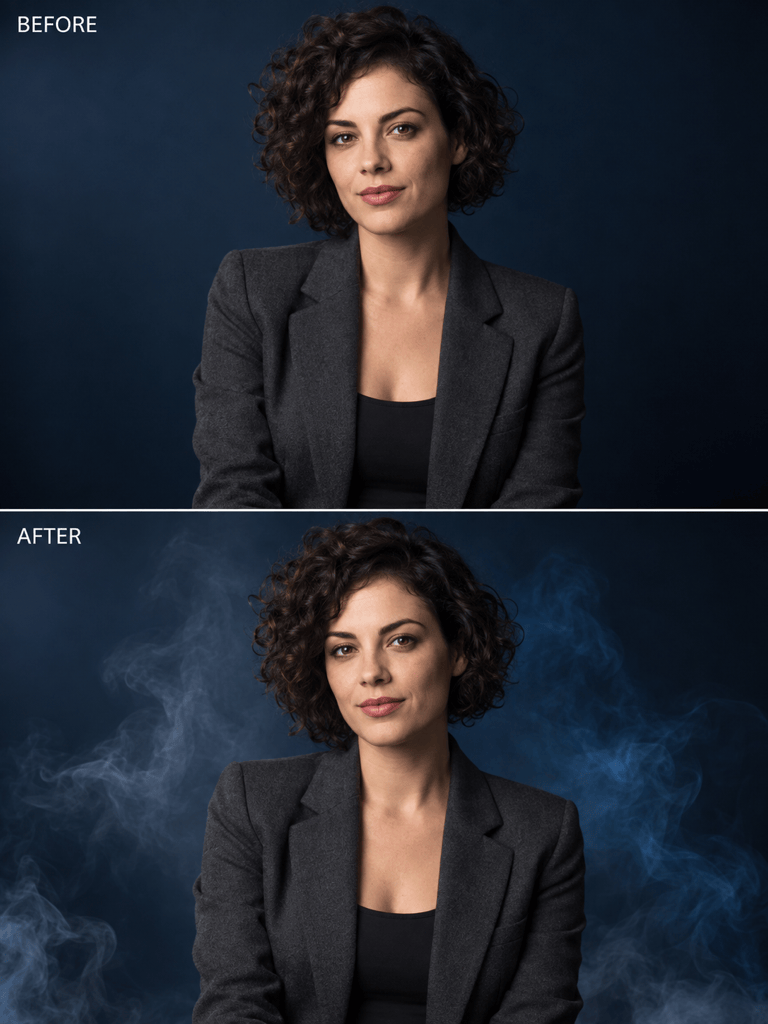
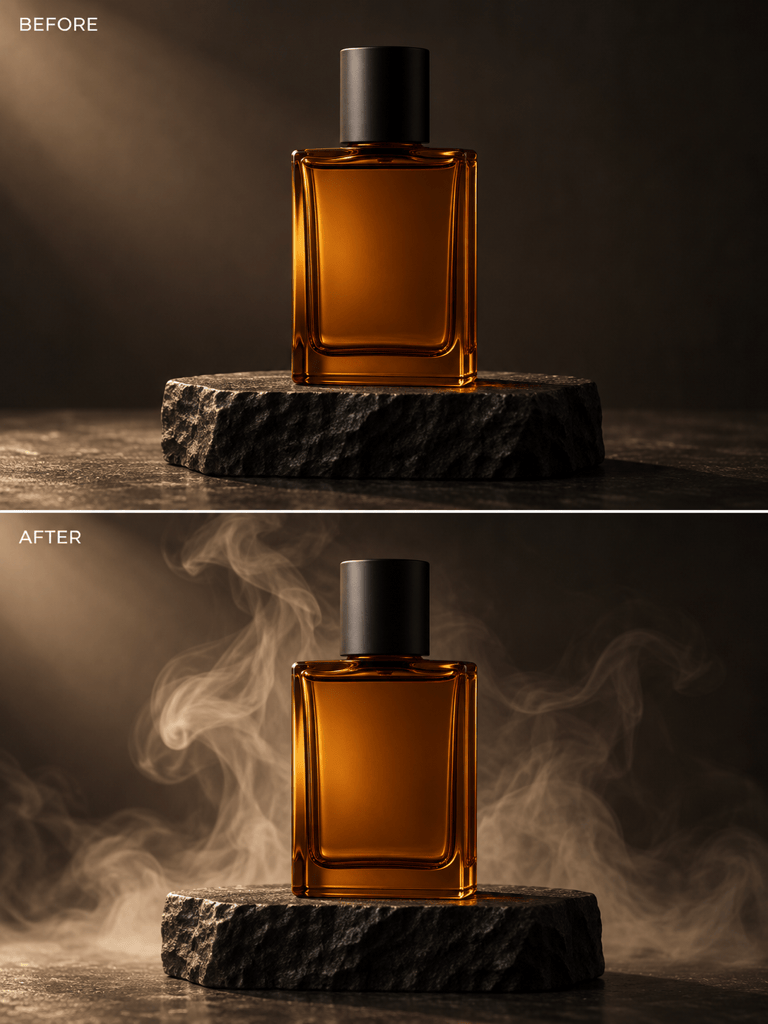
Use this AI smoke photo editor with a portrait or product image. Specify the face, packaging, and framing you want to preserve, then review the result.
Direct the Atmosphere
Describe smoke color, density, and direction. Refine a cinematic smoke effect for portraits without manually placing stock overlays.
Create Without a Camera
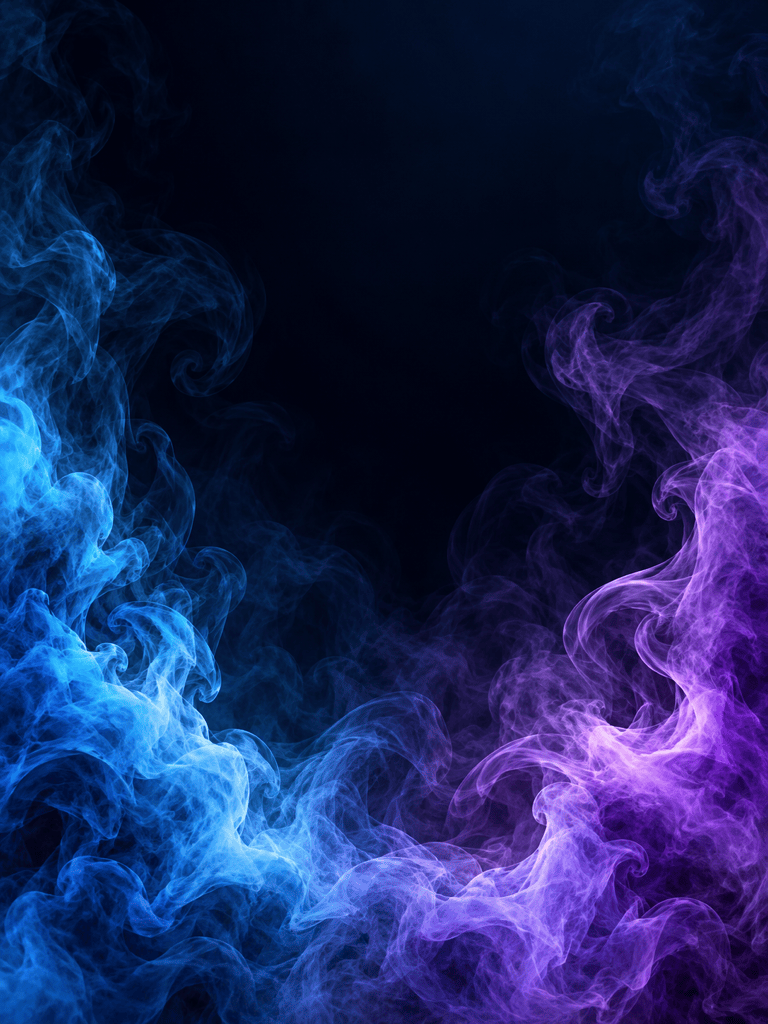
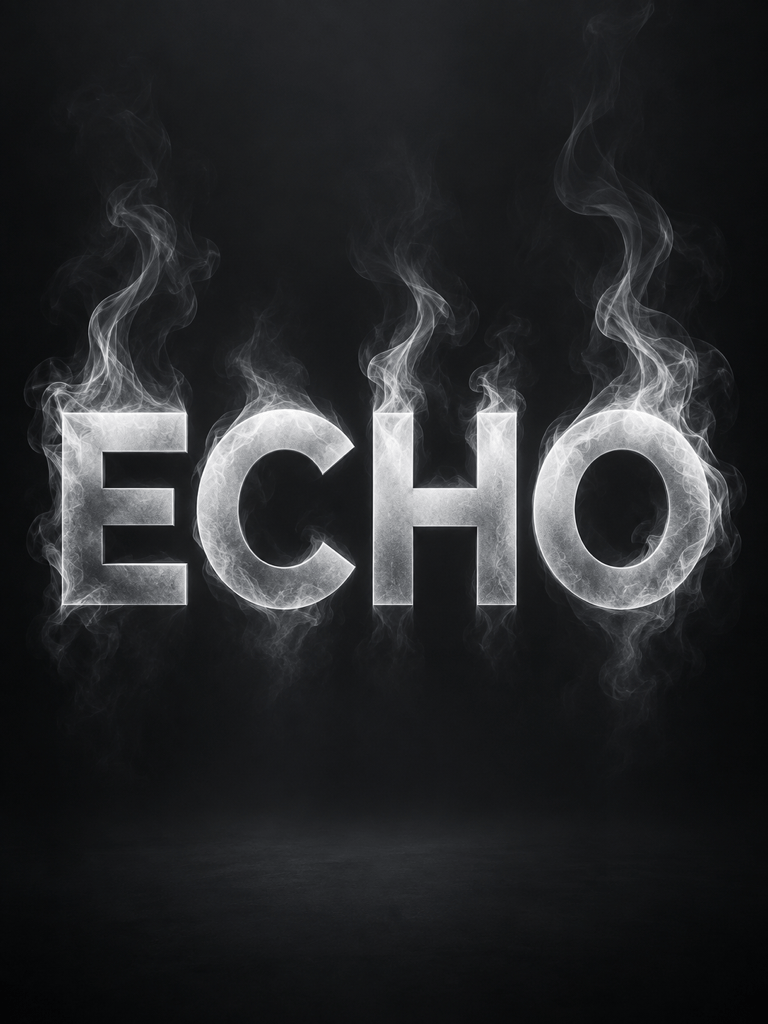
Generate a colored smoke background or smoke text artwork from a description when you do not have a starting photo.
Bring a Visual Reference
Upload a reference for the plume shape or lighting mood, and explain how to adapt it to your image.
Reuse a Campaign Style
Turn a successful smoke design workflow into a reusable Mew Skill, carrying color and composition preferences into your next campaign.
Finish with Usable Images
Download watermark-free PNG or JPG images. Choose a crop for the destination and inspect fine smoke edges before sharing.
How to Make Smoke Look Natural
- Protect the Subject: Start with a sharp photo. Identify faces, labels, or logos that must stay visible.
- Set the Depth: Place plumes behind the subject or near the ground. Use lighter haze in the distance.
- Match the Light: Describe the existing light direction and color so the smoke fits the scene.
- Check the Edges: Zoom in on hair and packaging. Reduce dense patches and inspect transparent exports on light and dark backgrounds.
Fix Common Smoke Effect Problems
Move the smoke away from the eyes and mouth in this portrait. Keep a thin haze behind the shoulders and preserve the facial features.
Reduce the smoke in front of this product. Keep the label and silhouette readable, with most of the plume behind the packaging.
Make this colored smoke background less saturated. Keep the blue and violet plumes, but remove the colored haze covering the subject.
Replace the flat white veil in this landscape with light fog between distant trees. Keep the foreground crisp and the original light direction.
Make the smoke text effect easier to read. Preserve the exact lettering, keep the letter centers solid, and move wisps toward the outer edges.
Remove the background from this smoke asset for a transparent PNG. Preserve delicate wisps and reduce the dark fringe around the edges.