Free OnlineAI Film Filter
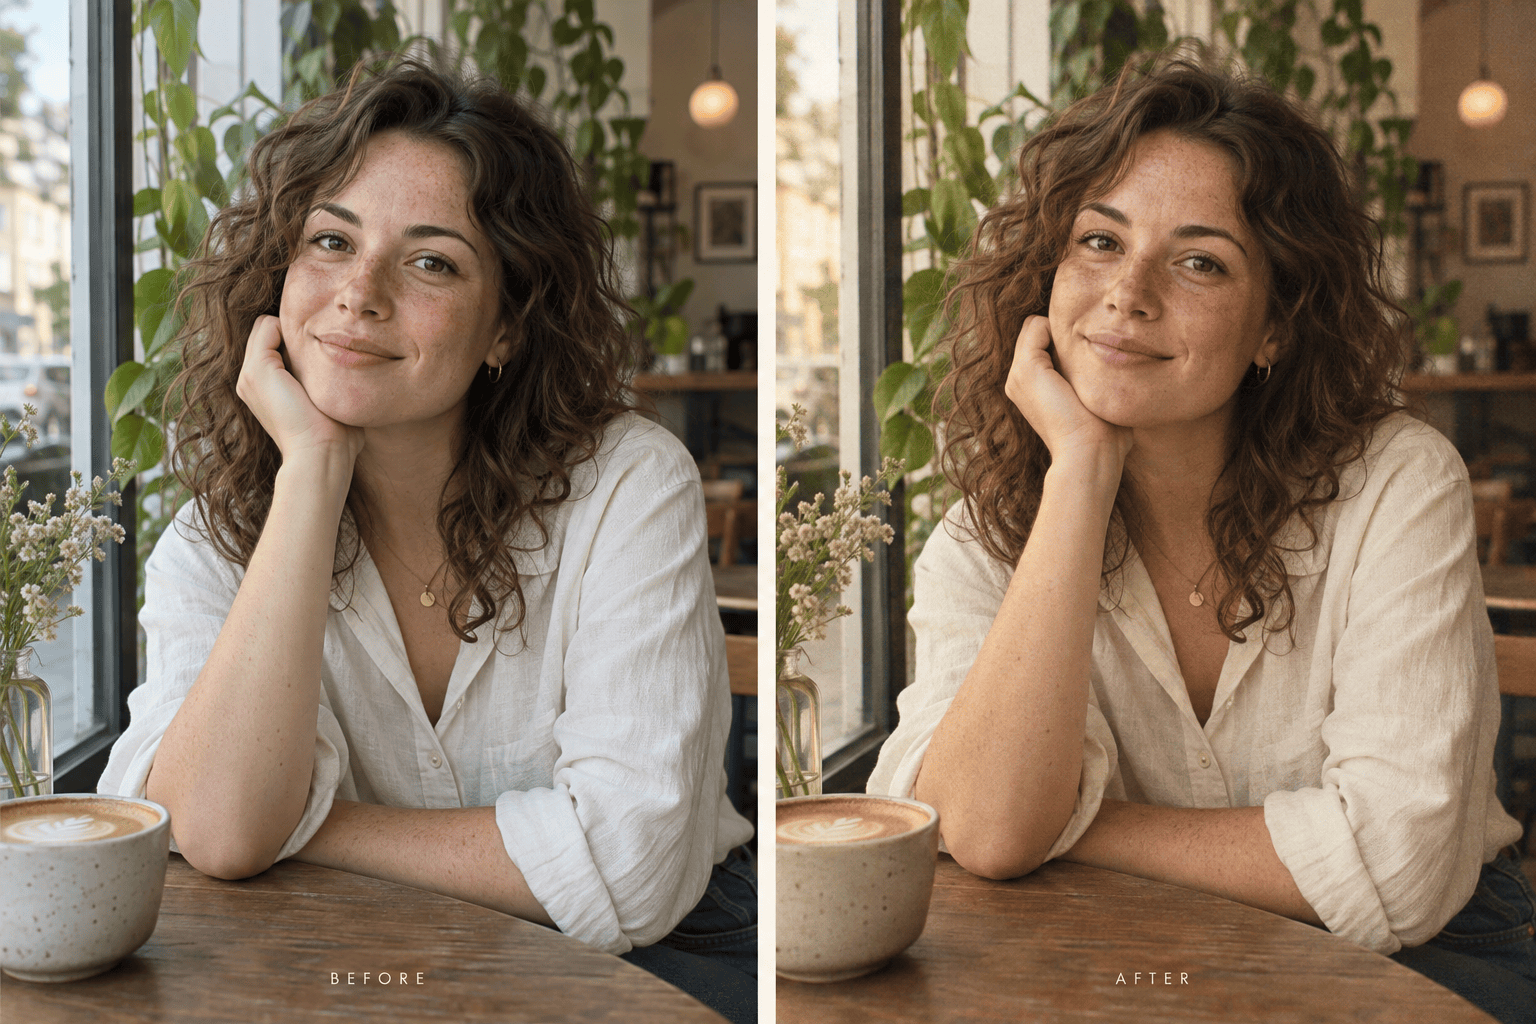
How to Create Film-Look Photos with AI
Upload Your Photo
Describe the Film Look
Check the Details
Export Your Favorite
Shape the Film Look Around Your Photo
Start with a Photo You Love
This online film filter accepts your image as the starting point. Give a familiar portrait or everyday snapshot a new mood without planning a new shoot.
Adjust Grain in Plain Language
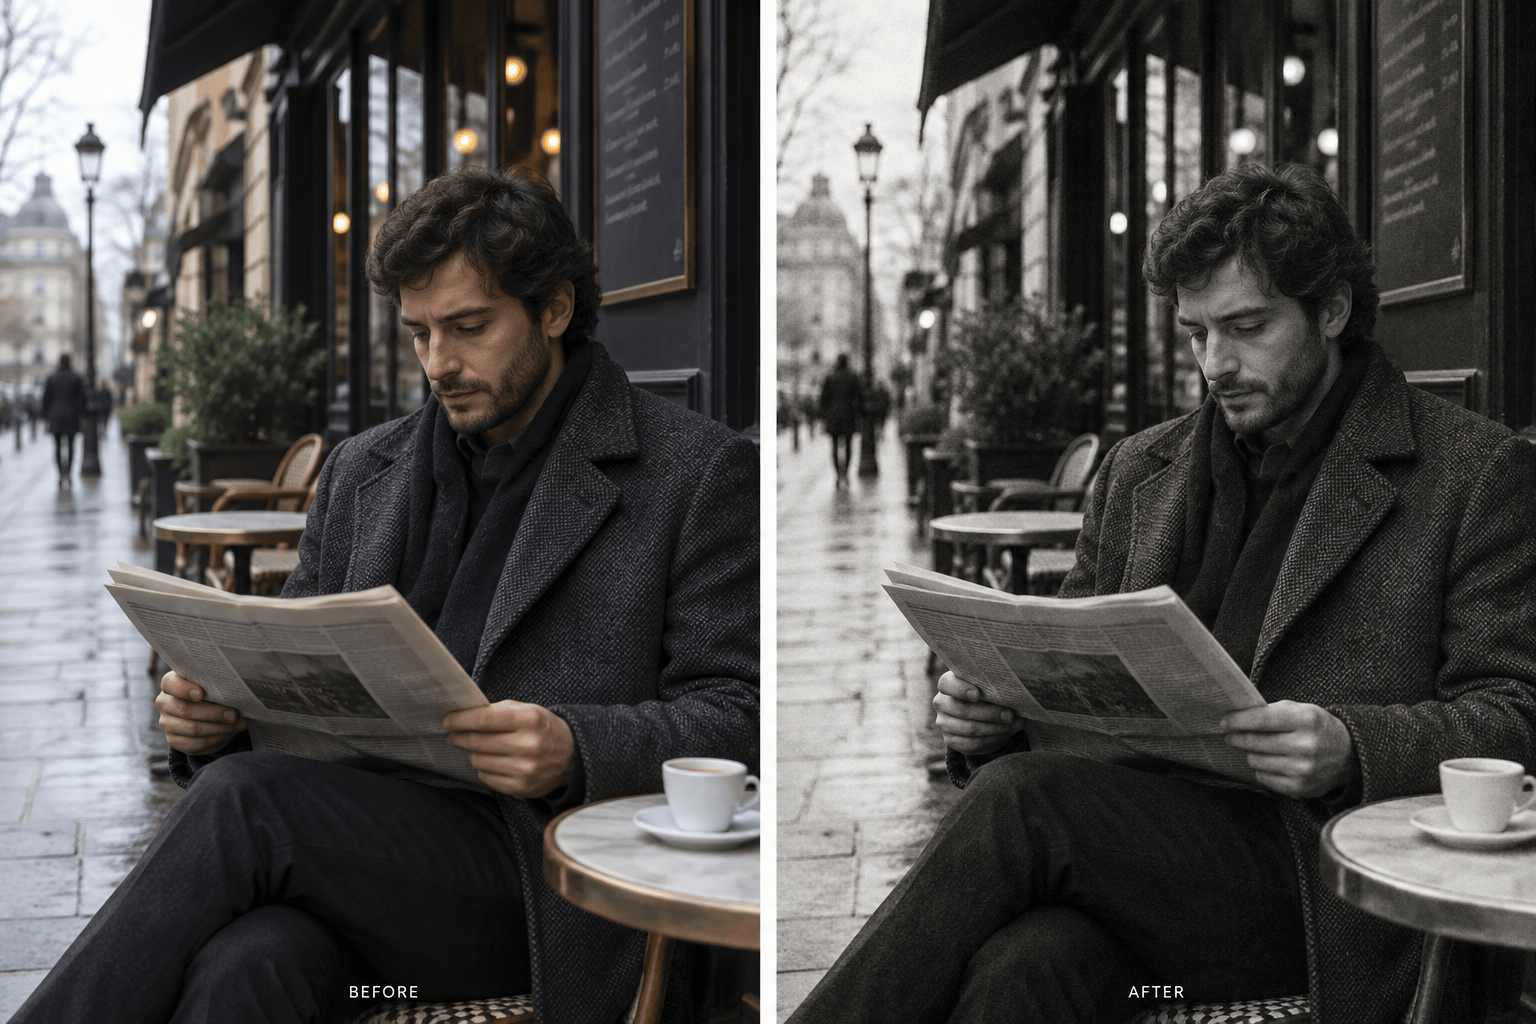
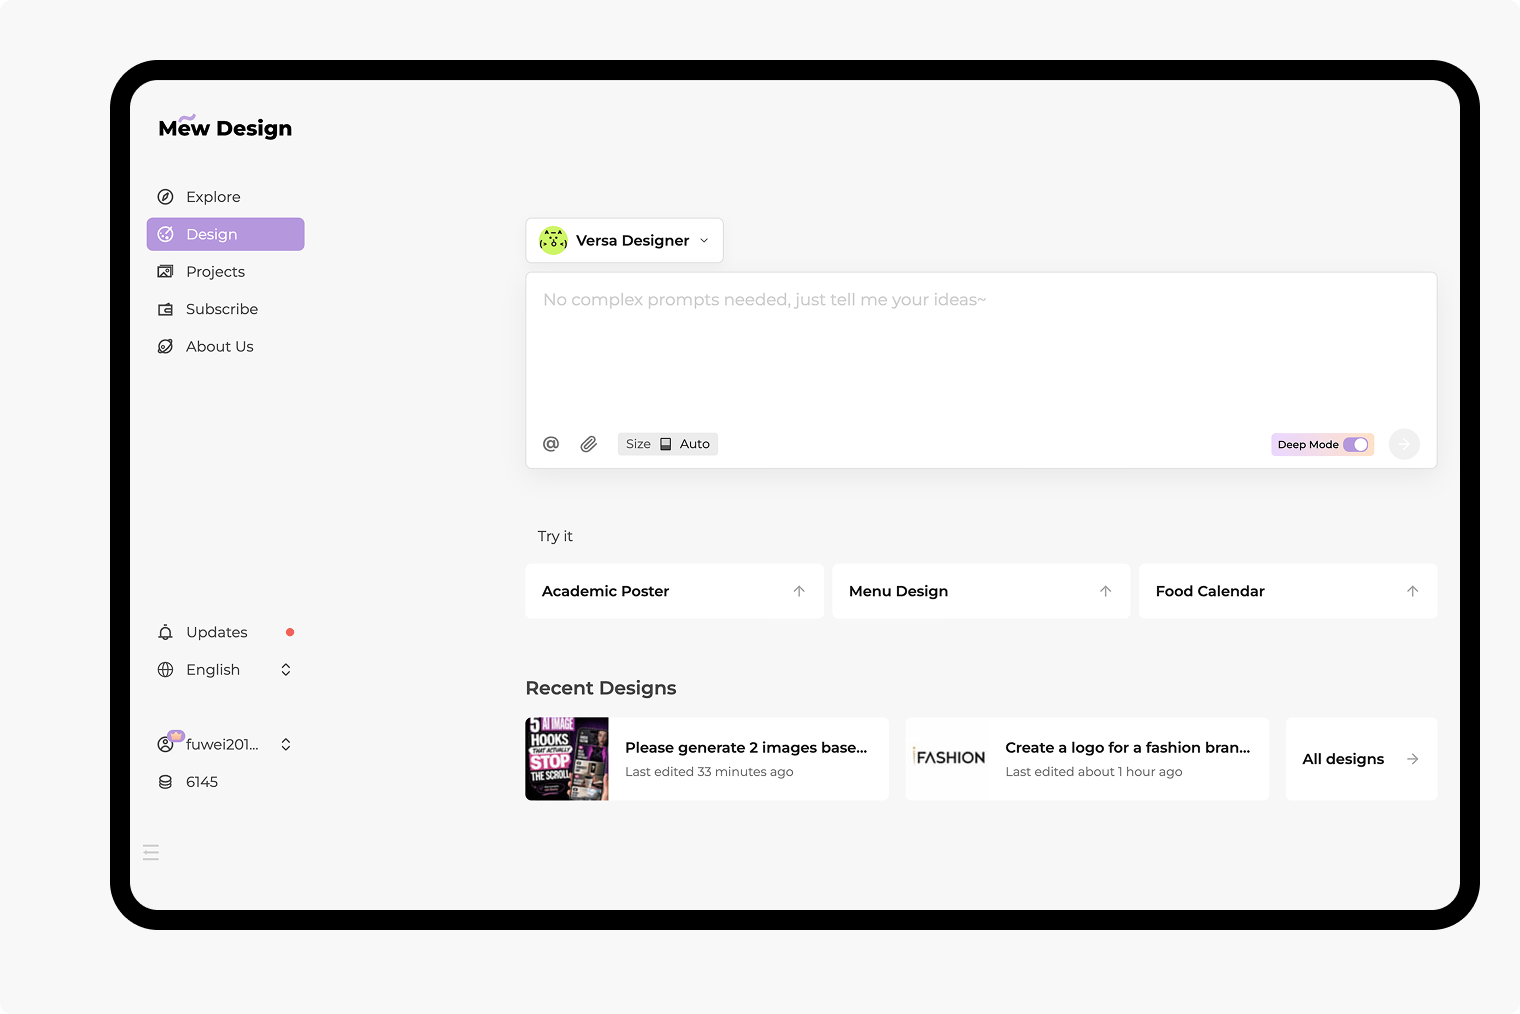
Add film grain to photos, then ask for a finer texture or a softer finish. Chat Edit lets you explain what looks too strong without learning editing controls.
Use a Visual Reference
Upload a reference for its colors, contrast, or softness. Explain which qualities to borrow and which details of your own photo should stay.
Compare Different Moods
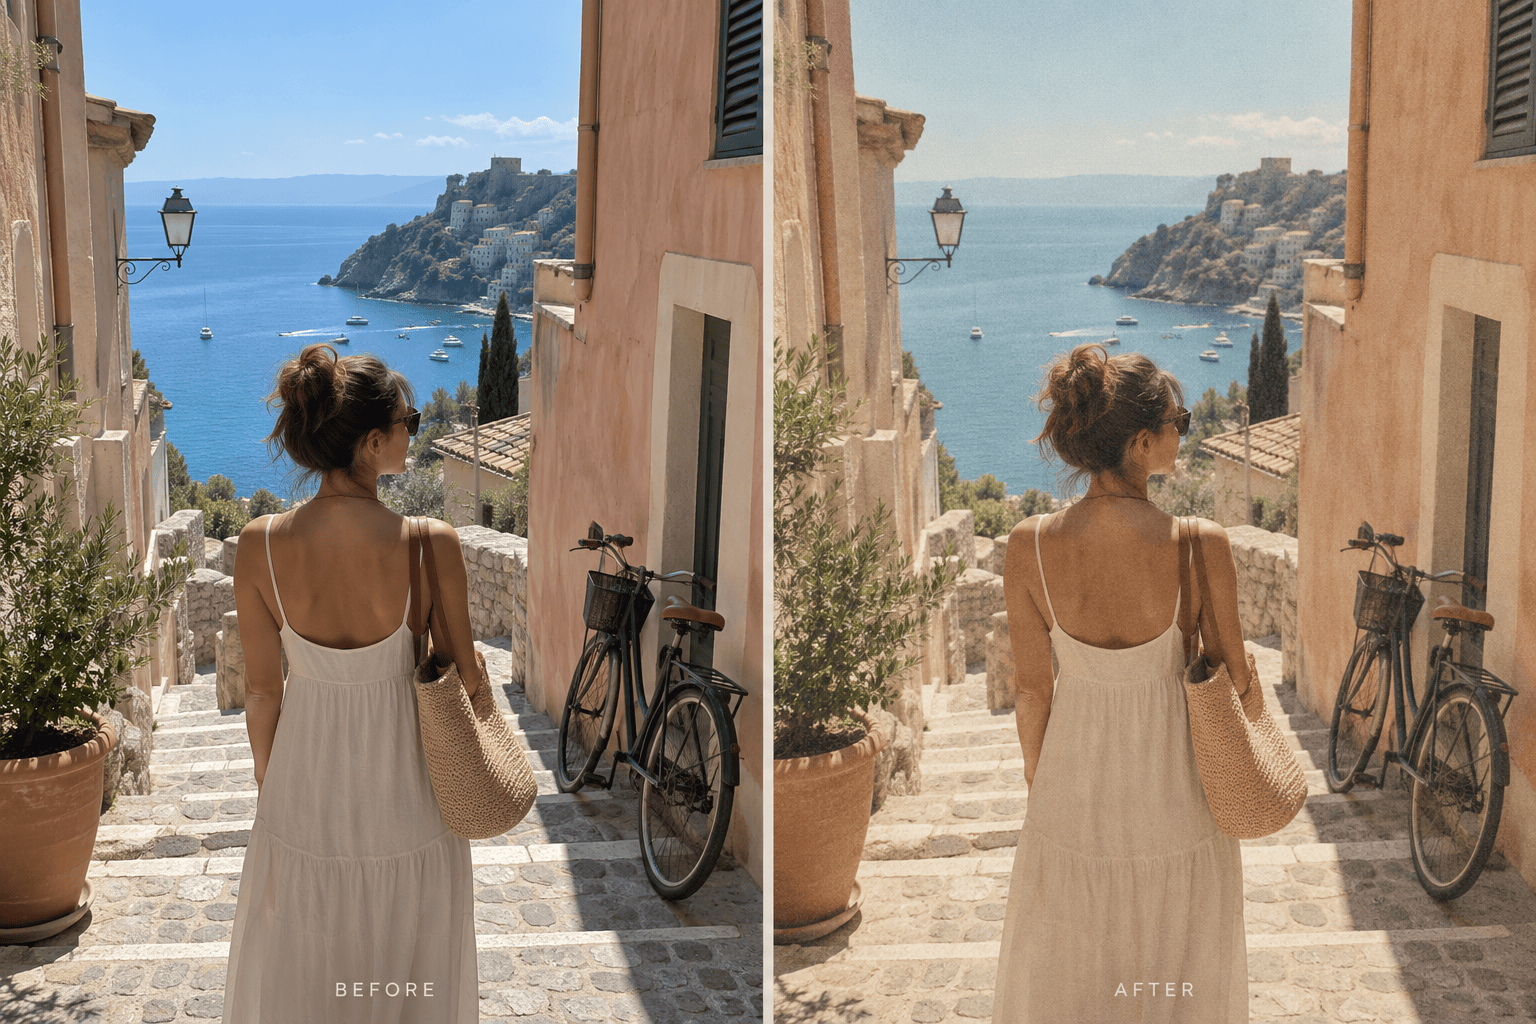
Explore a warm analog treatment and a cooler cinematic version of the same photo. Choose the direction that suits the light and subject.
Reuse Your Preferred Treatment
Save your preferred grain, color direction, and review steps as a Mew Skill. Reuse that workflow for future photos, with adjustments for different lighting.
Download a Clean Image
Export your chosen version as PNG or JPG without a watermark. Check the available dimensions before using it for a large print.
Get a Natural Film Look from Your Source
- Choose a Clear Original: Use the original photo where possible. Compressed screenshots and strong existing filters give the edit less useful detail.
- Name What Should Stay: Mention facial features, pose, clothing, background, and framing. AI edits can still change details, so compare the result with the original.
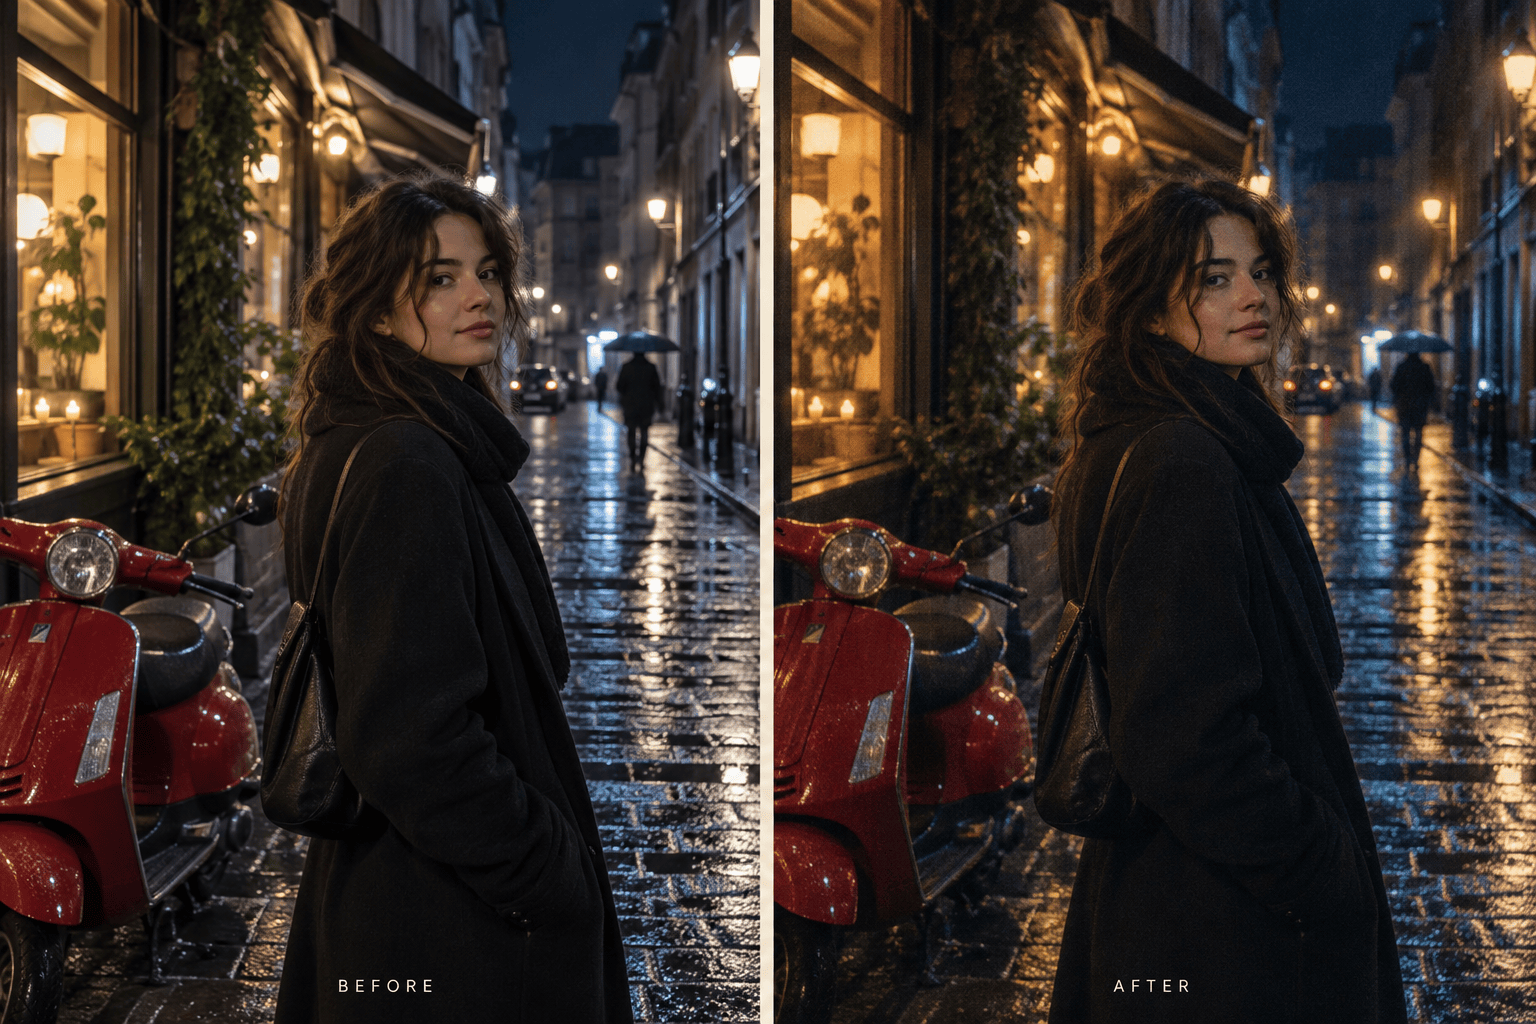
- Match the Effect to the Light: Try soft warmth for daylight portraits or restrained highlight glow for night scenes. A cinematic filter for photos does not have to mean orange skin and teal shadows.
- Inspect at the Sharing Size: Check both a close view and the size people will see. Keep grain visible without covering eyes, fabric texture, or small background details.
Fine-Tune Grain, Color, and Contrast
Refine my uploaded film-look photo: make the grain finer and less intense, especially over the face and sky. Keep the current color palette and framing.
Reduce the orange cast on the skin in my uploaded portrait. Keep the vintage warmth in the surroundings and preserve facial features and expression.
Lift the darkest shadows in my uploaded cinematic photo so clothing and street details remain visible. Keep the night mood and avoid a washed-out finish.
Reduce the bright glow around lamps in my uploaded photo. Keep a subtle film-like halo while making nearby details easier to see.
Apply the film treatment again using my original uploaded photo. Keep the original crop and subject placement; do not add borders, date stamps, or objects.
Use my uploaded reference as the color and grain direction for this photo. Adapt the warmth and contrast to its lighting so the series feels related without forcing identical exposure.