Try Your Next Ink OnlineAI Add Tattoo to Photo
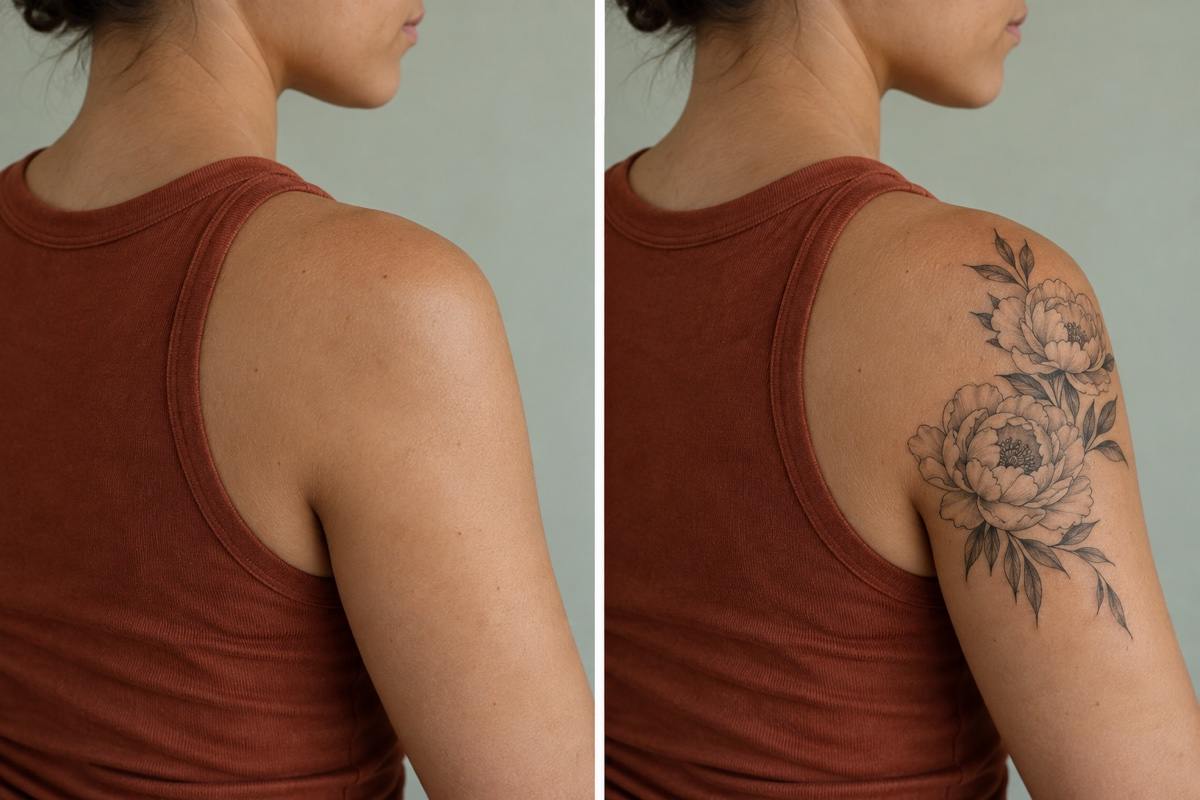
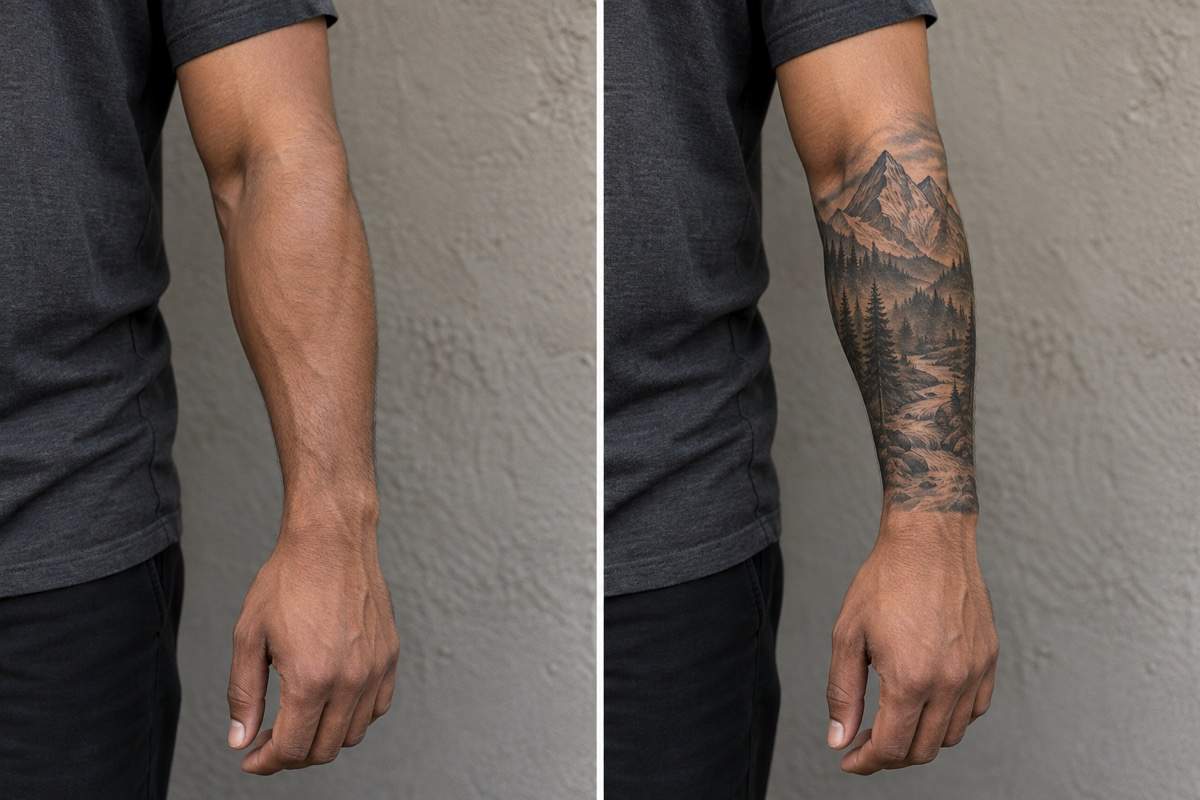
How to Add a Tattoo to Your Photo with AI
Upload Your Photo and Describe the Ink
Create a Placement Preview
Adjust the Fit with Chat Edit
Save a Version to Compare
Explore the Ink, the Placement, and the Fit
Start with Your Own Body Photo
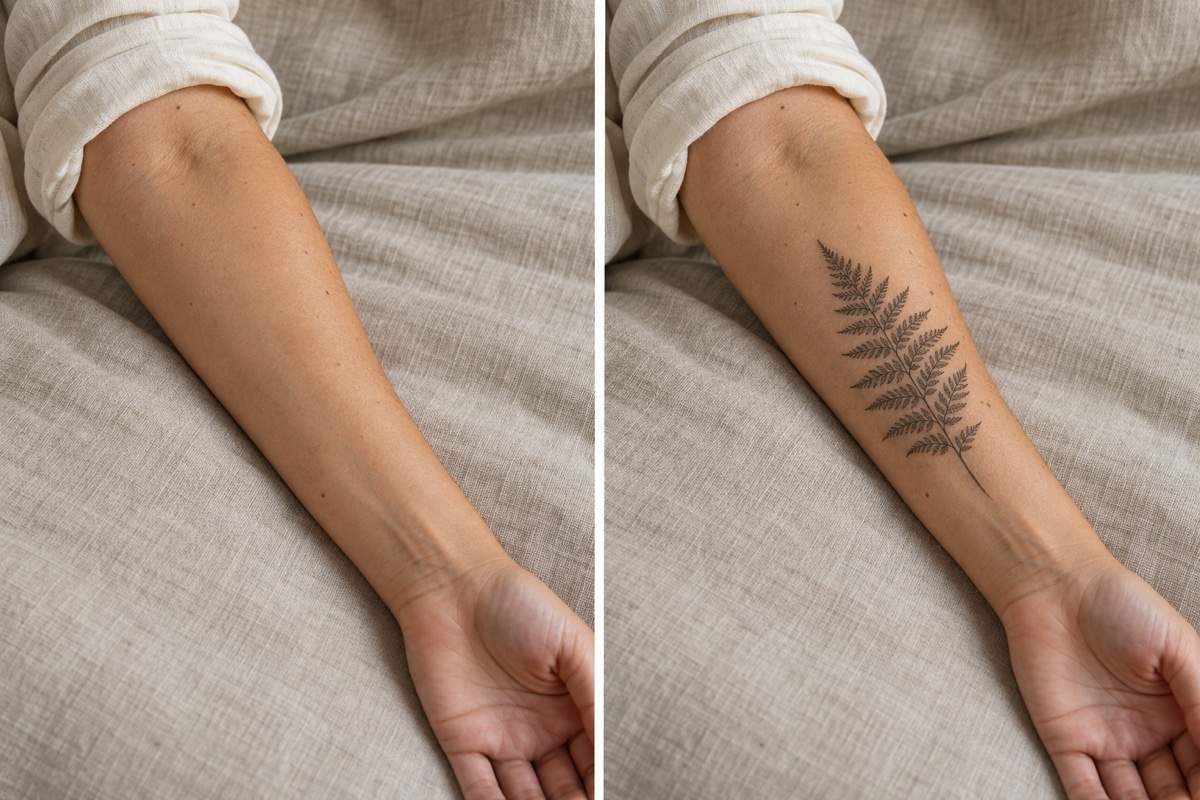
Use a tattoo photo editor on your own arm, wrist, shoulder, or leg. Your photo gives the preview a useful setting for judging how the design looks on you.
Bring a Sketch or Describe an Idea
Upload your own tattoo design as a reference, or describe a new motif. Identify which image is the body photo and which is the artwork so the request is clear.
Compare a Small Mark and a Bolder Piece
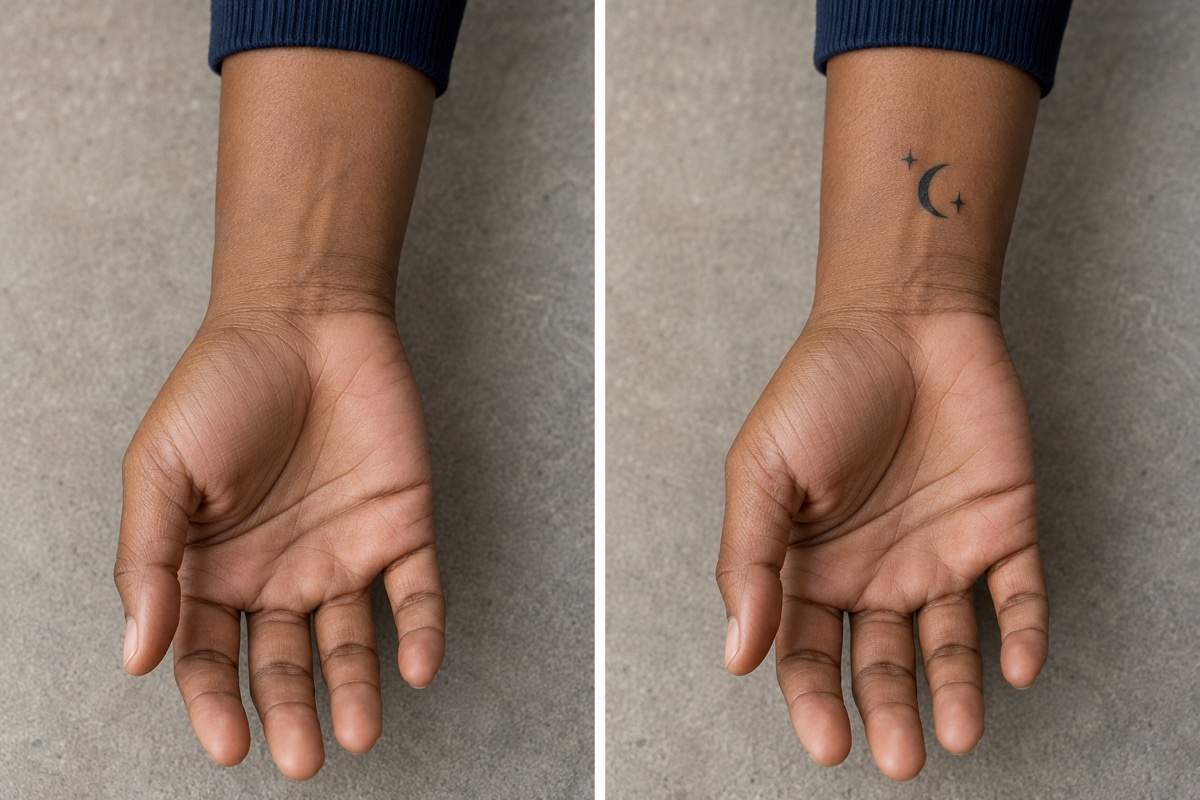
Ask for separate versions with different tattoo sizes or styles. Compare a subtle wrist symbol with stronger linework before choosing a direction.
Refine Ink That Looks Pasted On
Request ink that follows the skin contours and the photo’s light. Chat edits let you address overly dark lines, flat placement, or missing skin texture.
Specify What Should Stay the Same
Ask to add only the tattoo while preserving the face, body shape, outfit, and background. Compare each result with the original and correct any changes you did not request.
Try Online and Share a Clear Reference
Start your AI tattoo try-on with free credits after signup. Export watermark-free PNG or JPG images for a personal comparison or a conversation with your tattoo artist.
Prepare Your Photo for a Better Tattoo Preview
- Show the Skin Clearly: Use a sharp photo in even light, with the target area uncovered. Avoid beauty filters, motion blur, and deep shadows across the placement.
- Name the Location: Use landmarks such as the inner wrist or outer upper arm. Describe size relative to the visible area; a photo preview does not establish an exact measurement.
- Separate Photo and Reference: When uploading two images, identify the body photo and the tattoo artwork. A clean reference makes the motif easier to communicate, but details may change.
- Check Before You Save: Inspect anatomy, lettering, skin texture, and the edges near clothing. Use the image to discuss the idea; your artist must assess the final design and placement.
Fix Common Tattoo Try-On Problems
Make the tattoo smaller so it fits comfortably within the visible wrist area, leaving bare skin around it. Keep the motif, ink color, and original photo unchanged.
Move the tattoo toward the inner forearm, centered between the wrist and elbow. Keep its current size and orientation, and leave the rest of the photo unchanged.
Make the tattoo look less like a sticker. Follow the skin’s curve, preserve visible texture and shadows, and soften the overly solid black ink without changing the design.
Use the original uploaded photo again. Add only the chosen tattoo; preserve the face, body shape, fingers, pose, clothing, and background. Do not retouch the skin.
Use the exact lettering from my uploaded tattoo reference. Keep the spelling, character order, and reading direction. Make the lettering easy to inspect without changing its placement.
Refine the half sleeve tattoo on my forearm photo. Keep the ink on visible skin between the wrist and elbow, follow the arm’s curve, and stop at clothing edges.