Try OnlineAI Add Stars to Photo
How to Add Stars to a Photo with AI
Upload and Describe
Create the First Edit
Refine the Star Effect
Compare and Export

Star Edits You Can Shape Around Your Photo
Begin with Your Own Scene
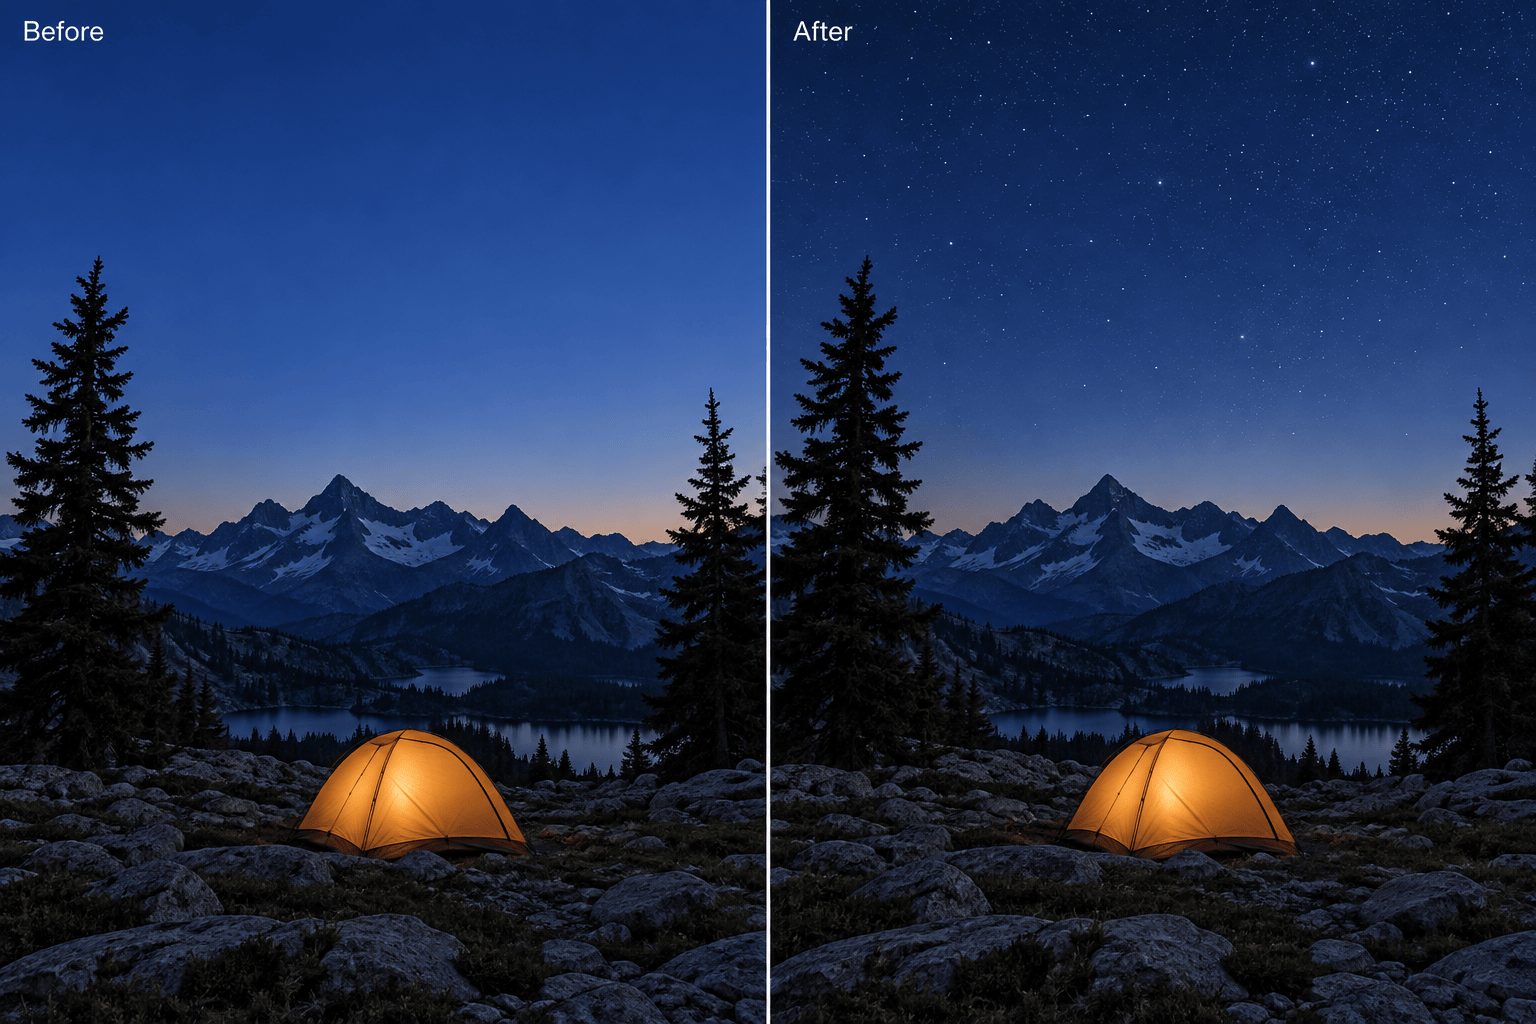
Add stars to night sky photos using your uploaded image as the starting point. Tell the agent which people, landmarks, and framing to keep.
Adjust the Mood in Words
Use this online AI star photo editor to request fewer stars, a cooler sky, or softer sparkle effects without learning layer controls.
Bring a Visual Reference
Upload a reference for a subtle night sky or a dreamy star effect. Explain which qualities to borrow and which parts of your own photo to retain.
Compare Different Star Styles
Ask for a restrained sky and a more expressive version. Compare the results before choosing the effect for a travel post or portrait.
Correct Distracting Details
Use Chat Edit when stars overlap branches, glow overwhelms the scene, or sparkles distract from your subject. Review each revision against the original.
Share a Finished Image
Export your chosen edit as PNG or JPG without a watermark. Free signup credits let you try the workflow before deciding whether you need more.
What Makes Added Stars Look Natural?
- Choose a Suitable Photo:A clear dusk or night sky gives subtle stars room to show. A bright daytime photo needs a broader lighting change for a convincing night effect.
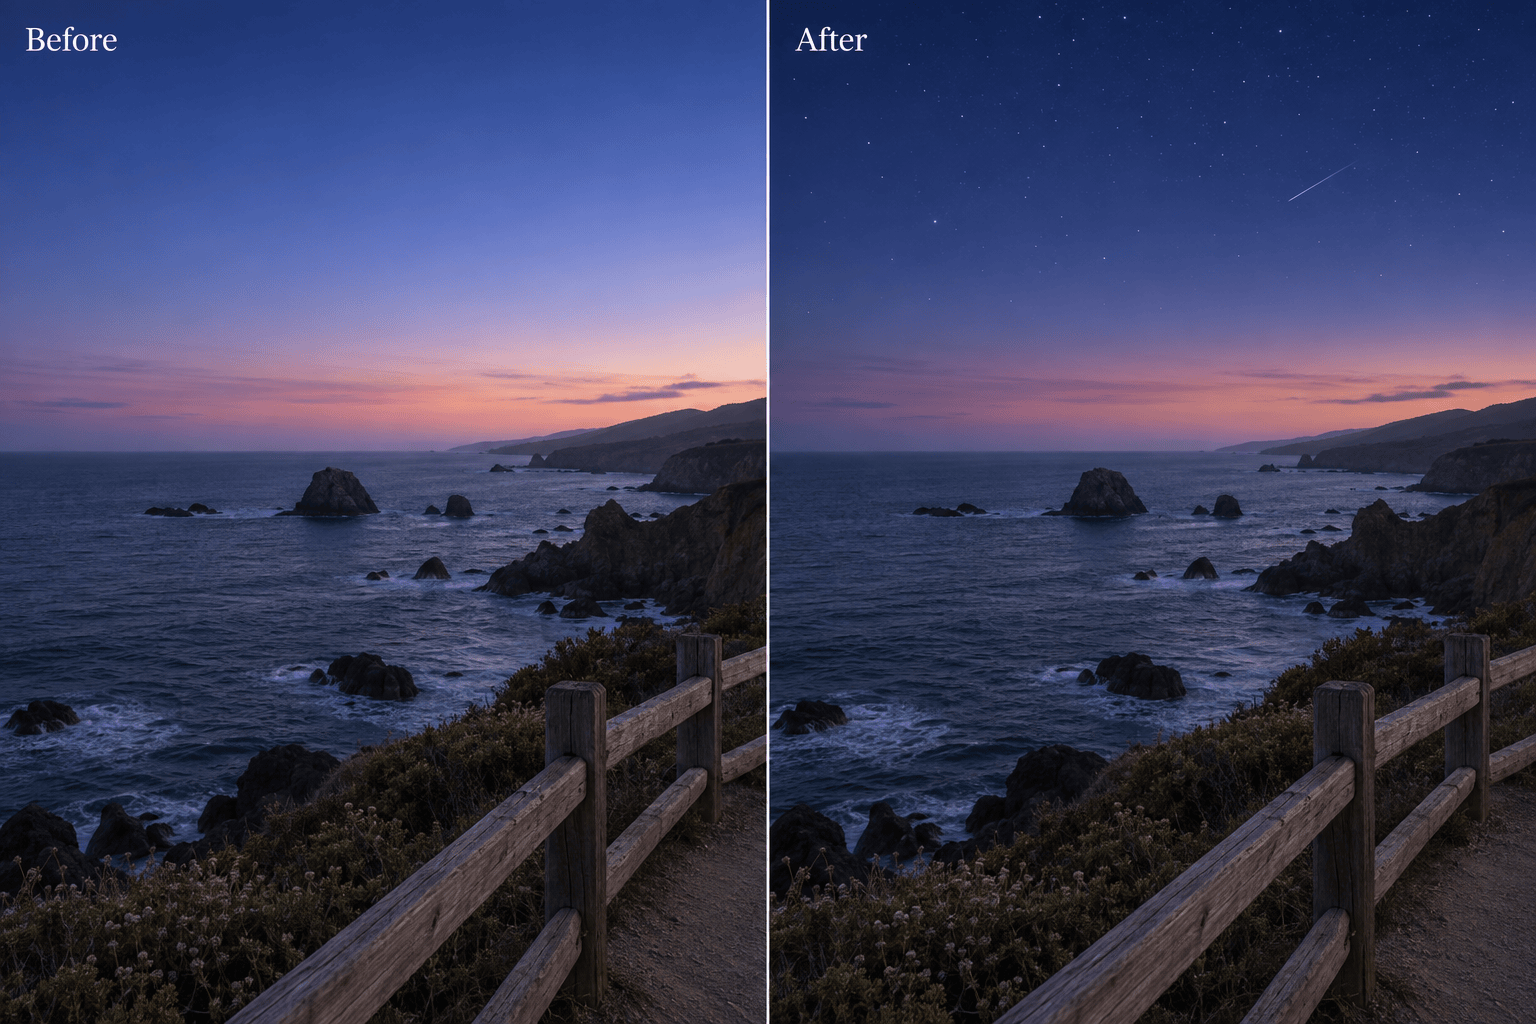
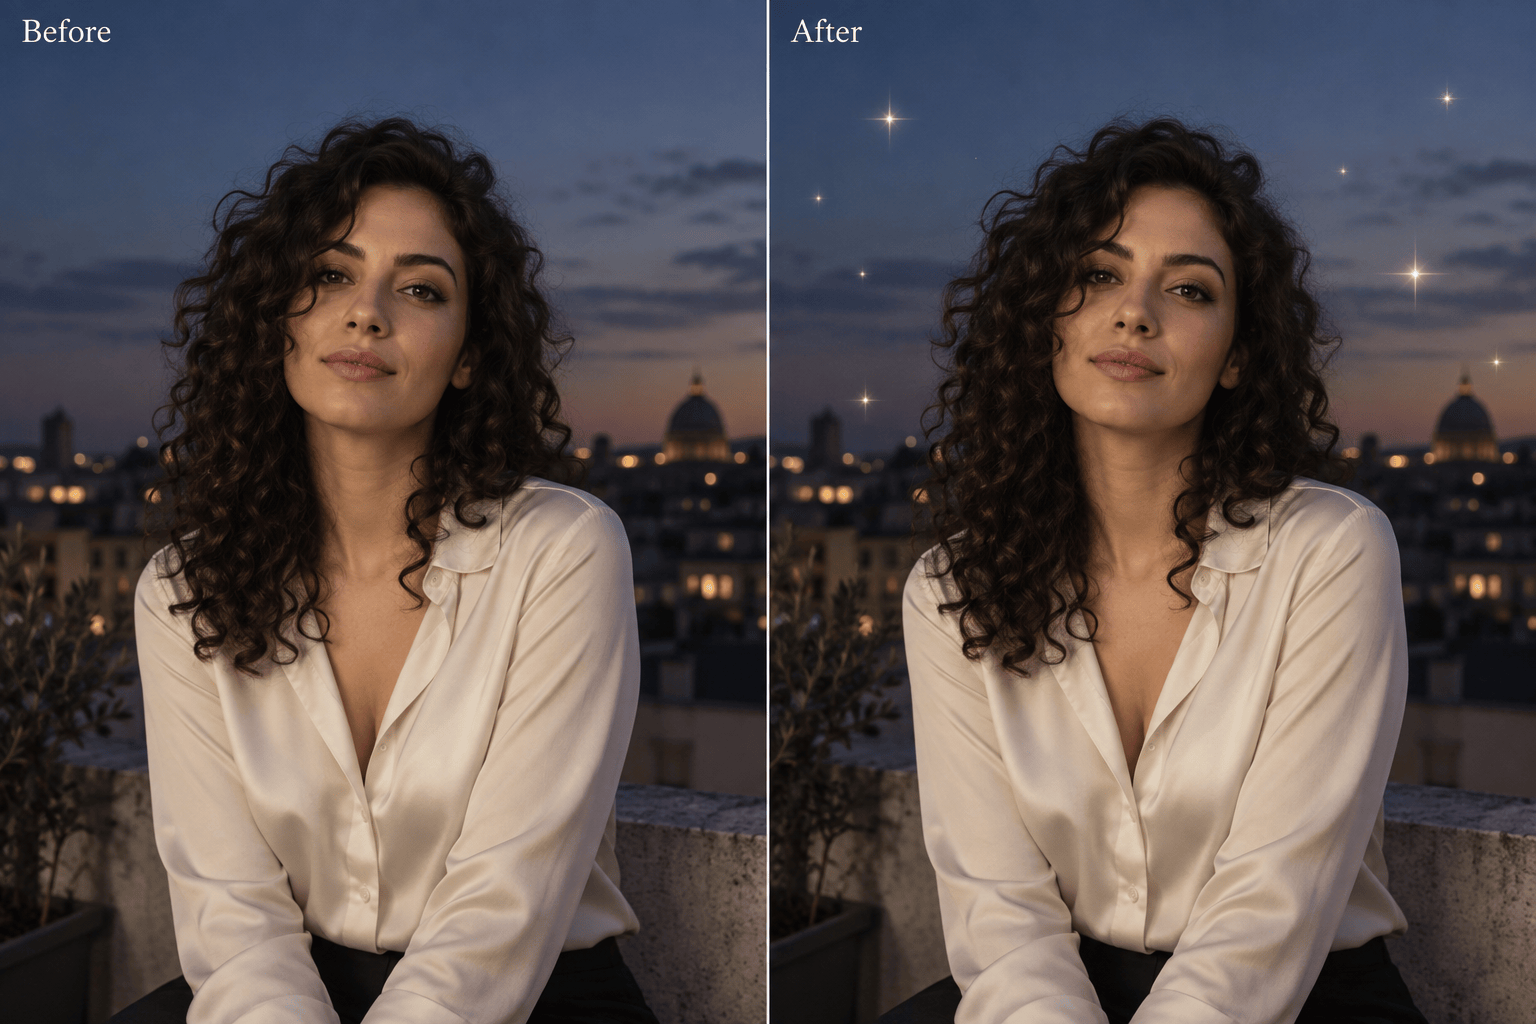
- Keep the Scale Small:For realistic stars, ask for tiny points with varied brightness. Reserve large four-point sparkles for an intentionally decorative look.
- Respect Clouds and Edges:Stars belong behind opaque clouds, trees, and buildings. Inspect fine branches and hair for stray dots or halos.
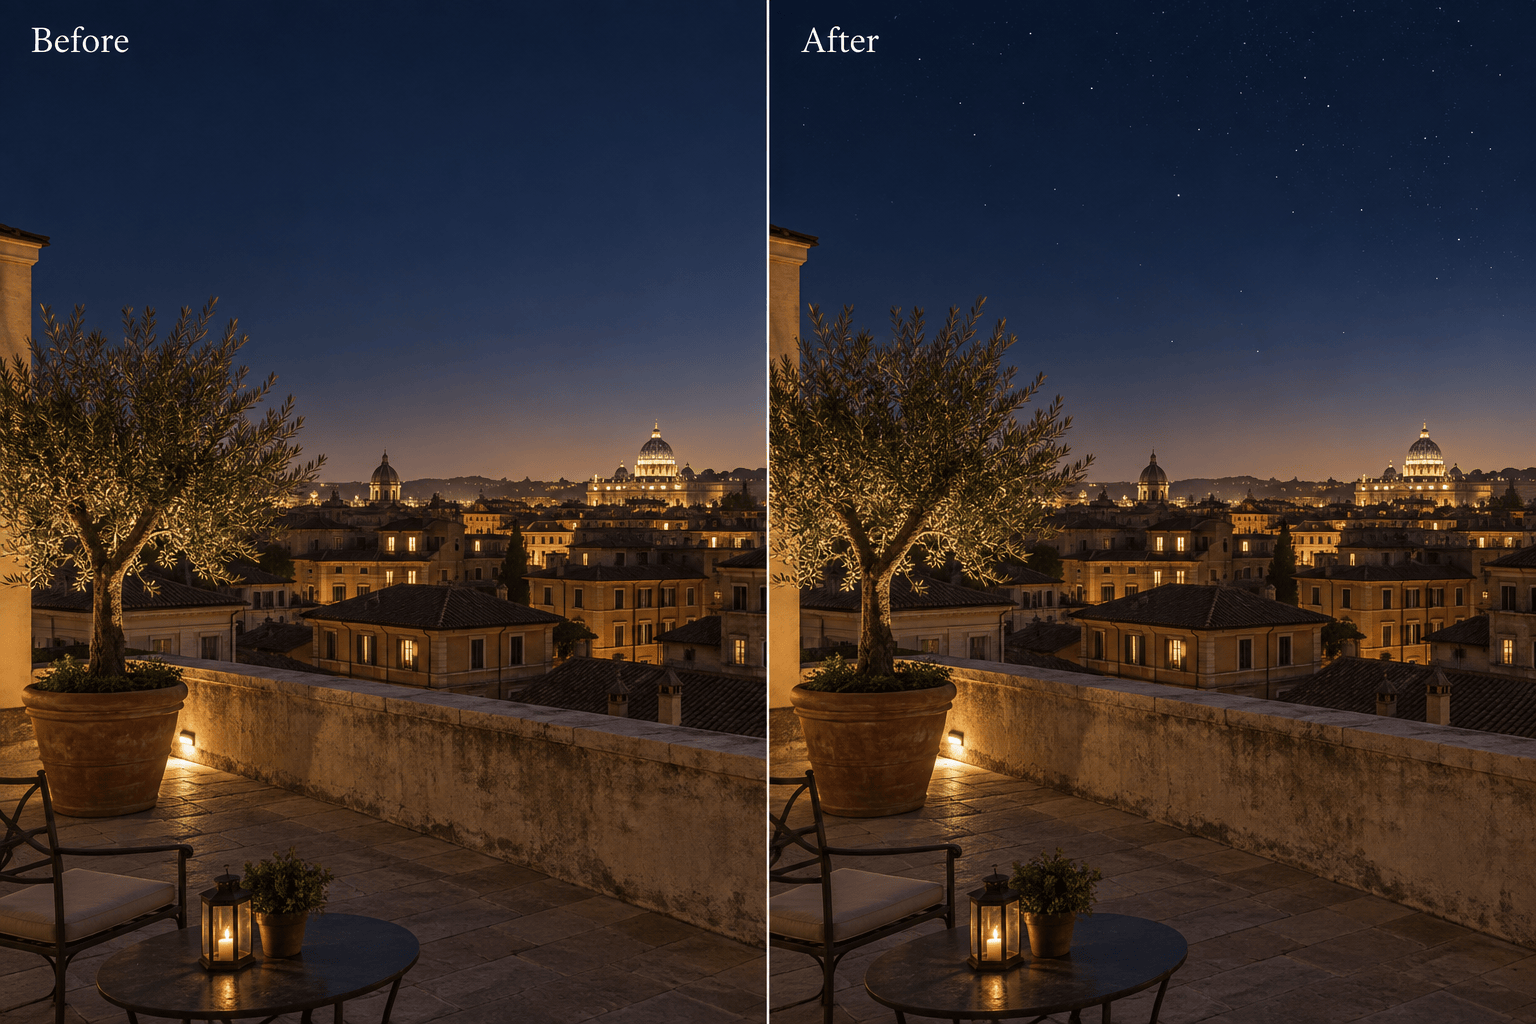
- Match the Existing Light:Use fewer, dimmer stars near city glow or a bright horizon. In water, request faint broken reflections rather than a second sharp star field.
Fix Common Problems with Star Photo Effects
Reduce the crowded stars in my edited night sky. Use smaller points with uneven spacing and varied brightness; preserve the landscape and sky color.
Remove added stars from the person, trees, and buildings. Keep them only in the visible sky and restore the original foreground details.
Make the stars above my city skyline more subtle. Reduce their brightness near the urban glow and keep the existing building lights unchanged.
Place the stars behind the clouds in my photo. Remove points from opaque cloud areas and retain the original cloud shapes.
Refine the shooting star in my coastal photo into one short, faint trail. Remove extra streaks and keep the horizon and sea unchanged.
Add a few soft four-point sparkle stars around my portrait. Keep them away from my face and skin, and preserve my features, pose, and clothes.