Free OnlineAI Add Bubbles to Photo
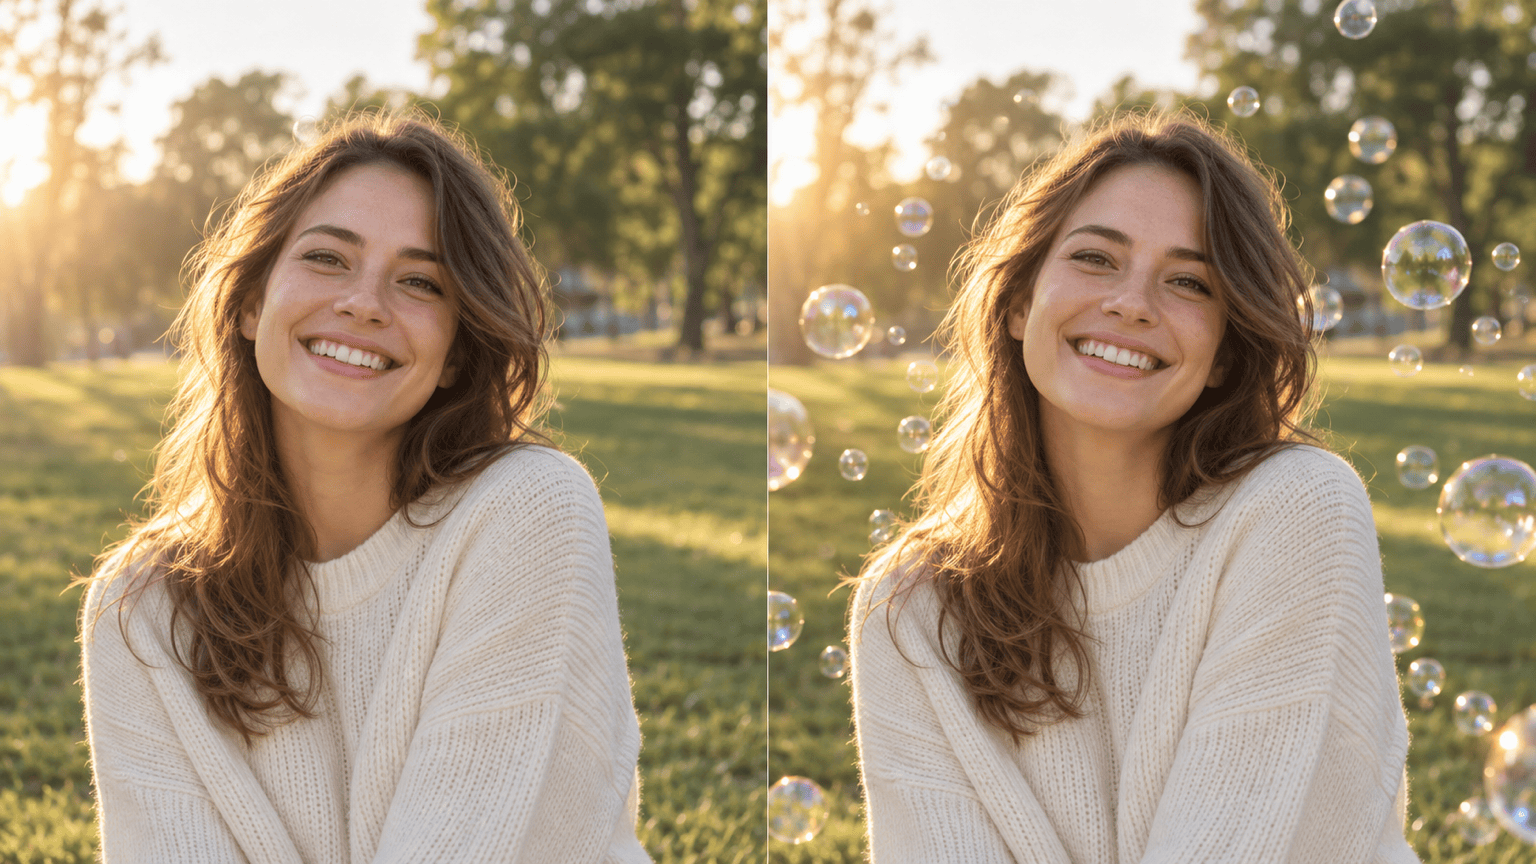
How to Add Bubbles to a Photo with AI
Upload a Clear Photo
Describe the Bubble Effect
Generate and Inspect the Edit
Refine and Download
Why Use Mew Design as Your AI Bubble Photo Editor
Keep the Original Subject Recognizable
Start from your own image and state what must remain unchanged. The AI add bubbles to photo workflow can preserve a face, pet, product, pose, or background structure while editing the scene around it.
Match Light, Depth, and Reflection
Real bubbles are transparent, reflective, and layered. Mew Design analyzes the photo so foreground and background bubbles can follow the scene's light, focus, scale, and perspective.
Control Size, Density, and Placement
Ask for sparse bubbles above a shoulder, a cluster in empty sky, or small bubbles rising from below. This online bubble effect editor follows plain-language direction instead of forcing one fixed overlay.
Correct One Detail Through Chat Edit
If a bubble covers an eye or label, request that single correction while keeping the successful lighting and composition. Focused follow-ups make the final edit easier to control.
Try More Than One Bubble Style
Create realistic soap bubbles, underwater trails, dreamy pastel reflections, or graphic bubble overlays from the same source photo, then compare versions before choosing one.
Start Online with Free AI Credits
Try the free AI bubble photo editor after signup, refine your favorite result, and export watermark-free images for personal projects, social content, events, or product visuals.
How to Make Bubble Effects Look Natural
- Set the bubble pattern: Name the approximate count, mix of sizes, density, and direction of movement. Leave breathing room around the focal subject.
- Match the environment: Mention sunlight, studio light, underwater color, reflections, blur, or haze so the bubble overlay feels part of the original photograph.
- Protect important details: Specify that faces, hands, products, logos, labels, poses, and key background elements should remain unchanged and unobstructed.
- Refine in small steps: Ask to move, remove, enlarge, or soften a specific group of bubbles instead of regenerating the entire photo without direction.
Bubble Photo Effects to Try
Dreamy portrait: Use my uploaded portrait as the base. Add translucent soap bubbles around the face and shoulders with soft rainbow reflections, shallow depth of field, and gentle backlight. Keep facial features, hair, skin tone, clothing, and pose unchanged. Leave the eyes fully visible.
Sunlit family photo: Add bright soap bubbles drifting across the open parts of this outdoor photo. Use varied sizes, warm afternoon highlights, natural spacing, and realistic perspective. Preserve every person, expression, hand, and background detail.
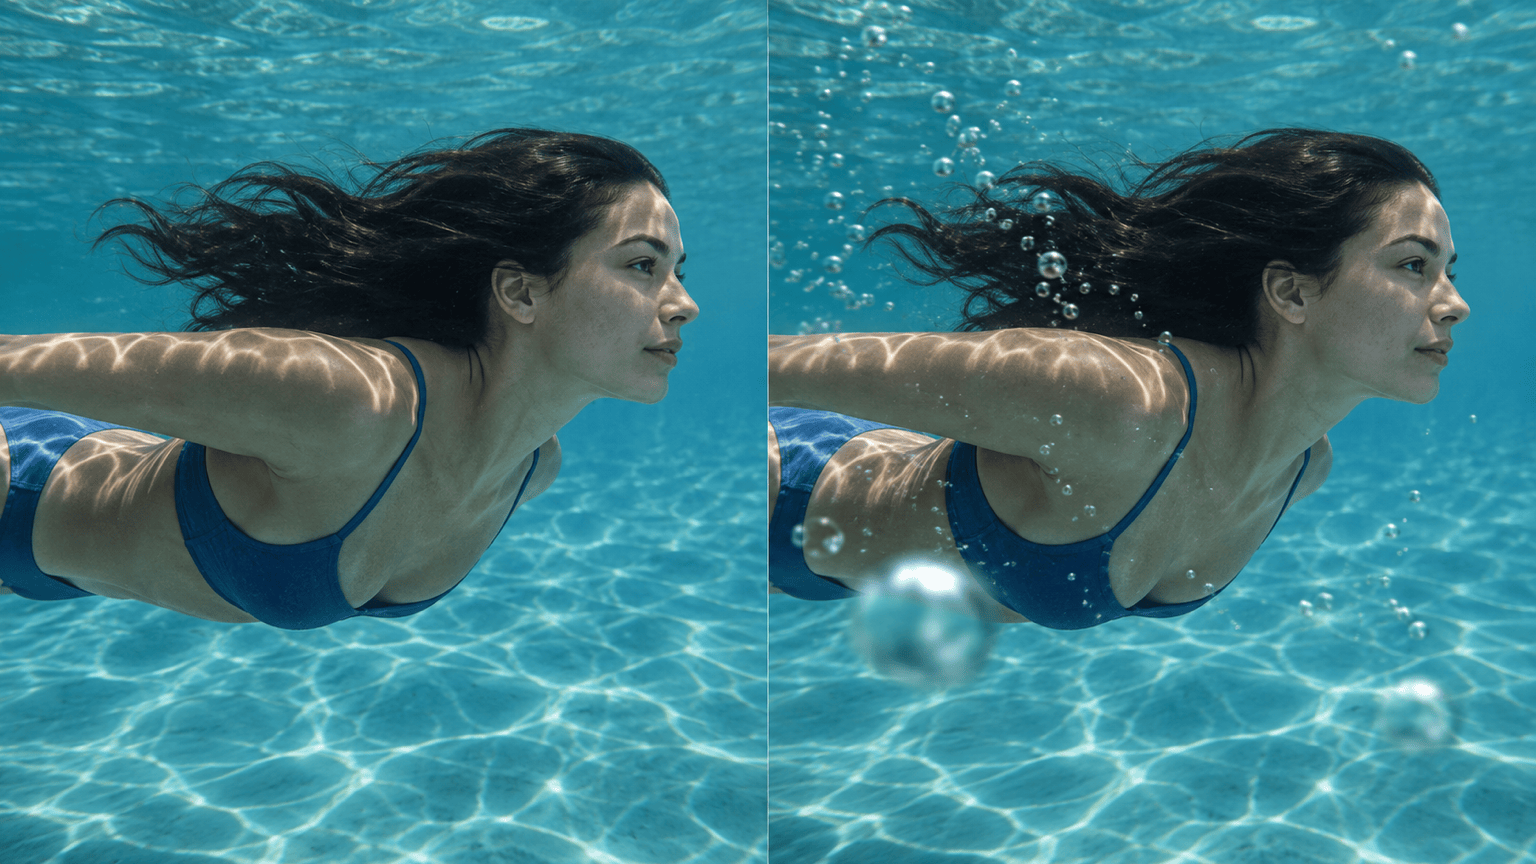
Underwater effect: Add a trail of small rising bubbles around the swimmer with a few larger bubbles near the camera, soft blue-green caustic light, and layered depth. Keep the swimmer's face, body, swimsuit, and pose unchanged.
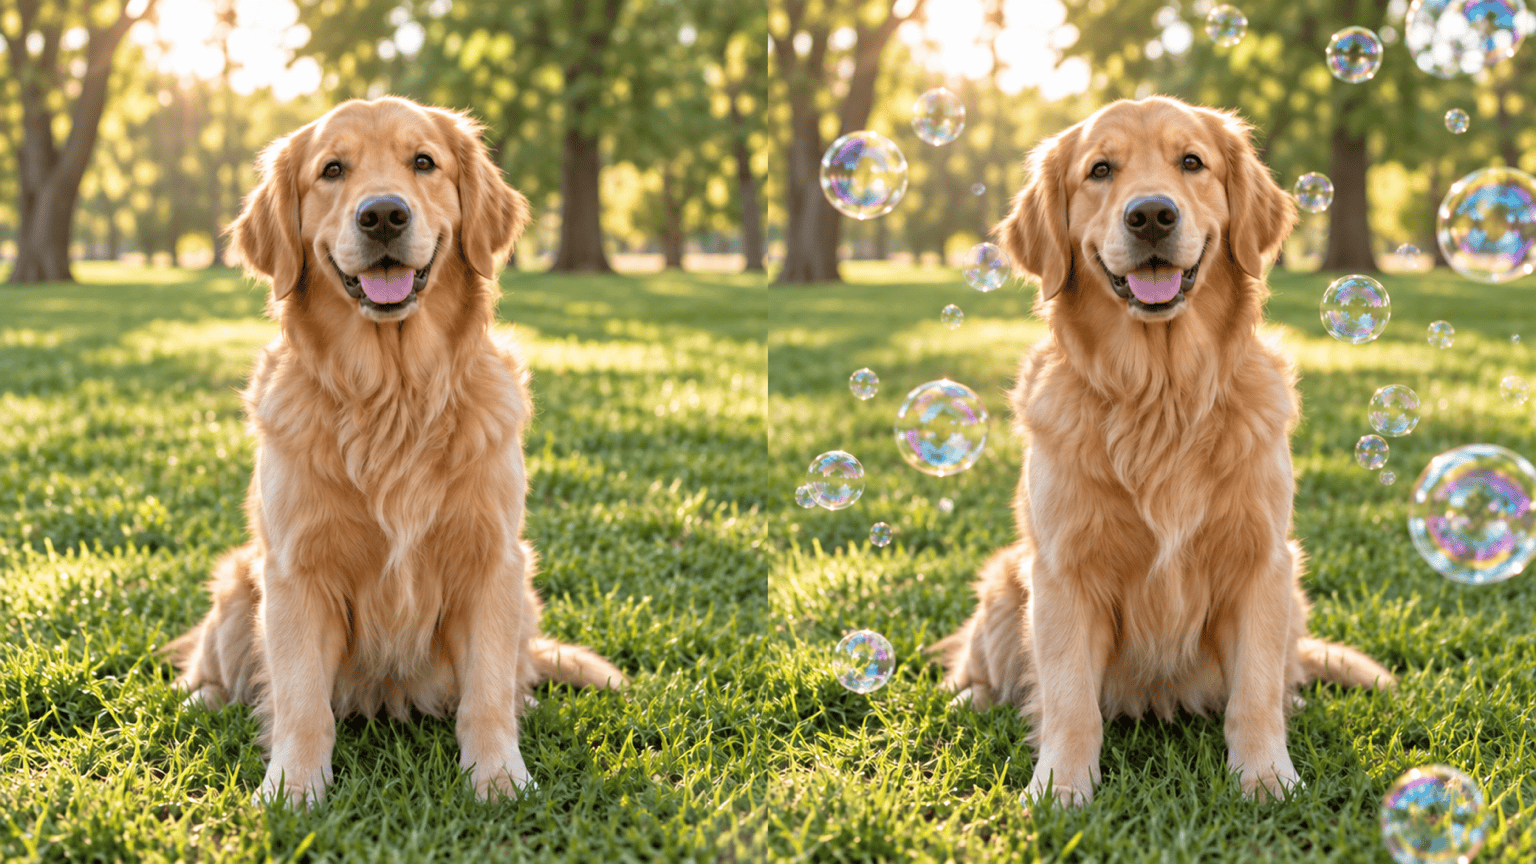
Playful pet photo: Add a loose cluster of shimmering bubbles around my dog in the park. Match the sunlight and camera focus, keep the face and fur sharp, and avoid covering the eyes, nose, or paws.
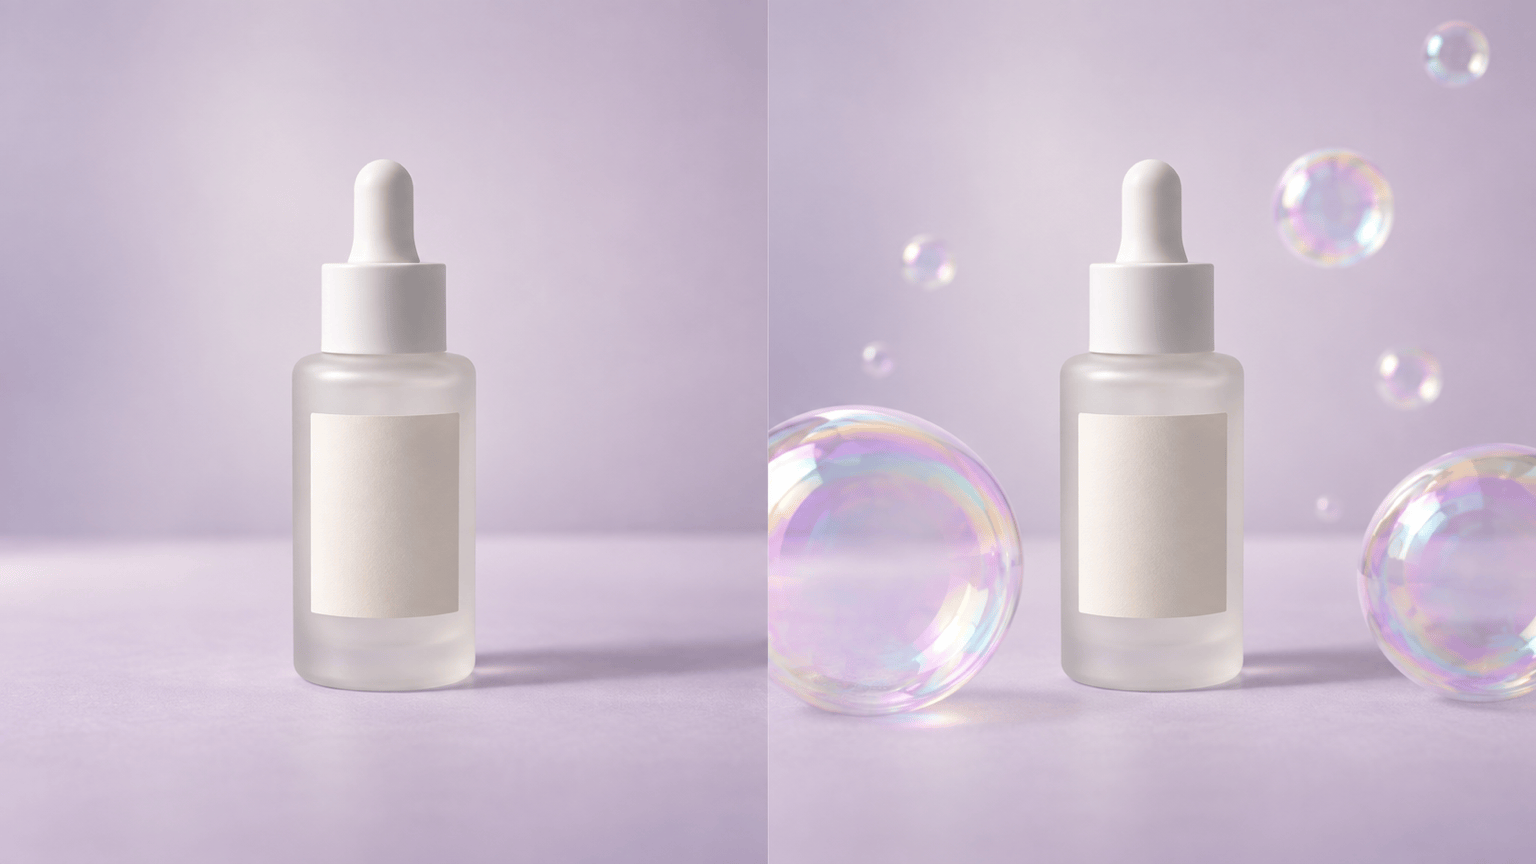
Product image: Add clean iridescent bubbles around the skincare bottle, including two larger foreground bubbles and several small background bubbles. Preserve the bottle shape, cap, logo, label text, colors, shadows, and framing exactly.
Speech bubble edit: Add one clean white comic speech bubble in the empty space beside the subject with a crisp black outline and a tail pointing toward the speaker. Keep the face unobstructed and leave enough blank space for a short caption.